In January 2011, it was finally time to combine two hobbies of mine: Photography and Diving.
After reading the very positive review of the Canon Powershot S95 by Ken Rockwell, I decided to purchase this camera in November 2010 and I am very happy about its performance.
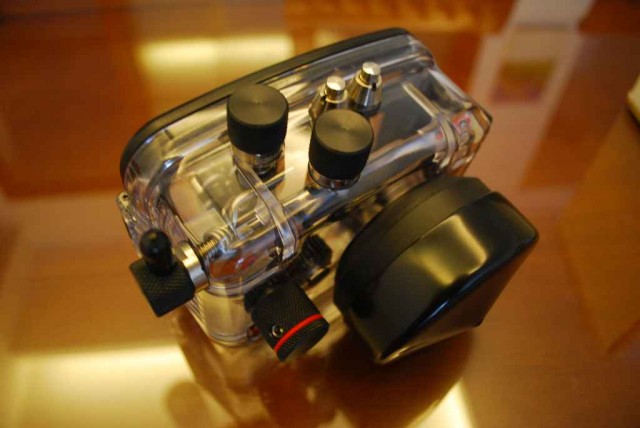
If you consider using the Canon Powershot S95 also for underwater photography, there are two options to do so: The Canon WP-DC38 housing which comes at a price tag of roughly 180 USD and the Ikelite 6242.95 that will set you back about 325 USD. At the time I had to make the purchase decision, there were no reviews available. Hence, I decided to base the decision on the thought: “Product sold at higher price offered by a company specialized on engineering products for a special purpose should offer superior quality and functionality.”
So I bought the Ikelite housing. And used it first during our 12 dives around Ko Lanta in January 2011. After shooting roughly 800 pictures underwater with the combo Powershot S95 / Ikelite, I want to share my experience with this review.
1. What’s in the box?
It’s delivered in a neutral white box 🙂
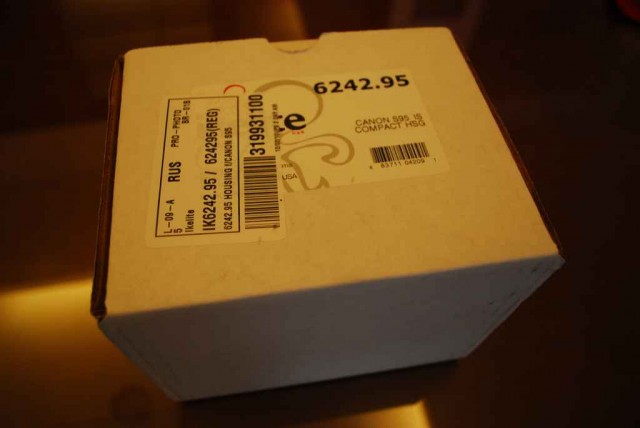
Contents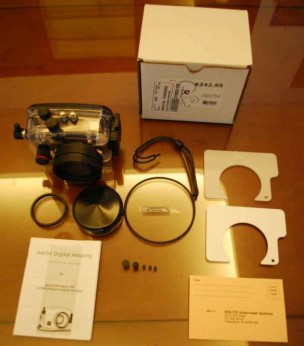
1x Housing
1x Lens Cover
1x Diffuser
1x Reflector
1x Plastic Ring for Front Control Ring access
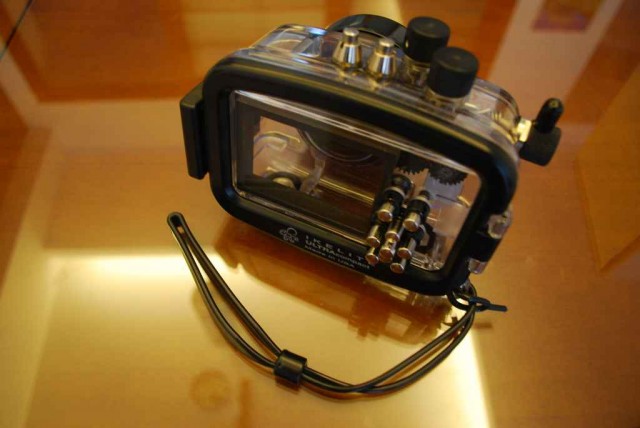
1x Wrist Strap
1x Silicon Lube
5x Spare Knobs
1x Manual
1x Warranty Card
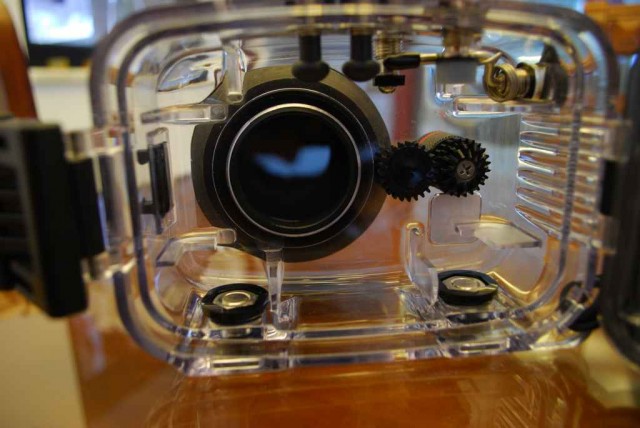
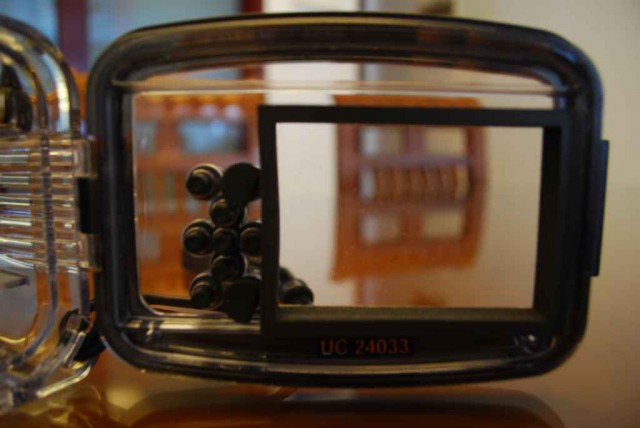
2. Setup
The setup is rather easy. First, you have to press the plastic ring on the front control ring.
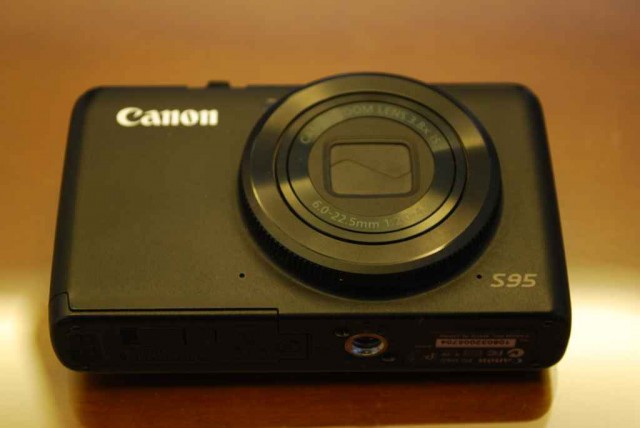
Camera without Ring
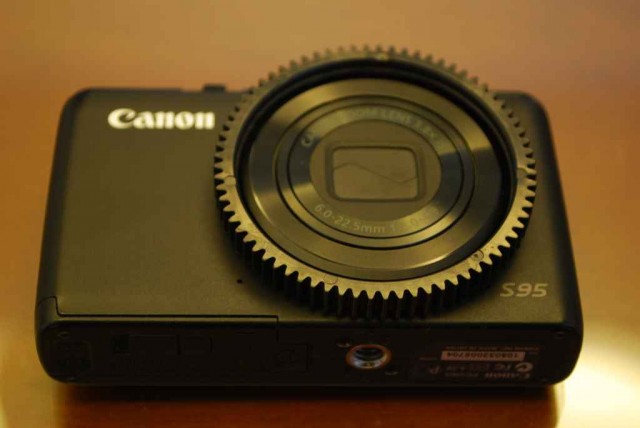
Camera with Ring, half way on
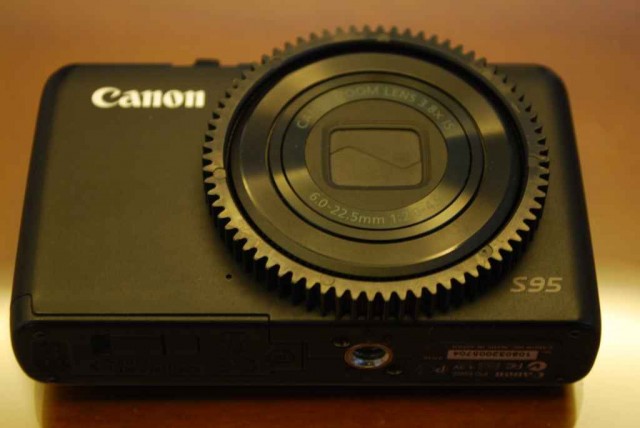
Camera with Ring
Afterwards, you should make sure that the knob to control the zoom lever is aligned properly.
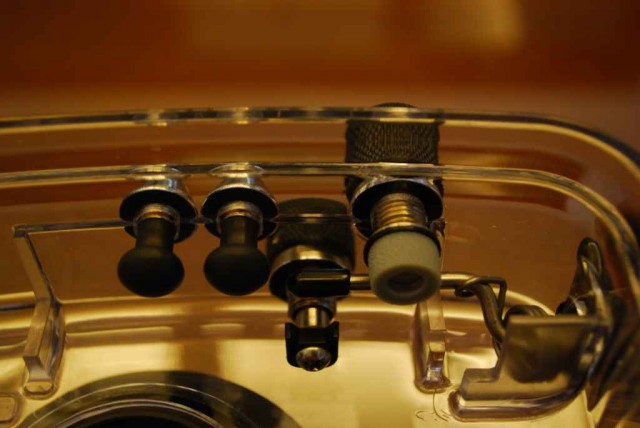
Zoom Lever, properly aligned
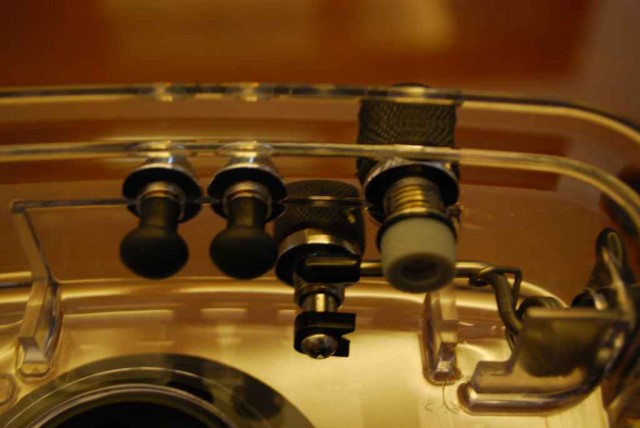
Zoom Lever, not properly aligned
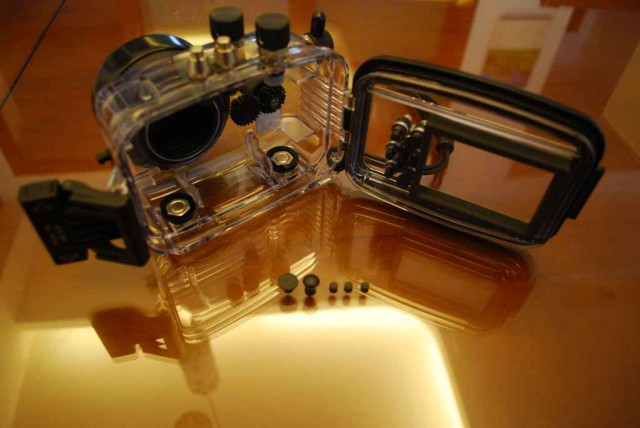
Then you can put the camera into the housing. Make sure that the teeth of the control ring adapter snap in properly. Close the lid and snap the lever.
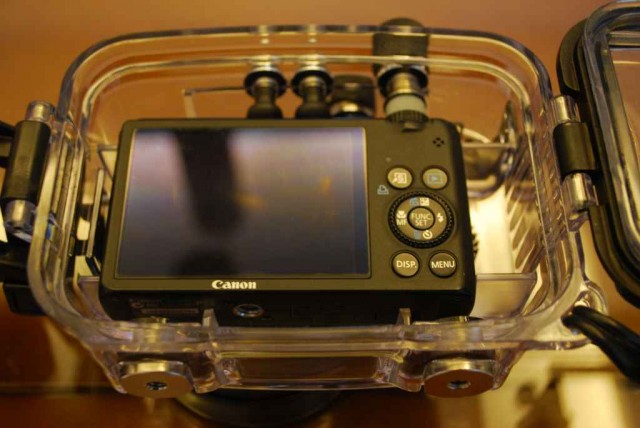
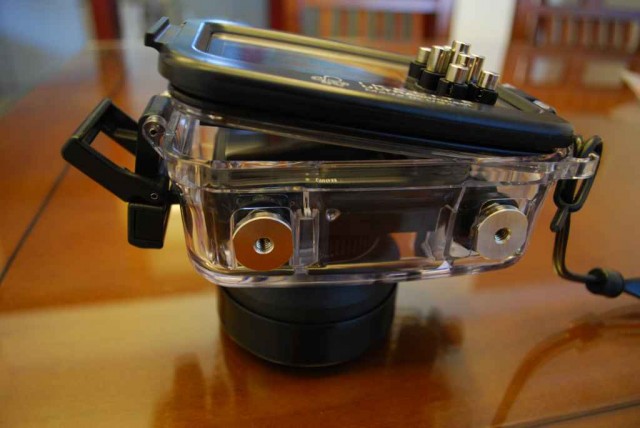
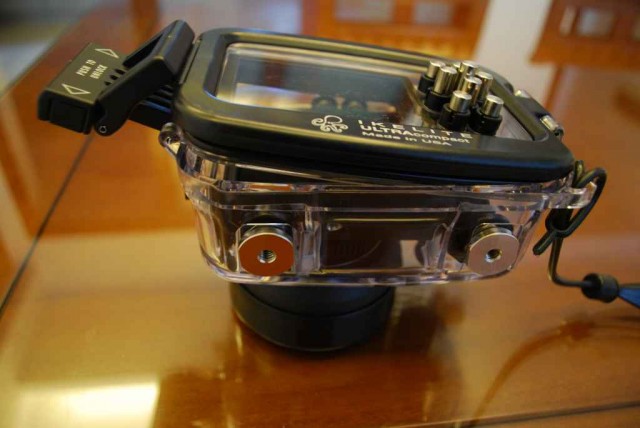
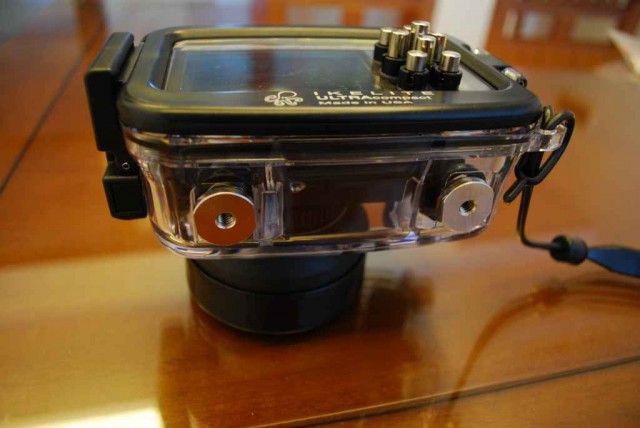
The last check should be to turn the housing around and check whether the O-ring shows a deep black continuous line, approx. 4mm wide. Then you can be sure that the housing will be waterproof. I used to do a brief test in the water reservoir of the dive boat prior to each dive.
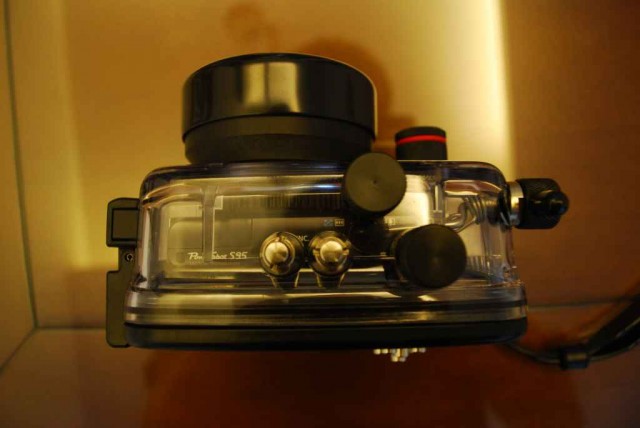
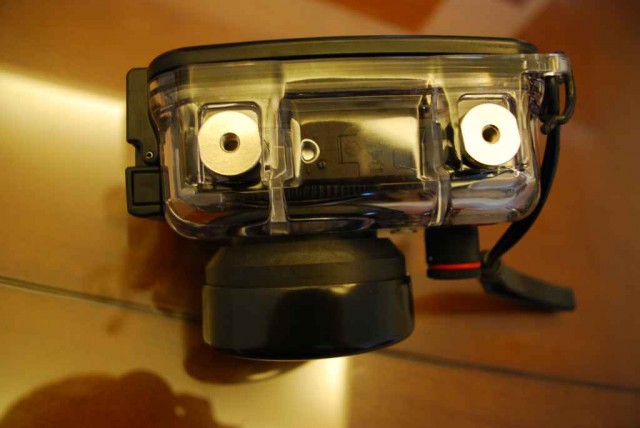
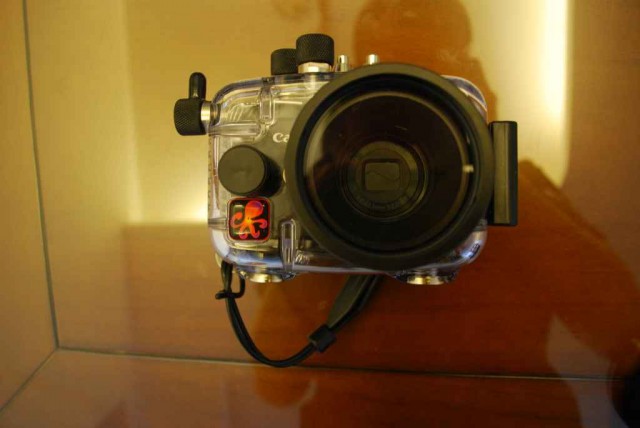
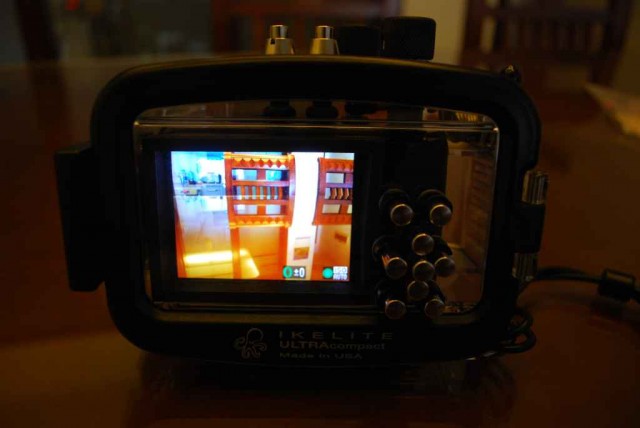
If you plan to use the camera integrated flash, make sure that you attach the flash diffuser to the housing with a short robe – I recommend floss to do so.
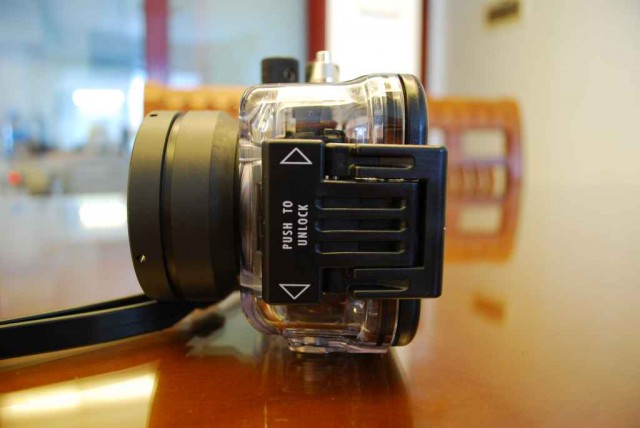
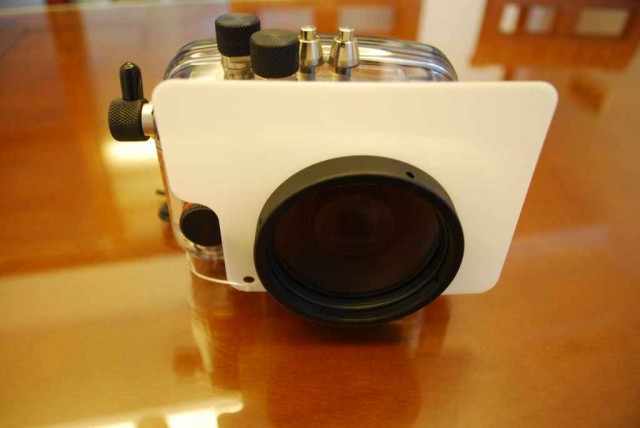
Before the first dive, I would recommend to play around a little with the camera in the housing to familiarize yourself with the controls. Especially using the shutter release button, to get used to the pressure point of the rear controls and the necessary button combinations to switch the internal flash on and off.
3. Observations during usage
If you feel comfortable using the S95 above water, you will feel the same way using it in the Ikelite case below the surface. All menus are accessible but given a proper camera setup before the dive, there is no need to do so.
Build quality and usage of buttons
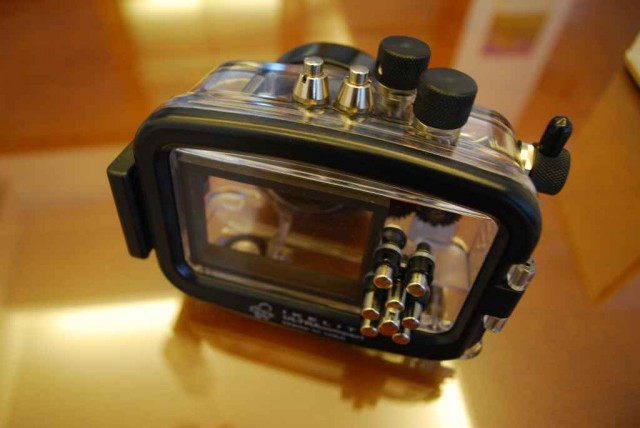
The build quality of the housing is convincing. All buttons are big enough and easy to use underwater, even the ones with rather narrow spacing that trigger the rear control dial. You get a decent mechanical feedback whether you pressed the button far enough. As I only used it in warm water so far, I cannot really judge whether this is also true for usage wearing thick gloves. The housing is neutrally buoyant, I did not feel the need to attach any weights to trim.
Using internal flash
The internal flash can be used in combination with the included diffuser – without it, the lens port would cause a huge shadow in the lower right corner of the picture. You can definitely use the integrated flash to take macro shots up to a distance of roughly 0.3m. Objects further away than that will lose color immediately. After trying it for a couple of shoots, I didn’t even bother to use it anymore during the next ten dives.

Strong vignetting without the flash diffusor

Much less vignetting using the flash diffusor
Maintenance
After each time I opened the case, I checked if there was any water in the case – nil. Before closing it again, I made sure that there wasn’t any dust or even bigger particles attached to the O-ring. The lubricant might facilitate this. However, there was never any problem because we did only boat dives during that vacation. If you use the housing in dusty or sandy areas, e.g. beach dives, I would perform this check more carefully. After one week and twelve dives, I completely removed the silicon lubricant and put a small portion of fresh lubricant on the O-ring before I stored the case.
Other than that, I would highly recommend to rinse the housing carefully after each dive, especially after diving in salt water. If you don’t do so, you can immediately feel an increase in the knob resistance. I used to put the housing in one of the fresh water tanks on our boat after each dive.
Fog
I did not have any problems with fog inside the camera housing. This might be different under conditions with larger difference between air and water temperature – however, I can’t judge this so far.
Potential overheating problem
During second half of the second dive, the camera suddenly did not accept any commands any more except for the shutter release. Images were of proper quality and stored to the SD-Card as usual – I was just not able to access any menu anymore, e.g. to adjust the white balance. I was under the impression that I did something wrong and did not bother anymore during the dive. One day later, during the third dive on that day, the same happened so I could be sure that it wasn’t me. After the dive, I asked myself about similarities between the two dives when the problem occurred. I found that prior to both dives, I left the camera in the closed housing but watched a lot of the images of the past dives in playback mode. Due to the limited air volume inside the housing, the energy consumption of the camera, the corresponding heat dissipation and the ambient temperature of roughly 28 °C, this might have caused a camera overheating. However, this is only speculation from my side.
I made sure that I didn’t use the camera much prior to the next dives and also kept it away from direct sunlight – no problems occurred afterwards anymore.
4. Tips and Tricks
The first thing I had to learn to achieve decent looking underwater pictures is that constant adjustment of white balance is essential. For each change in depth or angle towards the sun, you have to readjust the custom white balance. Forget about the S95 “Underwater Color Mode” – this is not going to improve anything according to my experience.
Therefore, I recommend to set the custom function button on the rear to “Custom White Balance” – you are going to use this frequently. As reference for “white” underwater, point your left arm towards the object you want to photograph and push the custom function button – this method delivered the best results for me. At least better results than using the flash diffuser as white card.
I set the front ring to exposure compensation. You won’t need this feature much but still it’s valuable to have direct access to it. Other than that, I set Auto ISO to “on” with a maximum of 200.
5. Extension Capabilities
External Strobe
The Ikelite Housing brings the capability to attach two AF35 external strobes, Type 4035. They will be triggered by using the reflector instead of the diffuser. Up to now, I did not gather any experience with these add-on strobes – more to come in the future.
Wide Angle Converter
Due to light refraction, everything in water appears to be roughly 33 percent larger than above the surface. This means that the effective focal length changes from 28-105mm to 42-158mm. To compensate for this effect, Ikelite offers a wide angle conversation lens (type 6420) with a magnification of 0.56x. Using this converter, the effective focal length will be 23.5-88mm. Again, I did not gather any practical experience with this extension – more to come in the future.
6. Summary
I am really impressed with the ease of use, the build quality and the functionality of the combo Ikelite / Canon Powershot S95. With a total invest of currently 750 USD, you are going to get a solution to take underwater photographs and videos with a decent quality at a very reasonable cost / quality ratio. An underwater housing for a DSLR would set you back roughly twice as much – not including the DSLR, lenses, necessary dome ports or external strobes.
Hence, I highly recommend the Ikelite for those divers that want to take decent pictures underwater but do not need to earn a living with it. At the same time, this is a solution where you don’t need to worry whether you are endangering the “well being” of you nice little Powershot S95 due to poor engineering of the case itself.
You can purchase the case here or here.
Please feel free to leave a comment to share your experience or ask unanswered questions.
7. Sample Gallery

