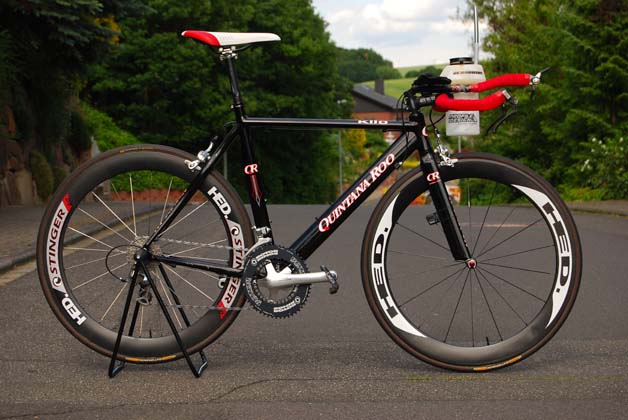
Mit dem Rad zur Arbeit… und zurück

Heute morgen bin ich um 05.50h aufgestanden, um mit dem Rad zur Arbeit zu fahren. Schließlich steht der Limburg-Triathlon bevor und in den letzten Wochen waren die Trainingsumfänge eher gering. Es war eher kühl heute morgen, aber zum Glück habe ich unterwegs nur einmal etwas Regen abbekommen. Der Verkehr war wesentlich weniger dicht als ich erwartet bzw. befürchtet hatte.

Rund um den Flughafen jedoch einen Weg zu finden, den man mit dem Fahrrad auch befahren kann, ist nicht ganz so einfach. In Summe bin ich auf dem Hinweg also fast 10km mehr gefahren, als ich eigentlich geplant hatte. War trotzdem eine schöne Fahrt.

[maptype=G_HYBRID_MAP;gpxview=all;gpxparsemode2maxlimit=5000;gpxinterval=1;gpxcheckpointtable=hide;gpxelevation=show;gpxspeedchart=show;gpxcolor=green;gpxcheckpointinterval=0;]

Gegen 16.30h habe ich mich auf den Weg zurück gemacht – natürlich vorher noch ein kurzes “Beweisfoto” vor dem LAC.
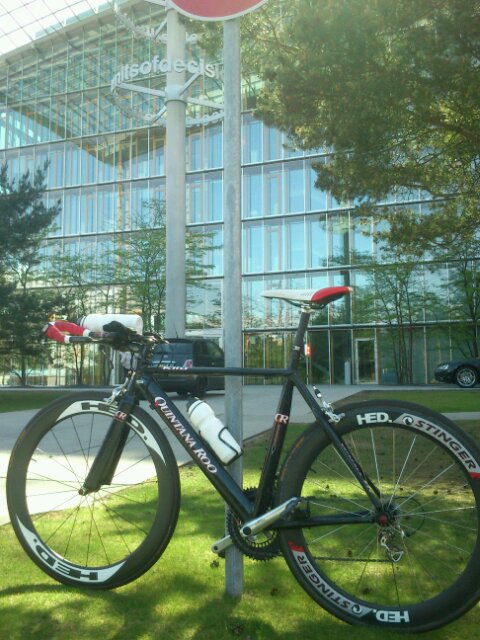
image

Die Route auf dem Rückweg war schon etwas direkter als auf dem Hinweg. Allerdings hatte ich während der ganzen Fahrt starken Gegenwind – nicht das, was man sich auf dem Weg nach Hause wünscht. Der Verkehr war ziemlich dicht, sodass ich gerade auf den Ortsdurchfahrten der B8 ordentliche Staus hatte.

[maptype=G_HYBRID_MAP;gpxview=all;gpxparsemode2maxlimit=5000;gpxinterval=1;gpxcheckpointtable=hide;gpxelevation=show;gpxspeedchart=show;gpxcolor=green;gpxcheckpointinterval=0;]

In Summe heute also ca. 136km in etwa 4:45h – es wird nicht das letzte Mal gewesen sein, dass ich mit dem Rad zur Arbeit gefahren bin.

Aerobar Computer Mount for Garmin Edge

Update April 2013: There is an improved version of this custom Aerobar Computer Mount – please read this post for more details.

There are several options to mount a Garmin Edge cycling computer on a standard road bike. However, on a triathlon bike, things are not that easy. You could mount the computer on your stem – however, this option is not compatible with bottles mounted between the arms which is the most aerodynamic solution. Another option would be to mount the computer on one of the extensions. Yet, this would be a poor choice in terms of visibility. There is a quite exhaustive thread in the Slowtwitch forum which discusses several options and custom made solutions. I want to share mine ;-).

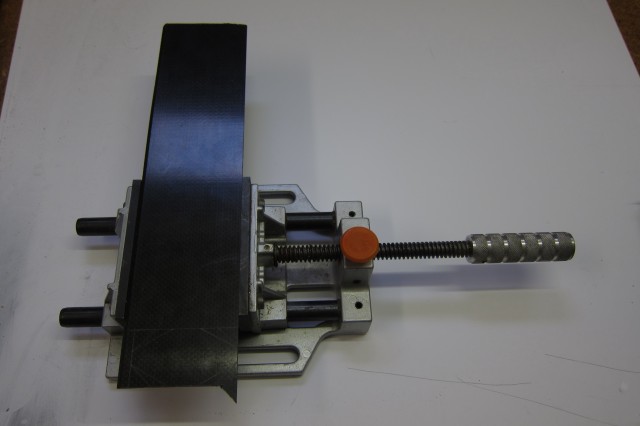
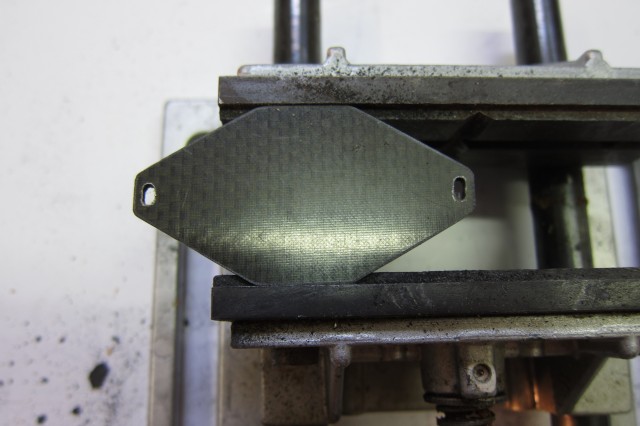
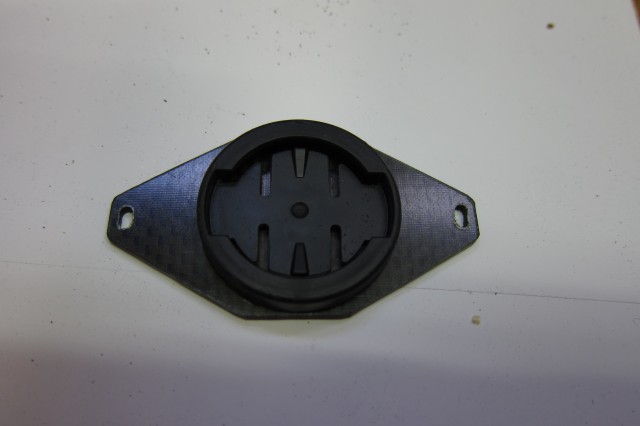
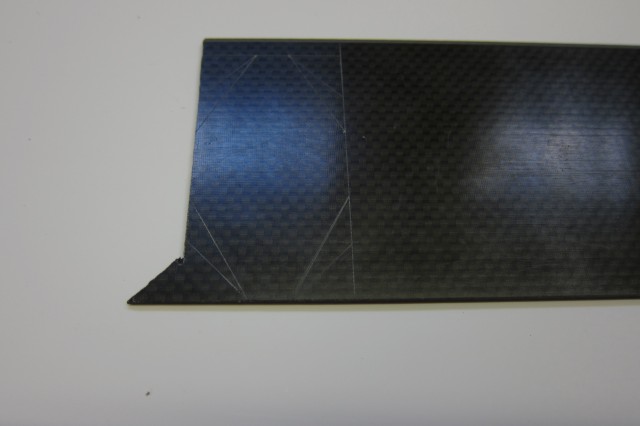
I took a carbon fiber plate and marked an octagon shape on it.

This was put into a standard bench vice.

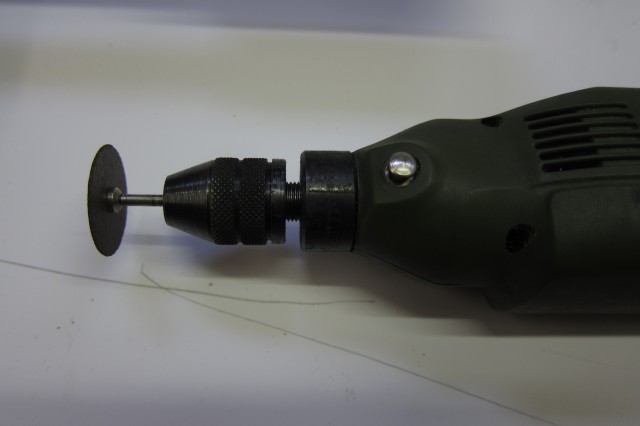
The easiest method to cut straight lines into carbon fiber is to use a Proxxon / Dremel machine with a cutting wheel.

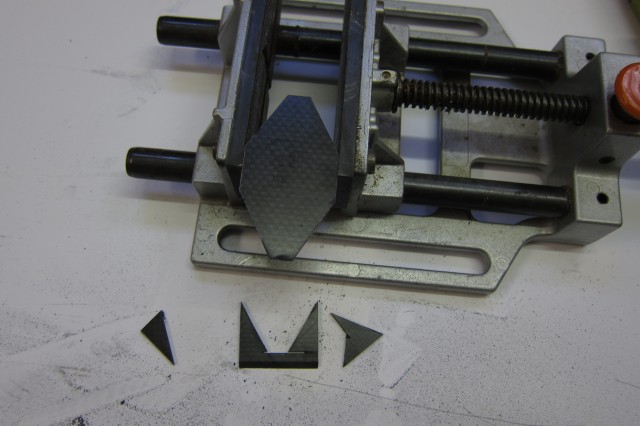
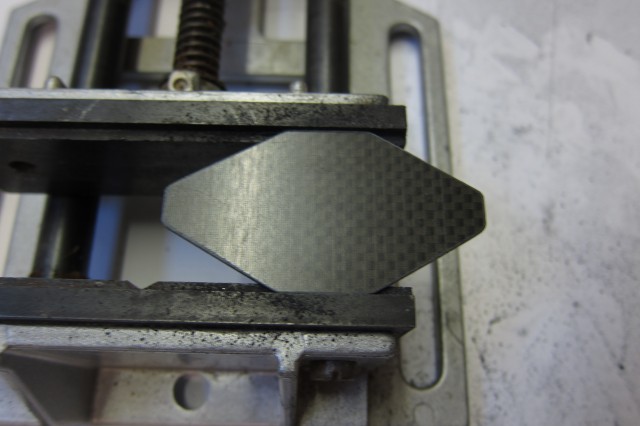
In approximately three minutes, the cuts were made.

The next step was to drill two holes each on the left and the right side to accomodate the cable ties.

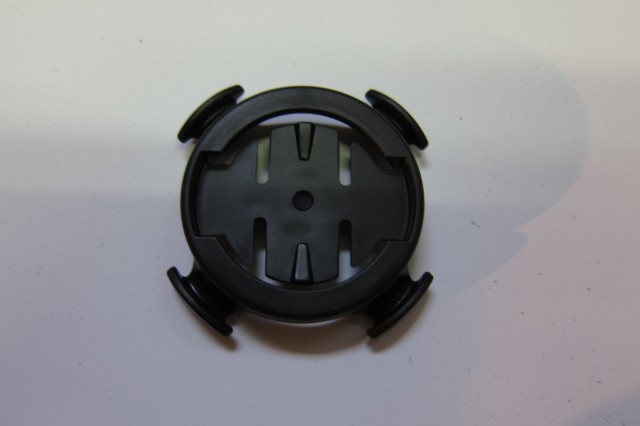
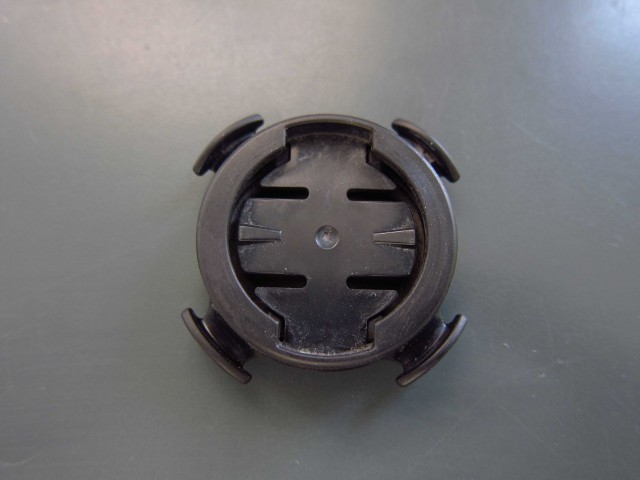
Afterwards, I took a standard Garmin Bike Mount. However, the extensions of the mount to fit the rubber ties are somewhat redundant.

So I removed them, again with the Proxxon and a cutting wheel.

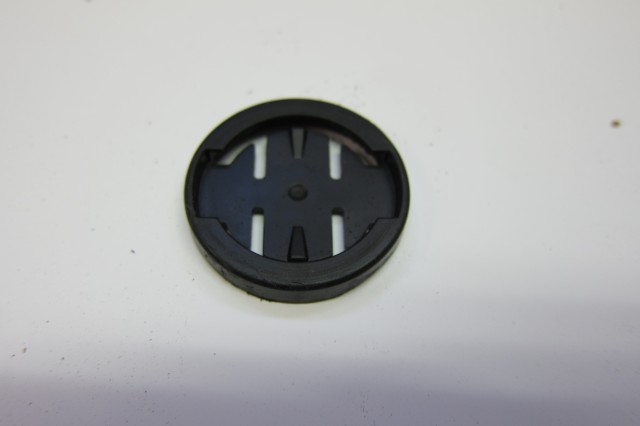
The result after a couple of minutes – pretty slick.

The trimmed down Garmin Mount will be glued on the carbon fibre plate.

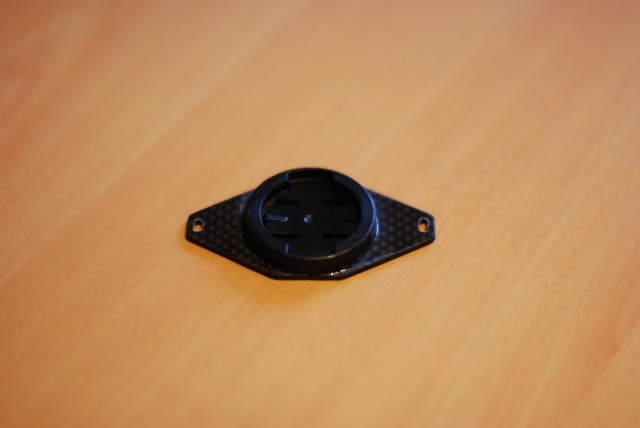
The final mount after gluing.

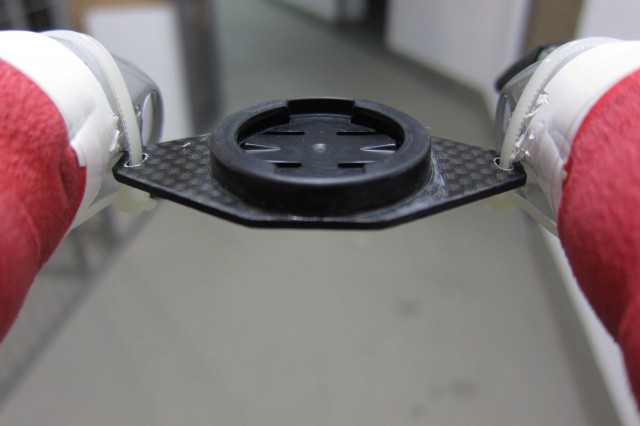
Mounted between the shifters at the front end of the extensions using two cable ties.

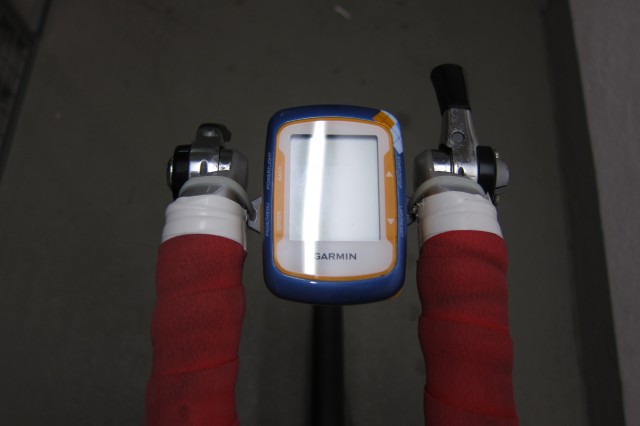
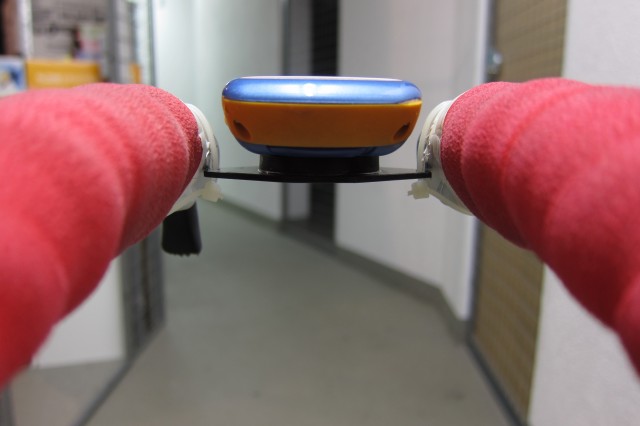
And with my Garmin Edge 500 placed in the mount.

Just on one level with the top end of the extensions.

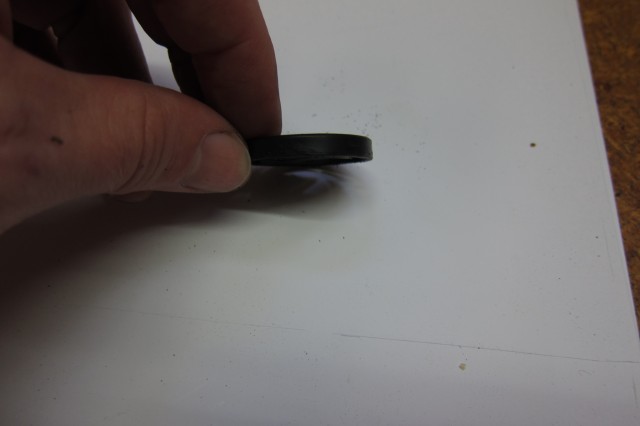
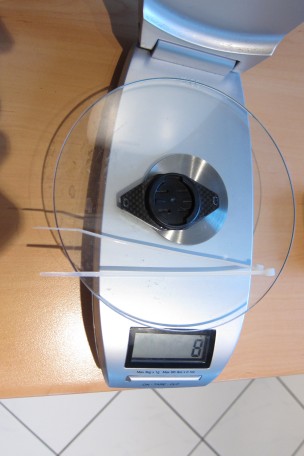
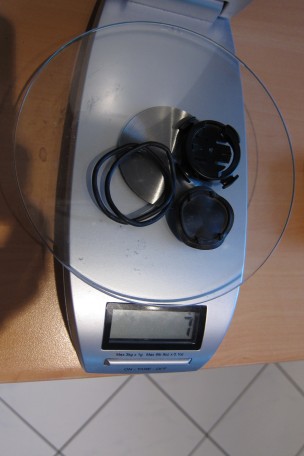
The weight of the bike mount including the cable ties is just 1g more than the standard Garmin mount including the rubber ties.

In total, it took me about 60 minutes to build the computer mount and I am confident that this is going to be a durable and well working solution.

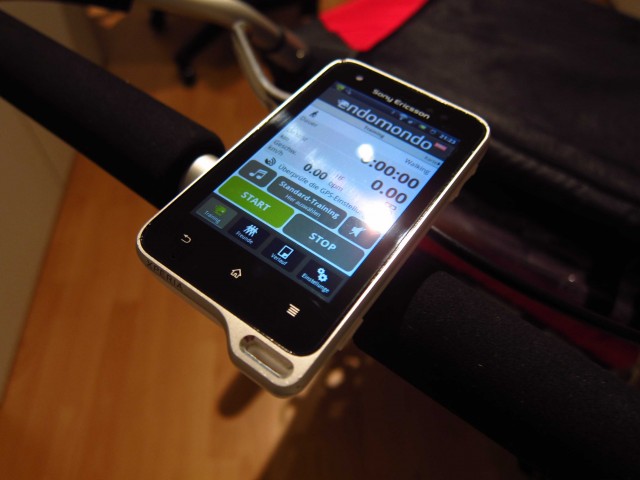
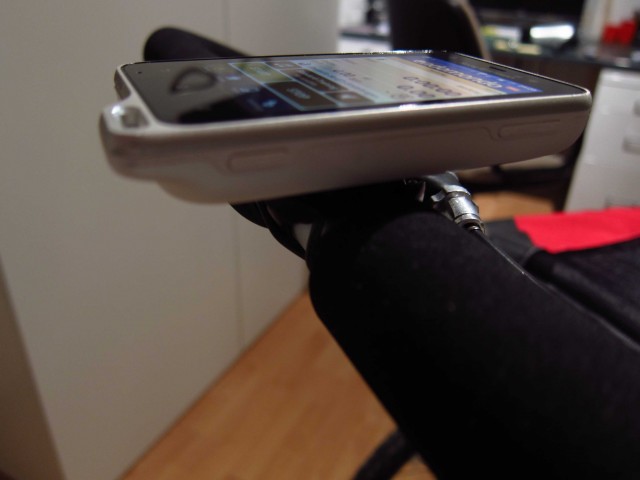
Custom made Garmin compatible bike mount for Sony Xperia active

Since August 2010, I use a Garmin Edge 500 cycling computer on my triathlon bike, my mountain bike and in a couple of weeks also on our Chariot Cougar Child Carrier while running. November 2011, I bought a Sony Xperia active smart phone since it basically can do everything that my Garmin does: It is ANT+ compatible, features an integrated GPS receiver and even includes a barometer. There are plenty of sport apps available for Android which can be used for running, cycling and plenty of other activities.

Because the Xperia active can be paired to all the existing Garmin ANT+ sensors on my bikes, I thought that it might be a good idea if it could also “pair” to my existing Garmin bike mounts. With this blog, I would like to show you how I achieved just that.

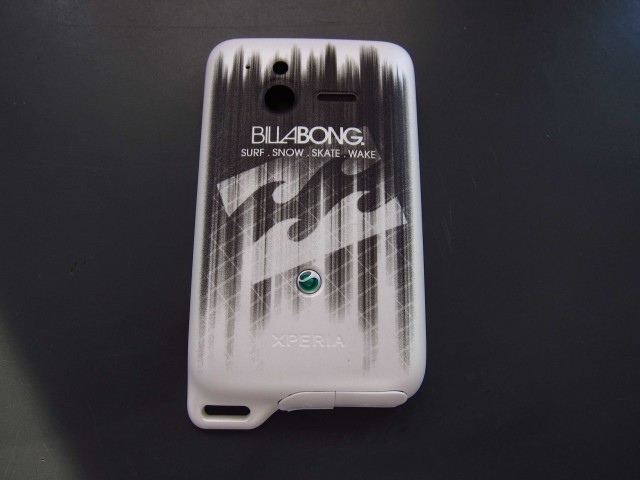
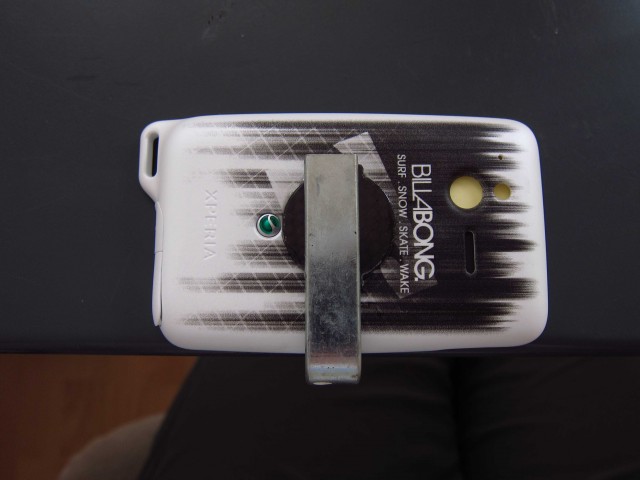
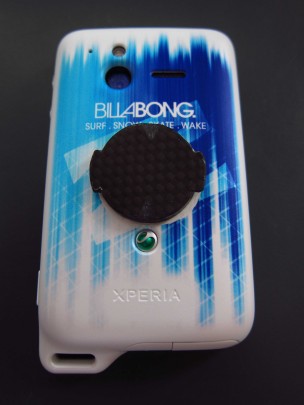
First of all you’ll need an extra cover for the Xperia active. I bought the Billabong edition which included two extra covers.

After that, I measured the dimensions of the Garmin Bike mount.

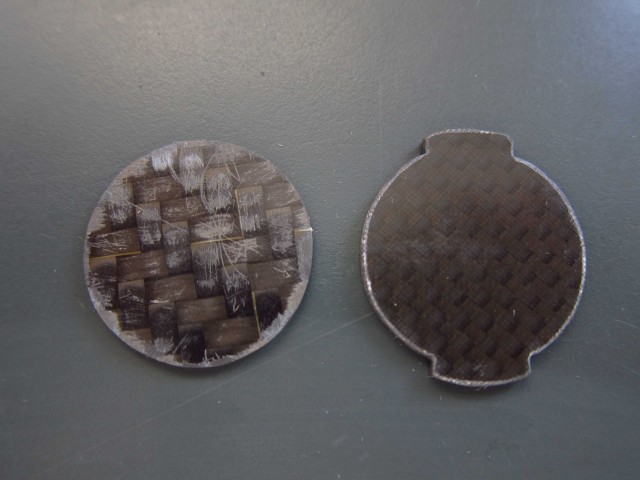
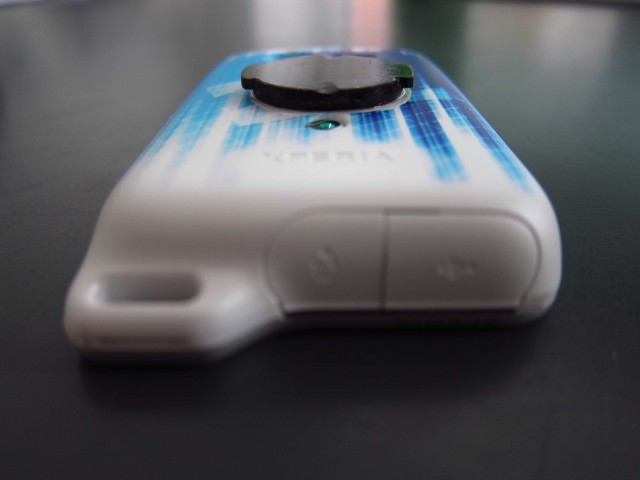
I figured that I would need two plastic discs to replicate the Garmin mount. The first one should have a diameter of 25mm and a thickness of 1.45mm. The second one should also have a diameter of 25mm, but with two extensions of 1.25mm lenght and 10mm width. The thickness of the second disc should be 1.75mm. I chose carbon fiber as the material, but any other plastic should be fine as well.

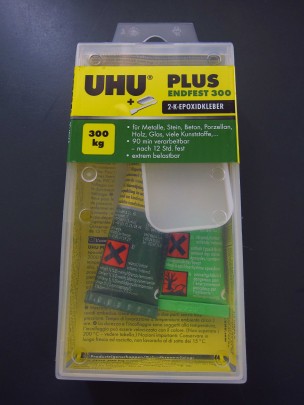
Now I needed to glue the two discs on the cover – I chose UHU plus to do so. Essentially, UHU plus is a 2K epoxid glue which can be cured at 70°C in 45 minutes.

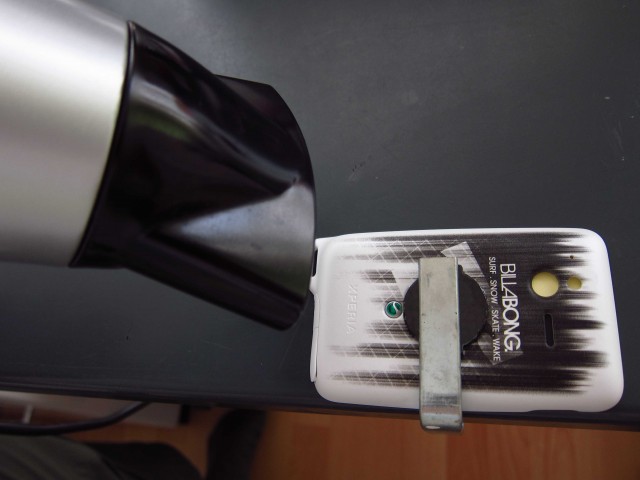
During my first attempt to glue the carbon discs onto the cover, I took a clamp and fixed it to my desk.

Afterwards, I used a hair dryer to speed up the curing process.

While performing a static load test, I had to realize that before gluing, I should have removed the Billabong graphics on the cover because this was the breaking point. So I took the second cover, scratched of the graphics and glued the carbon discs for the second time. To ensure a proper curing process, I put it into our oven at 70°C for 45 minutes.

This time, the result was better withstood the static load test.

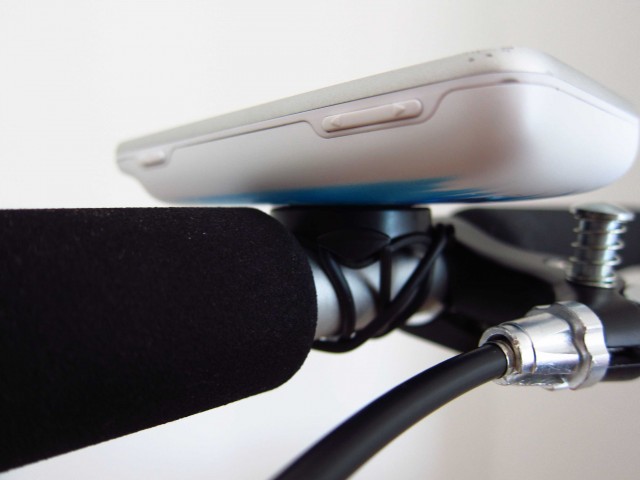
Sony Xperia active – mounted to our Chariot Cougar using a standard Garmin bike mount. Nice!

Of course I am going to start the Xperia active during cycling from now on. I will report about the long term reliabilty of this bike mount.

Mein China-City-Bike

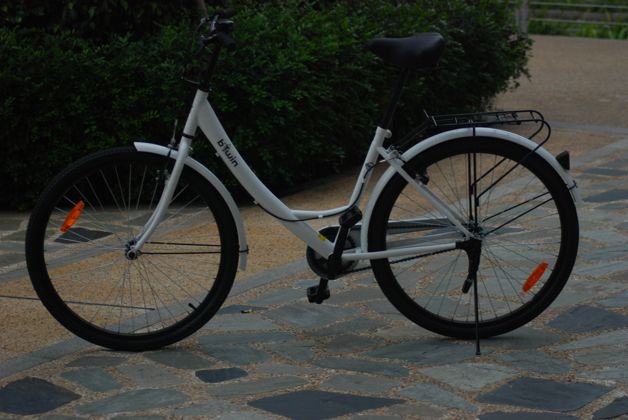
Da meine beiden anderen Räder noch auf dem Weg nach China sind und ich hier nicht mehr länger zu Fuß gehen möchte, habe ich mir heute ein City-Bike bei Decathlon gekauft. Das ich nochmal ein Rad mit Schutzblechen und Reflektoren besitzen würde, hätte ich nicht gedacht ;-). Aber für 55€ kann man nicht wirklich was verkehrt machen…


China-City-Bike

Rahmen b’Twin
Gabel b’Twin
Steuersatz No Name
Schaltwerk Keins – geht nur kaputt
Umwerfer Keiner – geht nur kaputt
Schalthebel Nicht notwendig
Bremshebel No Name
Bremsen No Name, Cantilever
Kassette No Name, 16 Zähne
Felgen No Name
Reifen 26″x 1,75″
Kettenblatt 36 Zähne
Sattel No Name – extrabreit
Rahmenhöhe Unisize
Gewicht (fahrbereit) 17,30 kg

Mein Mountain-Bike

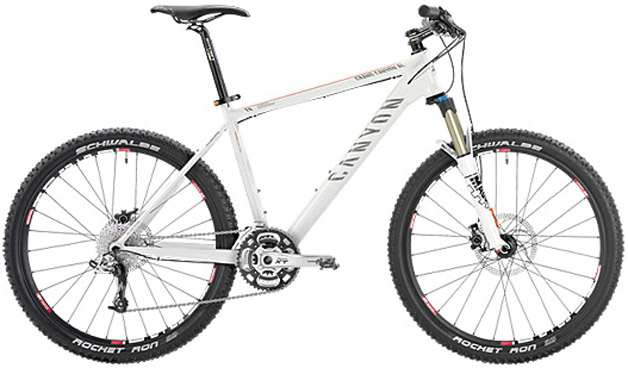
Heute frisch eingetroffen: Mein neues Moutain-Bike für die kalten und regnerischen Tage – und natürlich, um China zu erkunden:


Grand Canyon AL 9.0

Rahmen Canyon New F8 Frame
Gabel Magura Durin Race 100 DLO Remote
Steuersatz Acros AiX-03
Schaltwerk SRAM X.9
Umwerfer Shimano Deore XT E-Type
Schalthebel SRAM X.9 Trigger
Bremshebel Formula R1
Bremsen Formula R1 180/160
Naben DT Swiss X 1650
Kassette Shimano SLX 11-34
Felgen DT Swiss X 1650
Reifen Schwalbe Rocket Ron 2,25″
Kurbeln Shimano Deore XT Hollowtech II
Kettenblätter 44/32/22
Innenlager Shimano Deore XT
Vorbau Ritchey WCS 4-Axis
Lenker Ritchey WCS Rizer Mountain
Sattel Selle Italia XR Light
Sattelstütze Ritchey WCS 2-bolt
Pedale Shimano PD-M 770
Rahmenhöhe L – 52 cm
Gewicht (fahrbereit) 10,65 kg

Mein Triathlon-Rad

Anbei die Specs meines aktuellen Triathlonrads


Quintana Roo Kilo

Rahmen Quintana Roo Kilo
Gabel Quintana Roo Kilo
Steuersatz Quintana Roo Kilo
Schaltwerk Shimano Ultegra
Umwerfer Shimano Ultegra
Schalthebel Shimano Dura Ace SL-BS 79
Bremshebel ISM
Bremsen Shimano Ultegra
Naben Hed Stinger
Kassette Shimano Ultegra, 11-25
Felgen Vorderrad: Hed Stinger 6; Hinterrad Hed Stinger 60
Reifen Continental Sprinter Gatorskin
Kurbeln Shimano Ultegra
Kettenblätter Rotor Q-Rings Aero, 54/42
Innenlager Shimano Ultegra
Vorbau Ritchey Pro
Lenker Vision Base Bar / Profile Design T2+
Sattel Fi’zi:k Arione Tri 2
Sattelstütze Ritchey Pro
Pedale Look Keo Classic
Rahmenhöhe 51 cm
Gewicht (fahrbereit) 8,60 kg