 Wir haben ein neues Feature auf unserem Blog eingerichtet. In Zukunft bekommt ihr bei jedem neuen Post eine eMail, wenn ihr eure eMail-Adresse in dem Feld wie auf der linken Seite abgebildet eintragt und auf “Subscribe” klickt. Ihr findet das Feld auf der rechten Seite unseres Blogs unterhalb des Kalenders.
Author Archives: Frank
Fraport-Lauf 2012
Zum elften Mal wird der Fraport-Lauf in diesem Jahr veranstaltet – dieses Jahr war ich zum ersten Mal dabei. Der 10km-Lauf fand im Kelsterbacher Wald statt, der Start war in der Nähe des ehemaligen Ticona-Werksgeländes.
Im Vergleich zu meiner Bestzeit aus 2007 ist mein aktueller Trainingsstand erheblich schlechter, als Ziel hatte ich mir eine Zeit unter 47 Minuten vorgenommen.
Die Strecke war sehr schön und führte gemischt über geschotterte und geteerte Waldwege. Aufgrund der tiefstehenden Sonne war gut die Hälfte des Laufs in der Sonne, was bei den Temperaturen doch recht schweißtreibend war.
Die beiden ersten Kilometer habe ich mit einem Schnitt von 4:20 bzw. 4:30 min/km zurückgelegt, also etwas schneller als geplant. Danach habe ich allerdings dem Wetter Tribut gezollt und bin mit einem Schnitt von 4:50 min/km weitergelaufen. Mein Puls blieb dann trotzdem über 190.
Am Ende waren es 49:33 Min für 10,2 km, also 1:40 langsamer als geplant. Mit einem Durchschnittspuls von 188 kann ich mir aber nicht vorwerfen, das mehr gegangen wäre – ein Schlag pro Minute mehr als 2007. Und so unzufrieden bin ich mit Platz 56 von 366 auch nicht :-). Aber auch dieser Lauf hat mir wieder gezeigt, dass 10km nicht meine Lieblingsdistanz werden wird. Fast 50 Minuten mit knapp 95% der maximalen Herzfrequenz ist eben doch ziemlich anstrengend…
Mit dem Rad zur Arbeit… und zurück
Heute morgen bin ich um 05.50h aufgestanden, um mit dem Rad zur Arbeit zu fahren. Schließlich steht der Limburg-Triathlon bevor und in den letzten Wochen waren die Trainingsumfänge eher gering. Es war eher kühl heute morgen, aber zum Glück habe ich unterwegs nur einmal etwas Regen abbekommen. Der Verkehr war wesentlich weniger dicht als ich erwartet bzw. befürchtet hatte.
Rund um den Flughafen jedoch einen Weg zu finden, den man mit dem Fahrrad auch befahren kann, ist nicht ganz so einfach. In Summe bin ich auf dem Hinweg also fast 10km mehr gefahren, als ich eigentlich geplant hatte. War trotzdem eine schöne Fahrt.
Gegen 16.30h habe ich mich auf den Weg zurück gemacht – natürlich vorher noch ein kurzes “Beweisfoto” vor dem LAC.
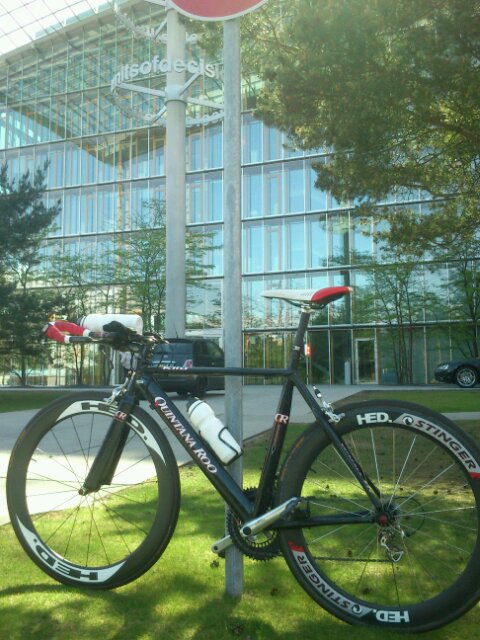
Die Route auf dem Rückweg war schon etwas direkter als auf dem Hinweg. Allerdings hatte ich während der ganzen Fahrt starken Gegenwind – nicht das, was man sich auf dem Weg nach Hause wünscht. Der Verkehr war ziemlich dicht, sodass ich gerade auf den Ortsdurchfahrten der B8 ordentliche Staus hatte.
In Summe heute also ca. 136km in etwa 4:45h – es wird nicht das letzte Mal gewesen sein, dass ich mit dem Rad zur Arbeit gefahren bin.
Aerobar Computer Mount for Garmin Edge
Update April 2013: There is an improved version of this custom Aerobar Computer Mount – please read this post for more details.
There are several options to mount a Garmin Edge cycling computer on a standard road bike. However, on a triathlon bike, things are not that easy. You could mount the computer on your stem – however, this option is not compatible with bottles mounted between the arms which is the most aerodynamic solution. Another option would be to mount the computer on one of the extensions. Yet, this would be a poor choice in terms of visibility. There is a quite exhaustive thread in the Slowtwitch forum which discusses several options and custom made solutions. I want to share mine ;-).
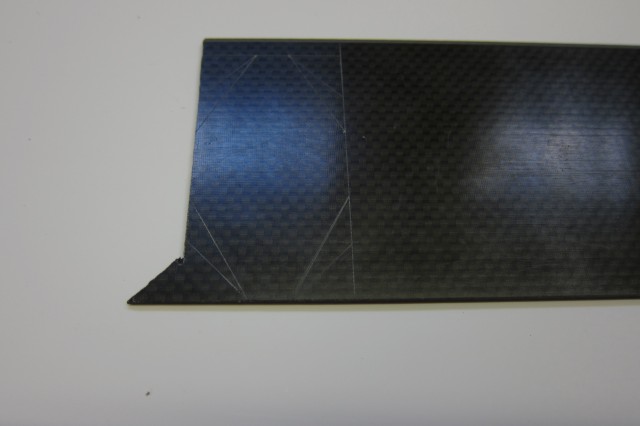
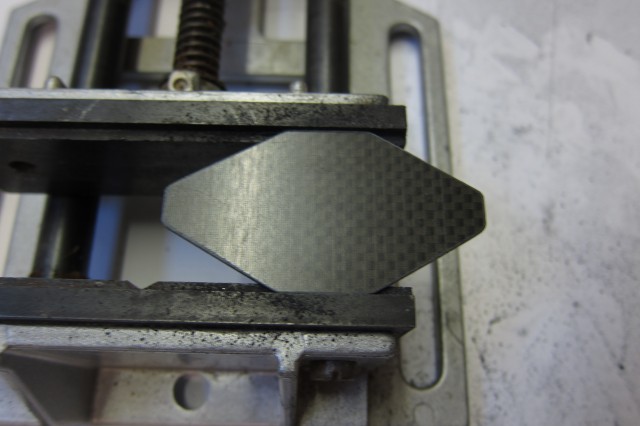
I took a carbon fiber plate and marked an octagon shape on it.
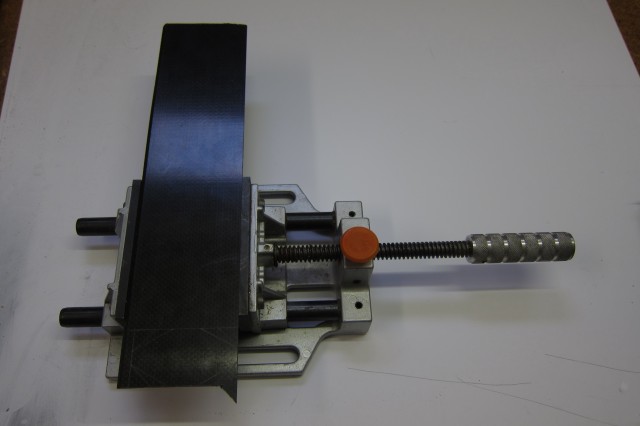
This was put into a standard bench vice.
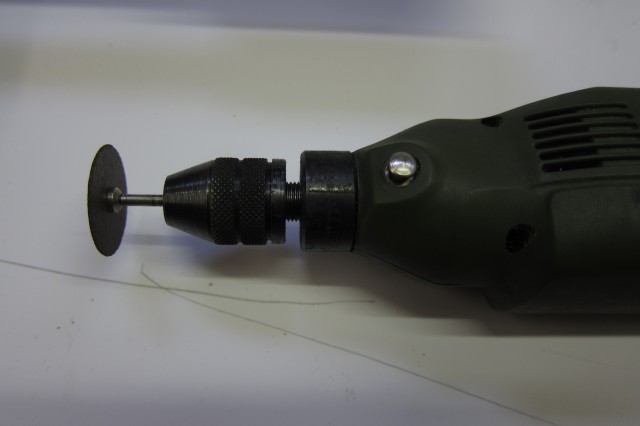
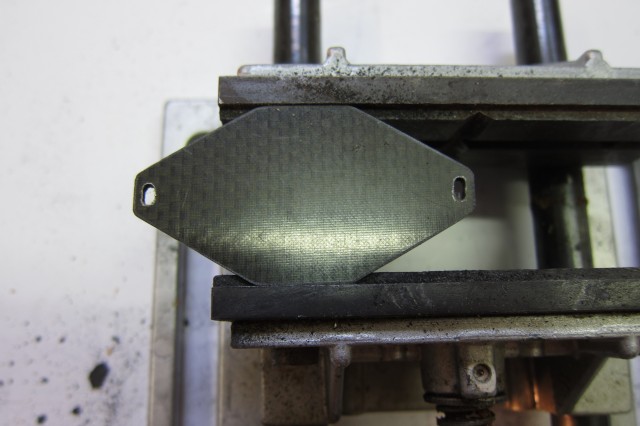
The easiest method to cut straight lines into carbon fiber is to use a Proxxon / Dremel machine with a cutting wheel.
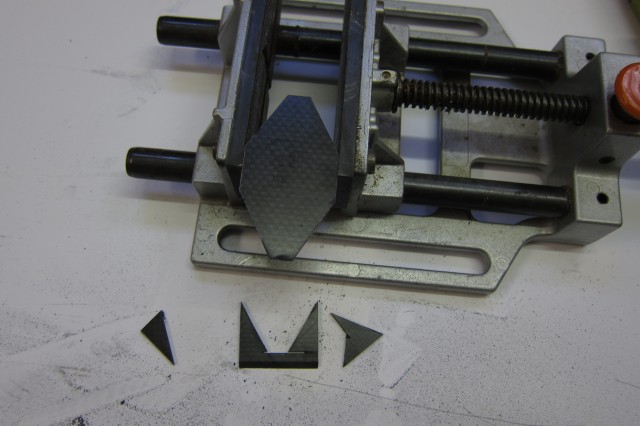
In approximately three minutes, the cuts were made.
The next step was to drill two holes each on the left and the right side to accomodate the cable ties.
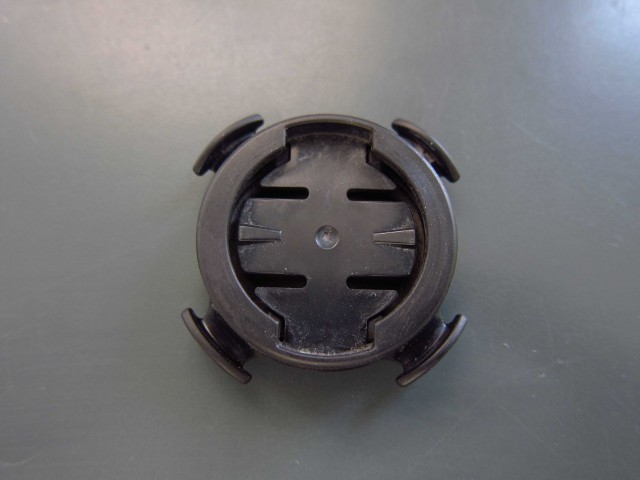
Afterwards, I took a standard Garmin Bike Mount. However, the extensions of the mount to fit the rubber ties are somewhat redundant.
So I removed them, again with the Proxxon and a cutting wheel.
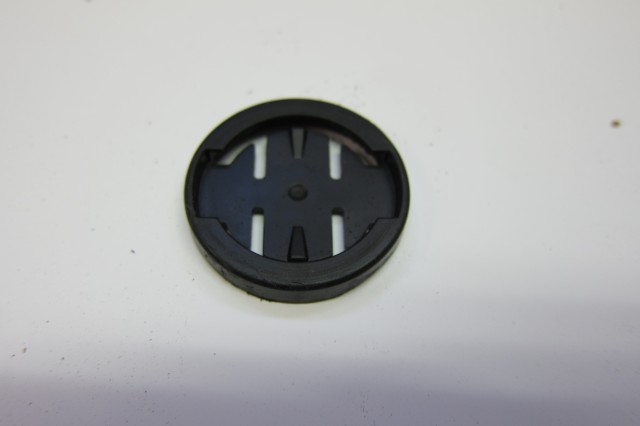
The result after a couple of minutes – pretty slick.
The trimmed down Garmin Mount will be glued on the carbon fibre plate.
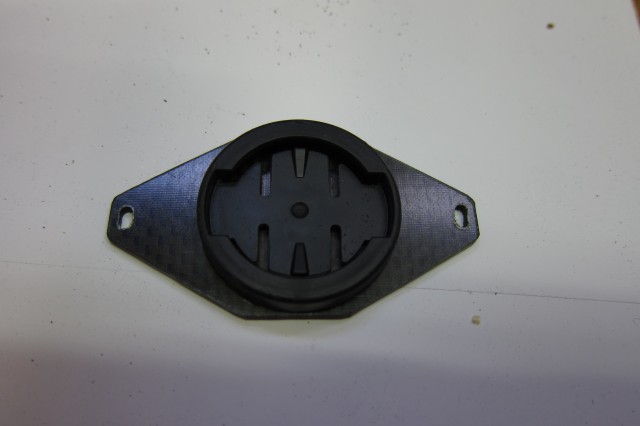
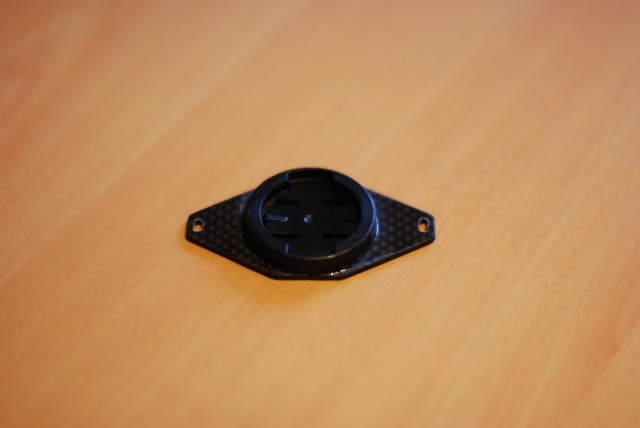
The final mount after gluing.
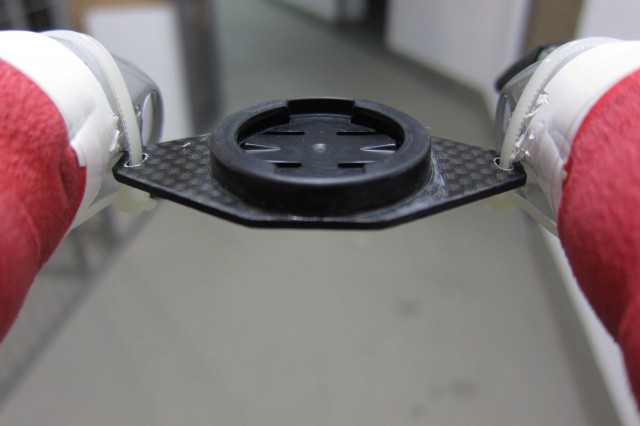
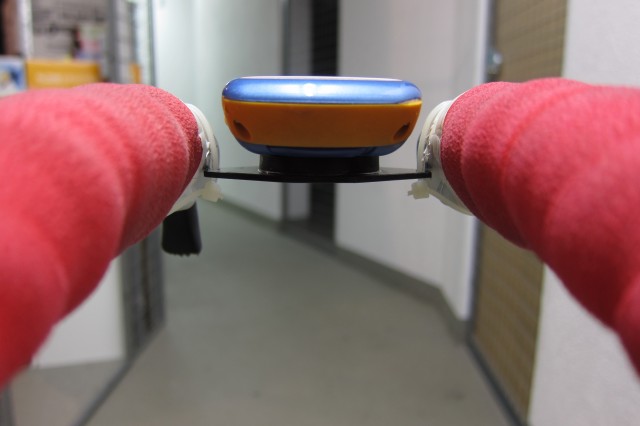
Mounted between the shifters at the front end of the extensions using two cable ties.
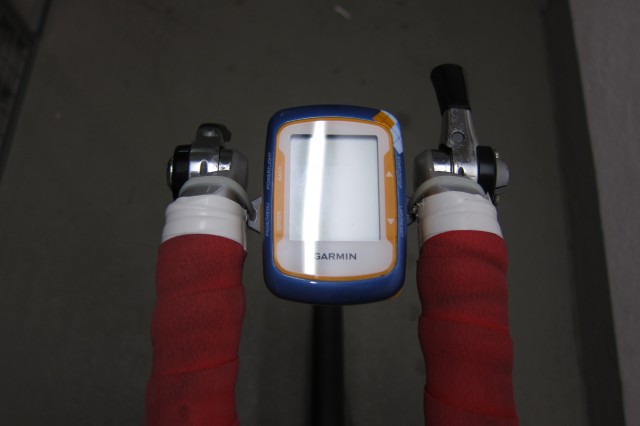
And with my Garmin Edge 500 placed in the mount.
Just on one level with the top end of the extensions.
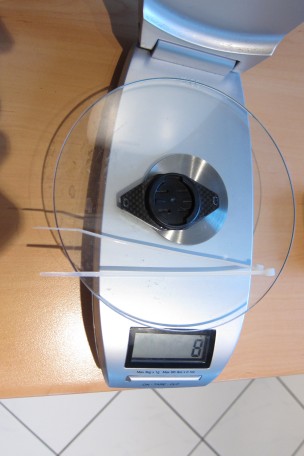
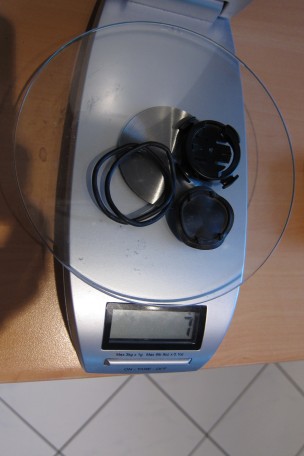
The weight of the bike mount including the cable ties is just 1g more than the standard Garmin mount including the rubber ties.
In total, it took me about 60 minutes to build the computer mount and I am confident that this is going to be a durable and well working solution.
Custom made Garmin compatible bike mount for Sony Xperia active
Since August 2010, I use a Garmin Edge 500 cycling computer on my triathlon bike, my mountain bike and in a couple of weeks also on our Chariot Cougar Child Carrier while running. November 2011, I bought a Sony Xperia active smart phone since it basically can do everything that my Garmin does: It is ANT+ compatible, features an integrated GPS receiver and even includes a barometer. There are plenty of sport apps available for Android which can be used for running, cycling and plenty of other activities.
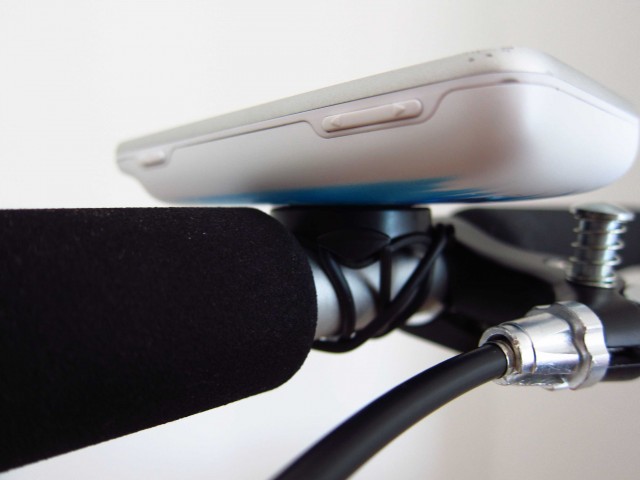
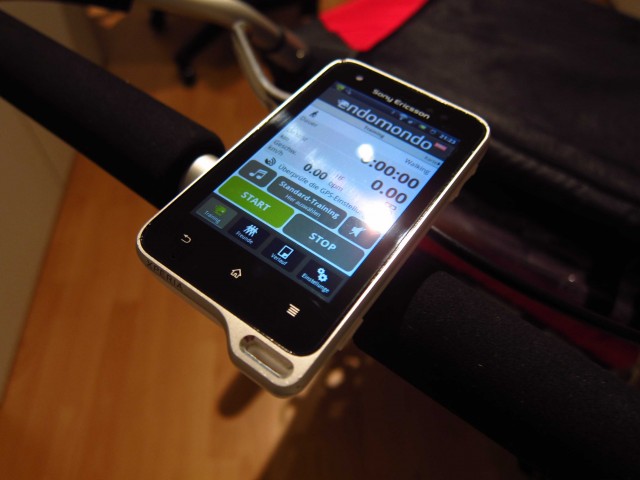
Because the Xperia active can be paired to all the existing Garmin ANT+ sensors on my bikes, I thought that it might be a good idea if it could also “pair” to my existing Garmin bike mounts. With this blog, I would like to show you how I achieved just that.
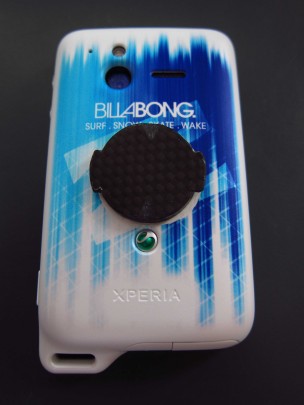
First of all you’ll need an extra cover for the Xperia active. I bought the Billabong edition which included two extra covers.
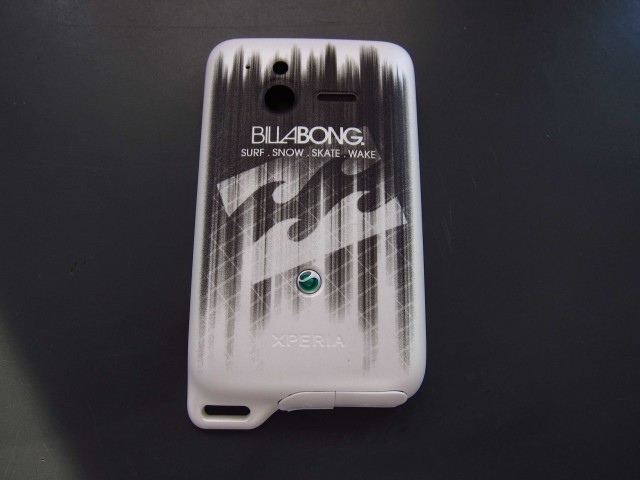
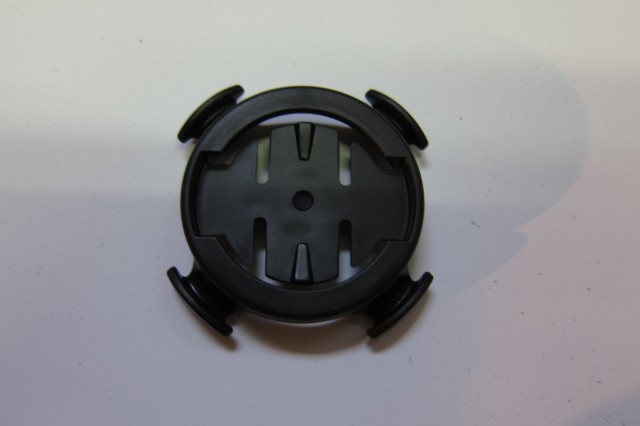
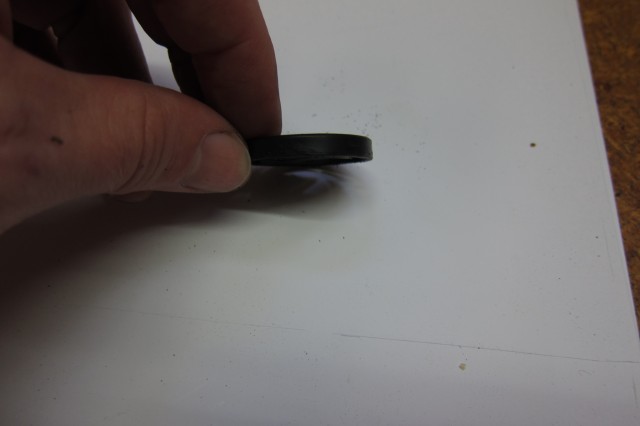
After that, I measured the dimensions of the Garmin Bike mount.
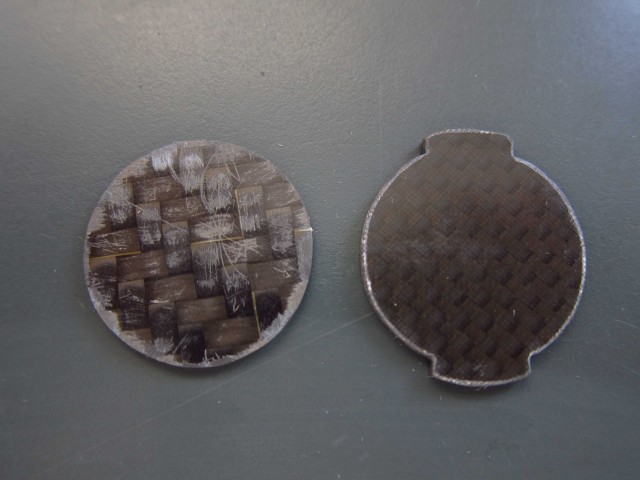
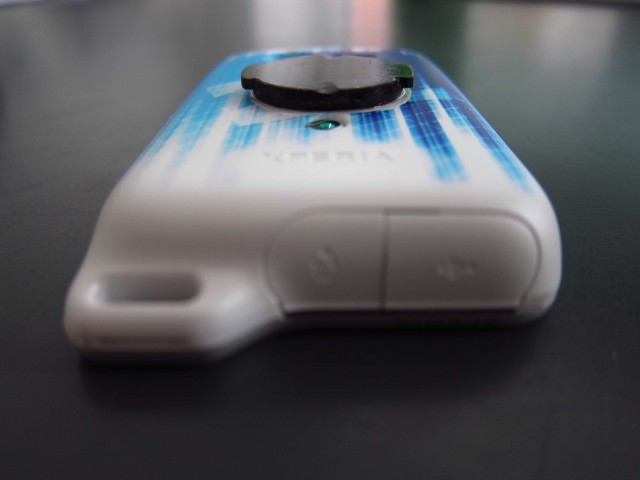
I figured that I would need two plastic discs to replicate the Garmin mount. The first one should have a diameter of 25mm and a thickness of 1.45mm. The second one should also have a diameter of 25mm, but with two extensions of 1.25mm lenght and 10mm width. The thickness of the second disc should be 1.75mm. I chose carbon fiber as the material, but any other plastic should be fine as well.
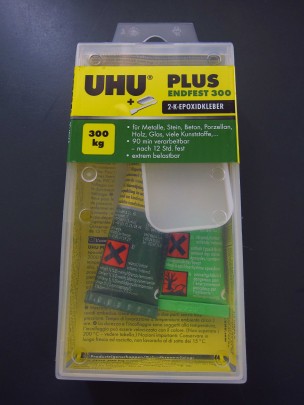
Now I needed to glue the two discs on the cover – I chose UHU plus to do so. Essentially, UHU plus is a 2K epoxid glue which can be cured at 70°C in 45 minutes.
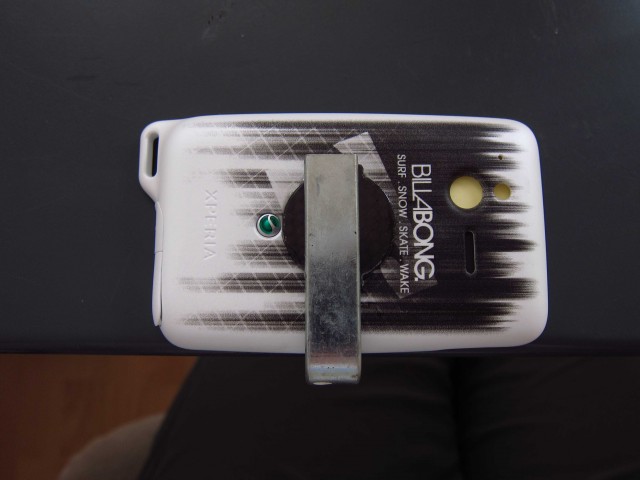
During my first attempt to glue the carbon discs onto the cover, I took a clamp and fixed it to my desk.
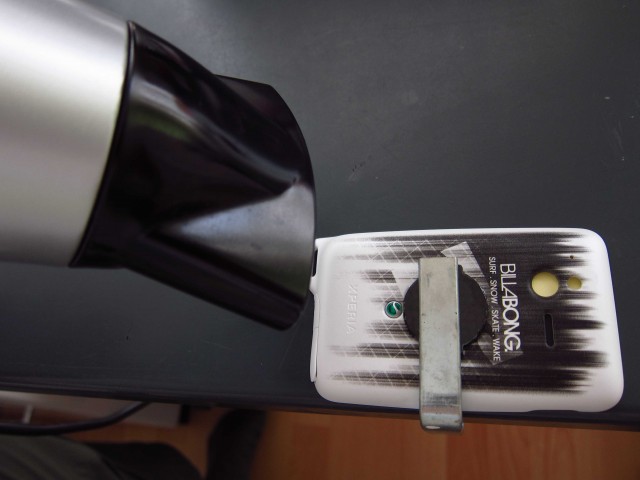
Afterwards, I used a hair dryer to speed up the curing process.
While performing a static load test, I had to realize that before gluing, I should have removed the Billabong graphics on the cover because this was the breaking point. So I took the second cover, scratched of the graphics and glued the carbon discs for the second time. To ensure a proper curing process, I put it into our oven at 70°C for 45 minutes.
This time, the result was better withstood the static load test.
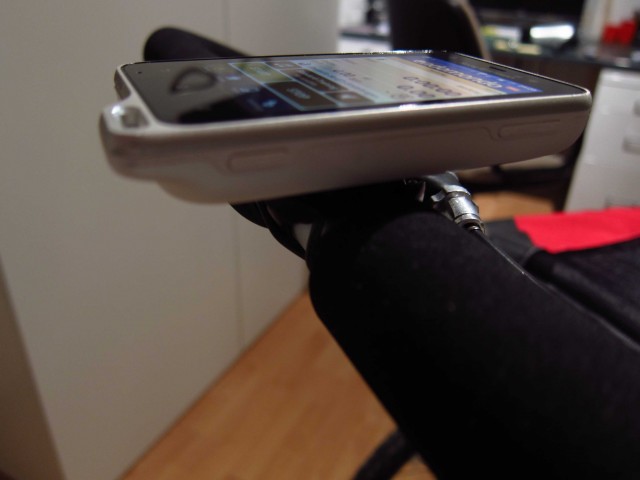
Sony Xperia active – mounted to our Chariot Cougar using a standard Garmin bike mount. Nice!
Of course I am going to start the Xperia active during cycling from now on. I will report about the long term reliabilty of this bike mount.
Ein (vorerst) letztes Mal Wandern in Hongkong
Die beiden letzten Wochen in China sind angebrochen – höchste Zeit, noch einmal eine Wanderung in Hongkong zu unternehmen.
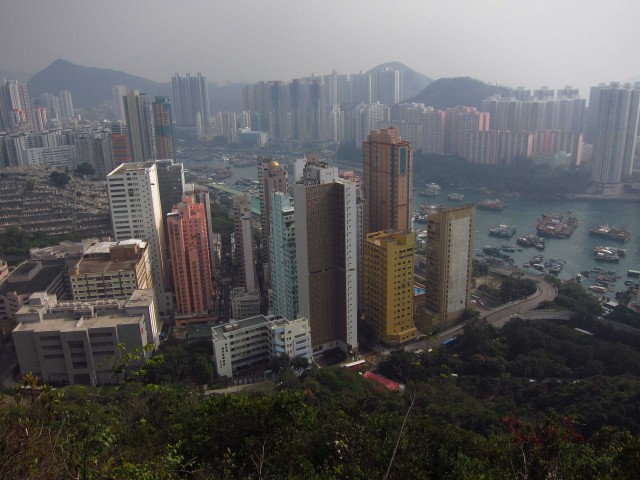
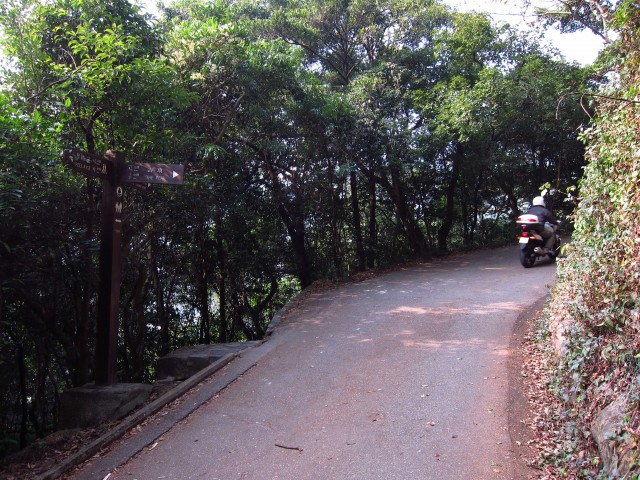
Nachdem ich mit dem Bus von Shenzhen nach Hongkong Central gefahren war, ging es mit der Buslinie 70 weiter nach Aberdeen, auch “Little Hongkong” genannt. Dort bin ich auf den “Hongkong Trail” eingebogen, ein insgesamt 58 km langer Wanderweg auf Hongkong Island. Schon nach einigen Metern bergauf hatte man einen prächtigen Blick zurück auf Aberdeen.
Es ist in Hongkong übrigens üblich, dass Friedhöfe an einem Bergrücken mit Blick auf Wasser angelegt werden – nach Feng Shui Prinzipien bringt das selbst nach dem Tod noch Glück :-).
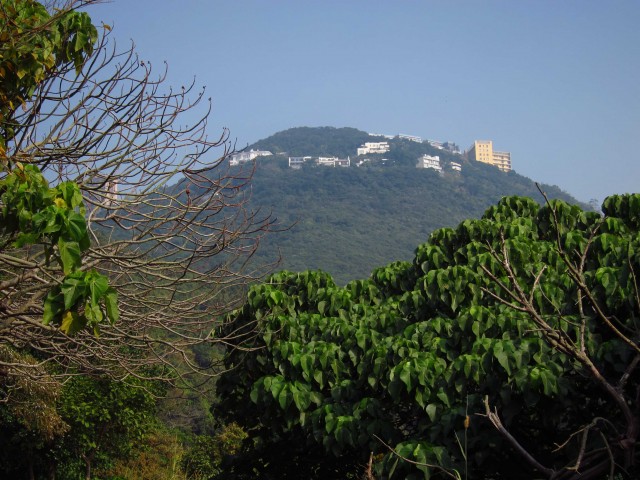
Weiter ging es entlang des Hongkong Trails in Richtung des Pok Fu Lam Reservoirs, nun mit Blick auf die Villen am Victoria Peak.
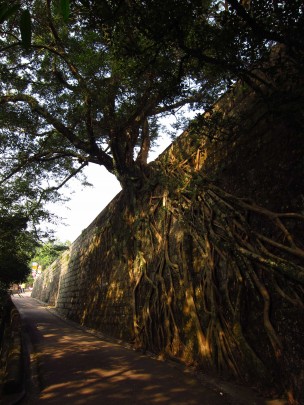
Die Vegetation in Hongkong ist einfach beeindruckend – kaum zu glauben, dass ein solch großer Baum an einer Steinmauer wachsen kann.
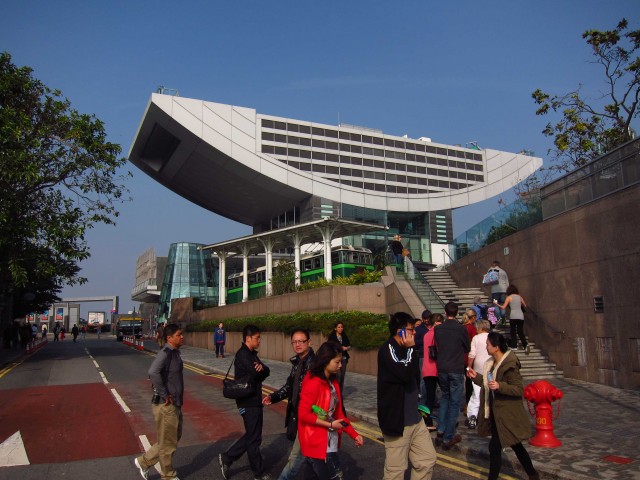
Irgendwo habe ich dann einen Abzweig verpasst und stand auf einmal schon am Ziel meiner Wanderung, der Peak Gallery.
Also ging es wieder zurück bergab. Und siehe da, hier war der verpasste Abzweig.
Weiter ging es vorbei an einer Vielzahl von kleinen Wasserfällen, die in Hongkong übrigens nummeriert sind.
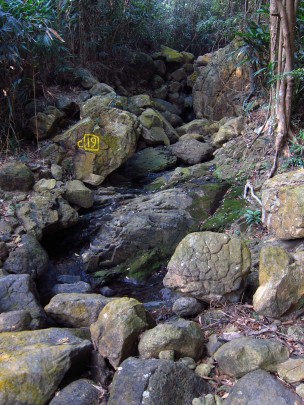
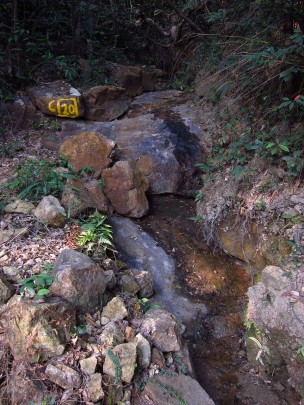
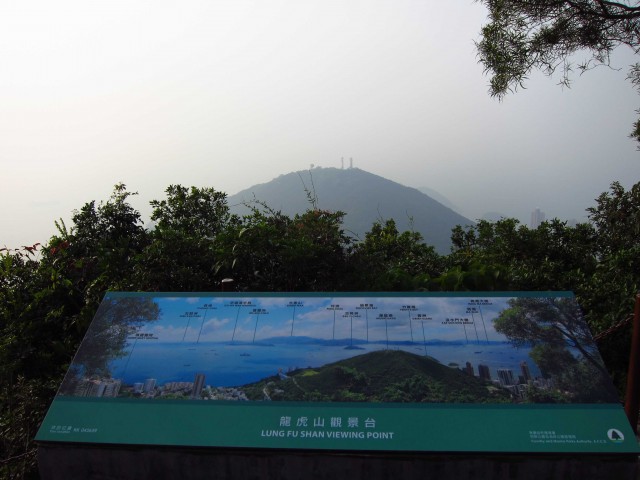
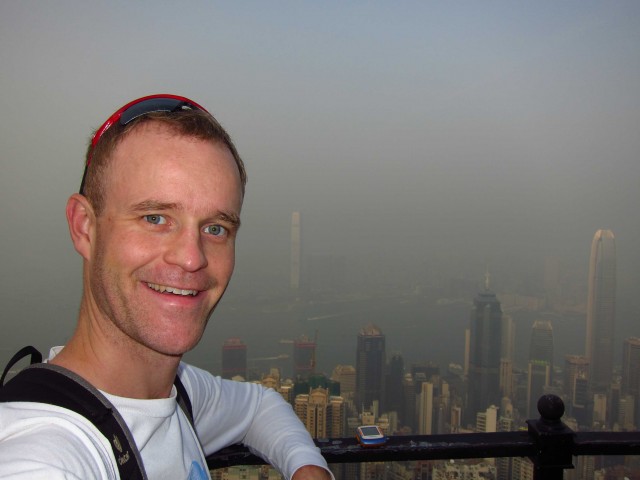
Leider war es heute recht diesig, sodass man die Aussicht nur bedingt genießen konnte – die Schilder helfen dabei sich vorzustellen, was man andernfalls gesehen hätte.
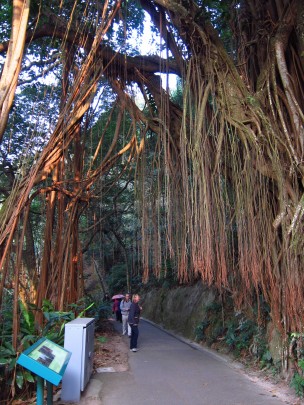
An der Lugard Road entlang des Victoria Peak steht ein sehr schöner “India Rubber Tree”. Die Wurzeln dieses Baums wachsen aus den Ästen und nehmen die Luftfeuchtigkeit auf – davon gibt es in Südchina ausreichend :-).
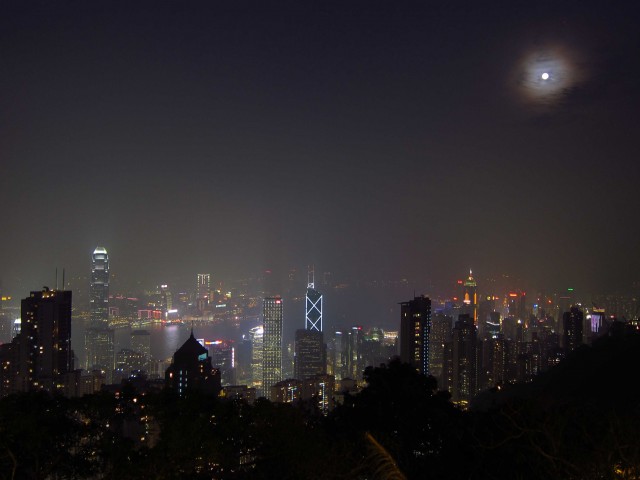
Nach insgesamt 15,7 km war es dann doch Zeit für etwas Essen, also habe ich mich dazu entschieden, bei “Bubba Gump’s” einzukehren. Kann ich allerdings nicht empfehlen, das Preis-Leistungs-Verhältnis war ziemlich schlecht. Nach dem Essen dann nochmal schnell einen Blick auf die Skyline von oben.
Am besten kann man diesen Anblick per Video nachvollziehen.
[youtube]http://youtu.be/ewF26KCQUhg[/youtube]
Mit dem Bus bin ich dann wieder nach Central gefahren und habe ein letztes Mal mit der Star Ferry nach Kowloon übergesetzt, um noch einmal die Symphony of Lights zu genießen. Danach ging es dann wieder mit dem Bus zurück nach Shenzhen. Es war sehr schön, nochmal einen Tag in Hongkong zu verbringen – ohne Katja macht es allerdings nur halb soviel Spaß.
“Nothing gives one person so much advantage over another as to remain cool and unruffled under all circumstances.”

