For the last three years, I have been looking for a new triathlon bike. There are lots of fantastic bikes out there, including but not limited to the Cervélo P5, Trek Speed Concept, Specialized Shiv, BMC timemachine TM01, Felt IA, Canyon Speedmax CF and more. After a long lasting and very careful analysis of aerodynamic performance, Kona bike stats and more, I finally made up my mind this year which one to buy: The Scott Plasma 3. Introduced in 2010, this bike features most of the design elements as most of today’s superbikes: Deep aero sections, an integrated stem, a rearwheel cutout and the like. But to me, one point where the Scott Plasma 3 sticks out of the mass is it’s mechanical simplicity (for a superbike!). There are no integrated brakes and so on. Nevertheless, in most aerodynamic comparisons, the Scott Plasma 3 is one of the best and its real life performance is equally impressive: Triathlon wins of Marino Vanhoenacker, Sebastian Kienle, Luke McKenzie as well as Time Trial wins of Team Orica Green Edge underline the capabilities of this bike as well as its riders.
Aerodynamic Performance
There are at least as many Aerodynamic tests as there are triathlon bikes. Most of them tend to show that the bike of the manufacturer that conducted the test is superior ;-). And most of the test results cannot be compared to other test results for at least three reasons:
- Different test protocols: E.g. different wind speeds, frame with rider or without, wheels moving or not, different sweep angles and so on. If bike A was tested better than bike B according to test protocol X, this doesn’t necessarily mean that the ranking could not be the other way around according to test protocol Y.
- Unfortunately, most tests include only a few selected bikes. I have yet to see an Aerodynamic test that includes all current superbikes.
- A relatively new trend is that the bike of the manufacturer which is tested is compared to a group of other bikes and not individual bikes. Cervélo is the most prominent example with their P5 white paper.
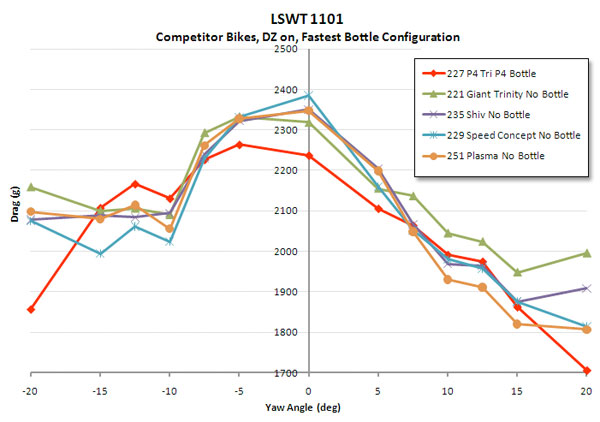
Out of my perspective, the only meaningful Aerodynamic test that includes the Scott Plasma 3 was conducted by Cervélo in 2011 and published on Slowtwitch. I think the most meaningful chart is with a rider onboard and the fastest bottle configuration. Please note that in this test, the Cervélo P4 was configured in the fast possible way (no spacers, etc.) and all other bikes were configured to match the fit coordinates of the P4. This means that the Scott Plasma 3 was not configured with the flat stem but with a raised one. This did most certainly not improve the aerodynamic performance of the Scott Plasma 3.
Image source: Slowtwitch, http://www.slowtwitch.com/Tech/Cervelo_P4_in_the_Tunnel_1929.html
Looking at the chart, it is quite obvious that under wind angles of -5° to +5°, the Scott Plasma 3 is not the most aerodynamic bike in this test. However, things change in wind angles of -15° to -7.5° and 7.5° to 15°. Under these conditions, the Scott Plasma 3 is either the best bike (non-drive side) or the second best (drive side). And according to an exhaustive analysis of Trek (Speed Concept White Paper, Page 11), effective wind angles of 7.5° to 12.5° occur most often in real life for riding speeds between 29 and 40 km/h.
Overall, the Scott Plasma 3 seems to be the best compromise between top-notch aerodynamic performance and mechanical ease to maintain and to travel with.
Built-Up:
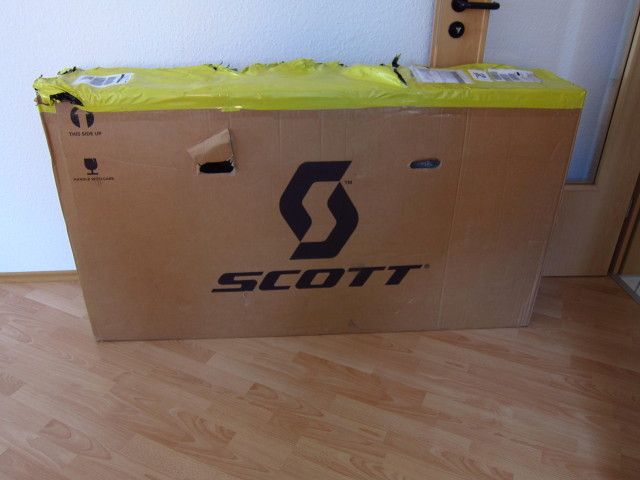
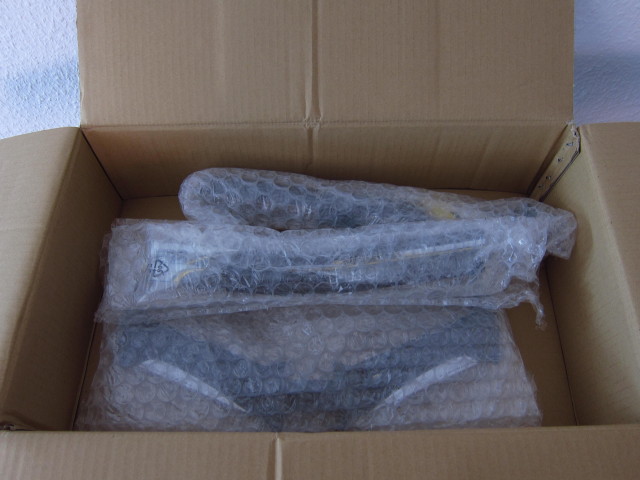
I decided to built up the bike by myself, so I ordered a frameset only. Finally, mid of September, the magic box arrived 😉
It was really hard to take pictures whilst unboxing – yet I wanted to document what’s in the box.
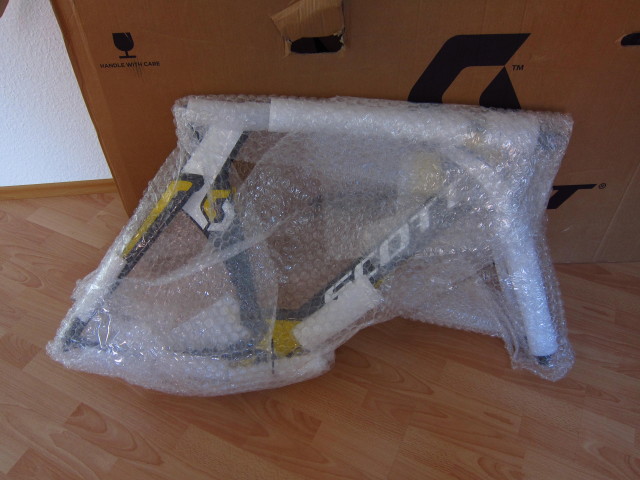
The frame was properly packed to avoid dings or scratches.
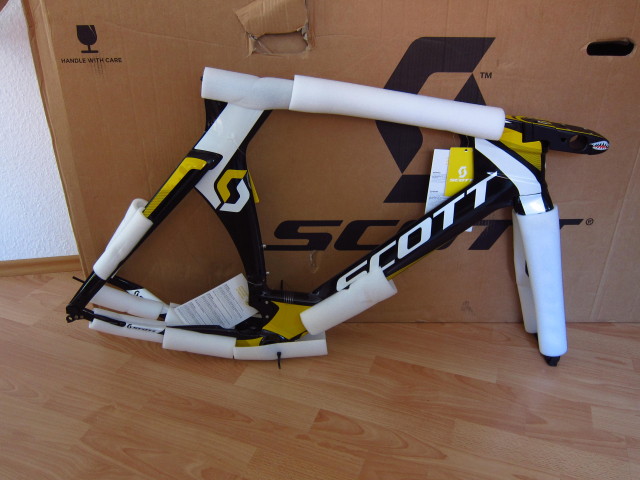
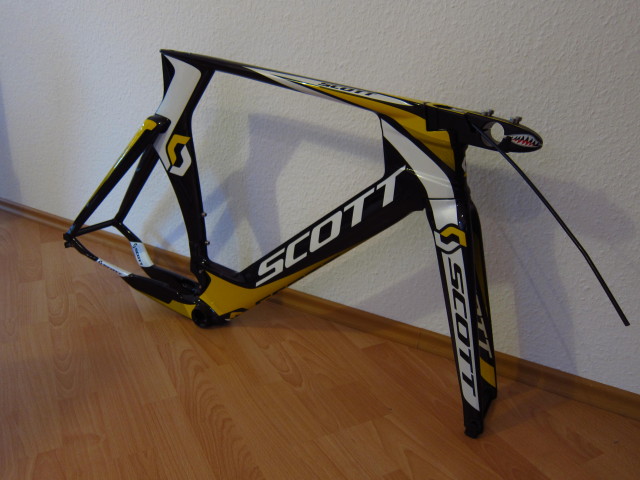
It already looks fast, even without wheels attached ;-).
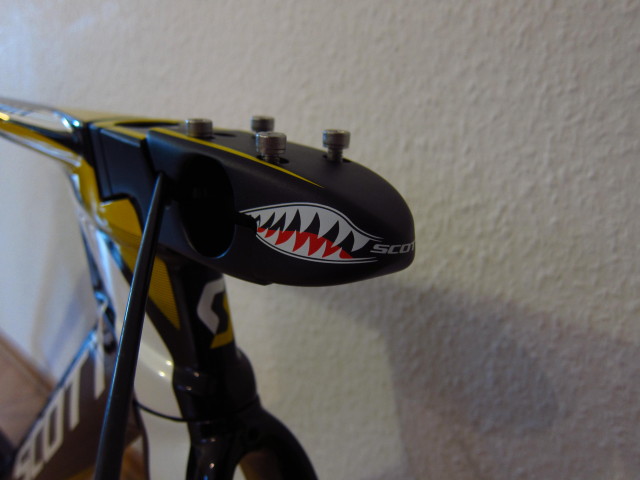
There are two different options of the Scott Plasma 3: The “Premium” version is designed for mechanical shifting and features a rising stem. The “TT” version is designed for electronic shifting with internal cable routing through the flat stem. I decided to go for the latter. Basically, the Scott Plasma TT is still one of the very few superbikes which allow hidden cable routing at the front. And the stem graphics are quite attractive as well.
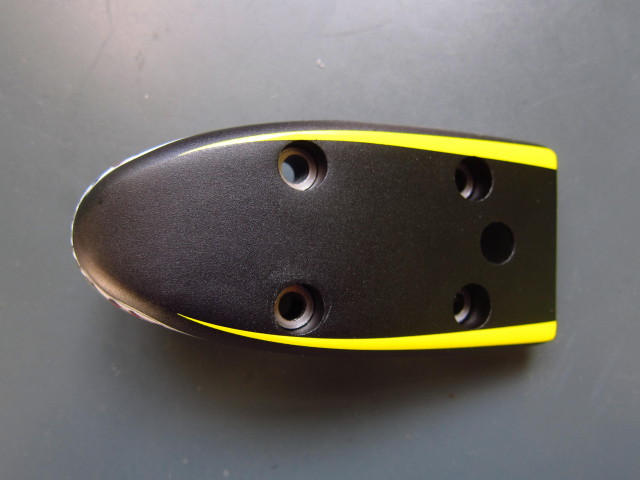
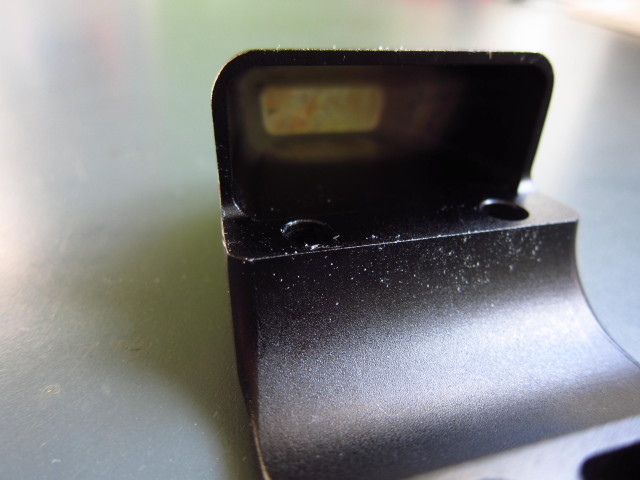
The top cap of the stem is fastened by four bolts…
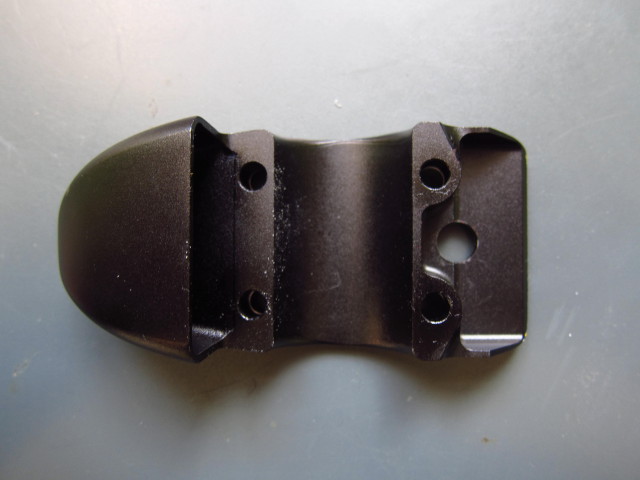
…and milled out from the inside. Nevertheless, the complete stem weighs a rather hefty 451g.
Other than that, the box includes other components,
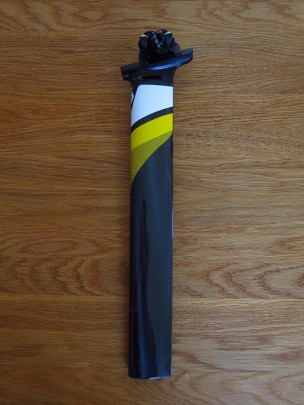
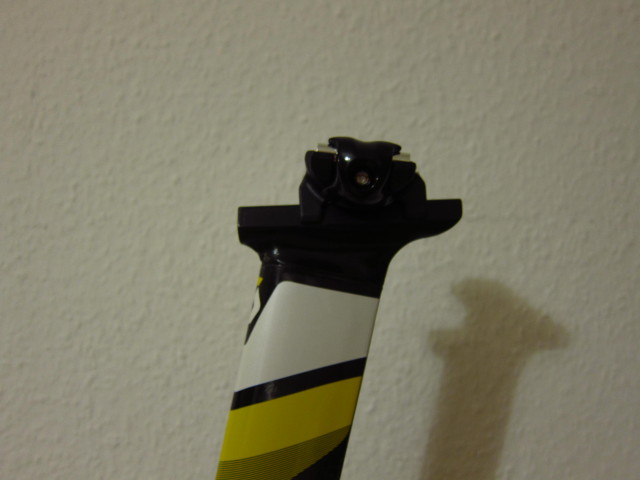
a seatpost which needs to be cut to the appropriate length,…
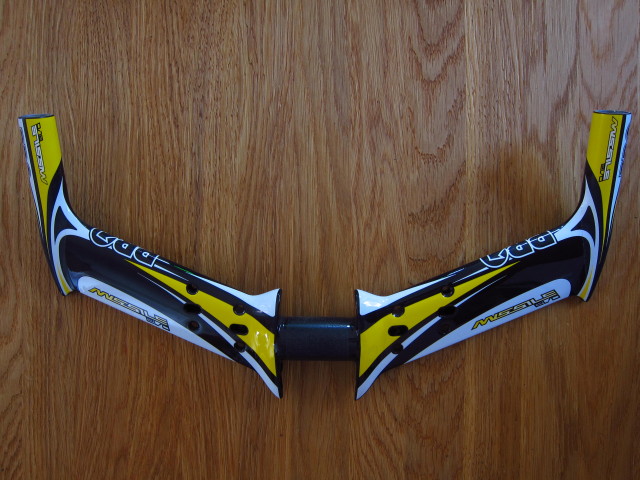
a Pro Missile Evo Basebar,…
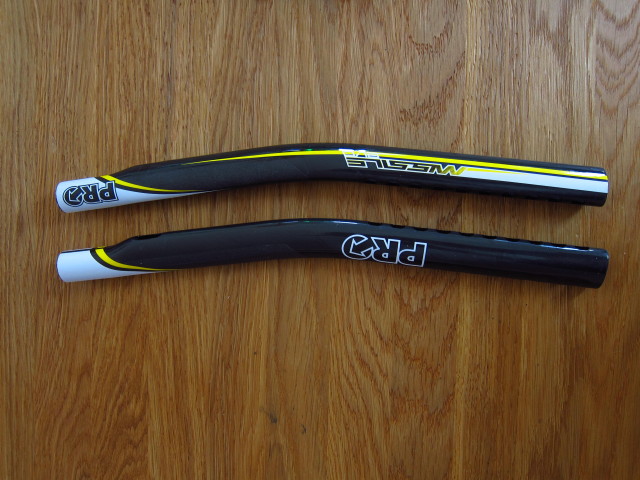
Pro Missile Evo Extensions as well other small items like headset bearings, a cutting tool for the seatpost and an instruction manual.
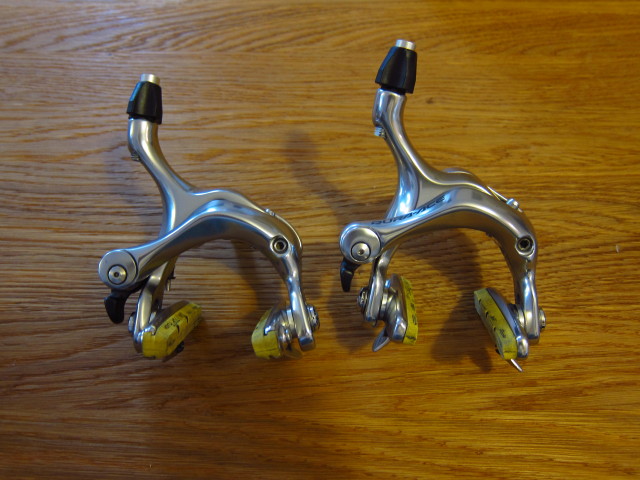
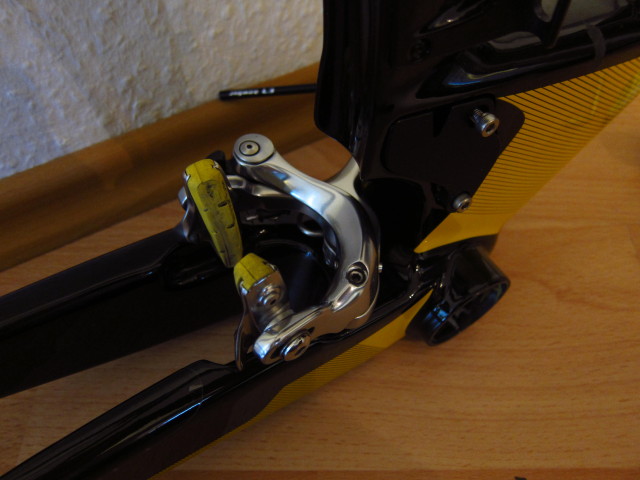
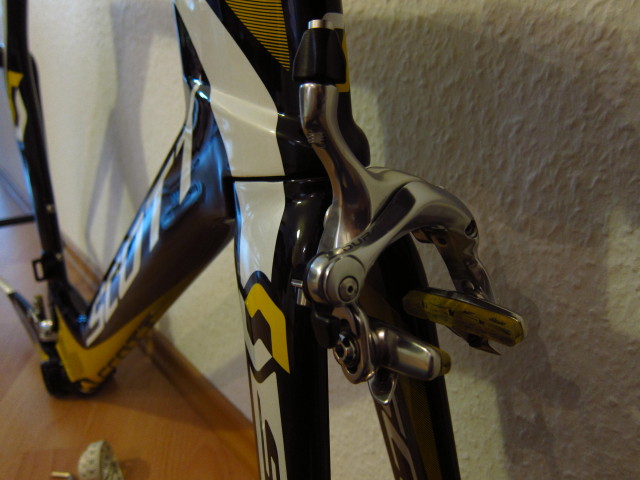
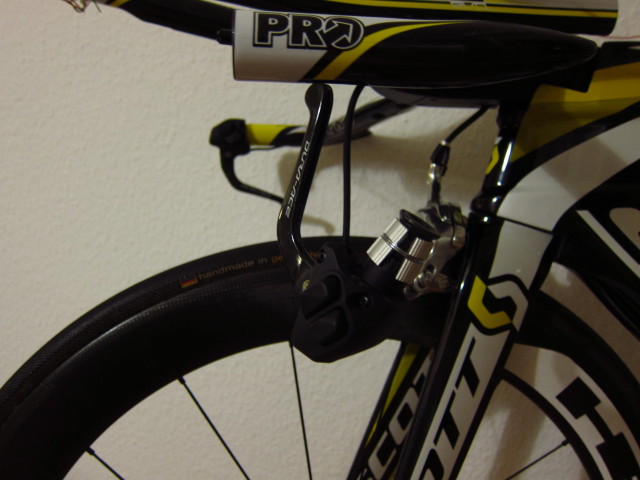
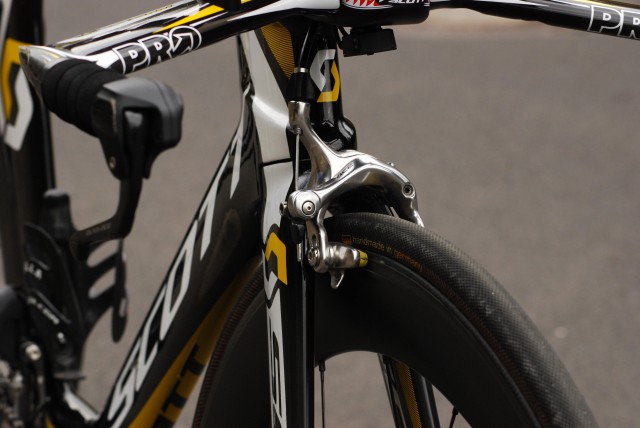
First of all, I started mounting the brakes. While the frame is designed for standard road brakes, …
the rear brake must be a Shimano BR-7800 or BR-7900 model to avoid a collision of crank and brake.
Brake installation was quite easy and done in about two minutes. This is really one of the big benefits of this frameset.
Front brake installation was as easy.
At this stage, I would to give an recommendation regarding the optimal sequence to install the brake and Di2 cables:
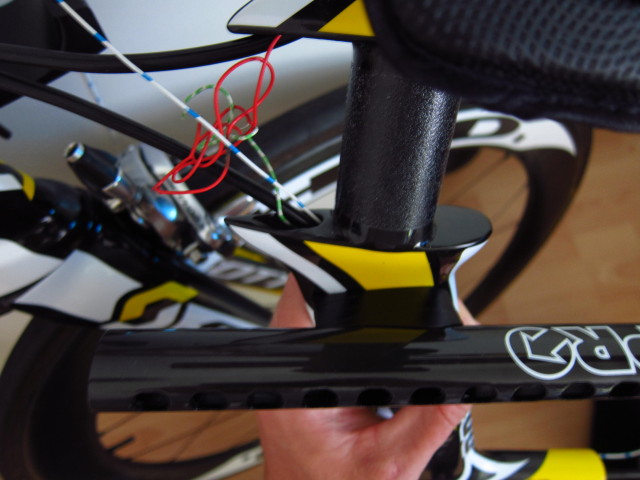
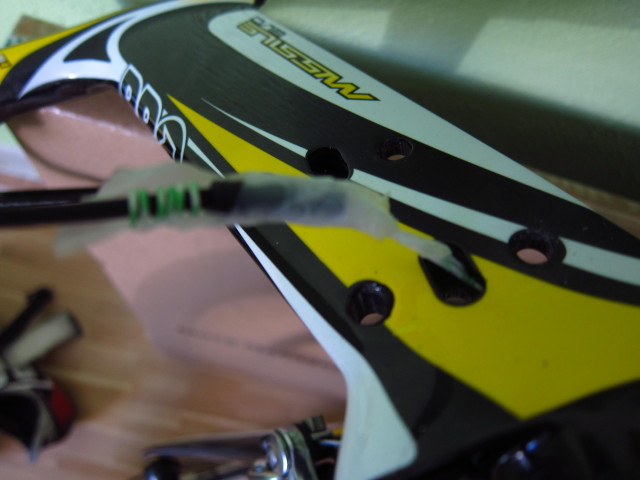
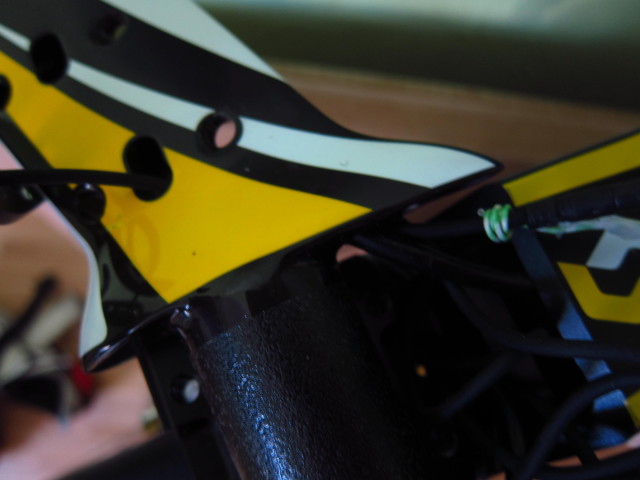
- Push rear brake inner wire from bottom bracket to stem, beginning with the plumb
- Attach the Di2 cable (950mm) to the brake wire using electric tape and pull back the brake wire from stem to bottom bracket
- Loosen Di2 cable
- Push rear brake inner wire again from bottom bracket to stem, beginning with the plumb
- Push rear brake outer housing over the inner wire, from bottom bracket to stem
- Pull out rear brake inner wire
- Push outer housing through base bar
- Mount brake lever
- Push inner wire through brake lever, base bar and stem to the bottom bracket. Recommendation: Do not attach base bar to stem or stem to fork before doing that. The radius of the outer housing will be small which makes pushing the inner cable through nearly impossible.
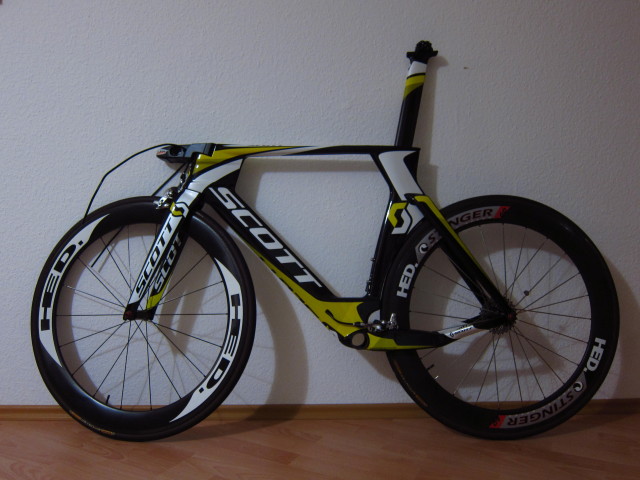
With wheels and seatpost mounted, it starts to look like a bike.
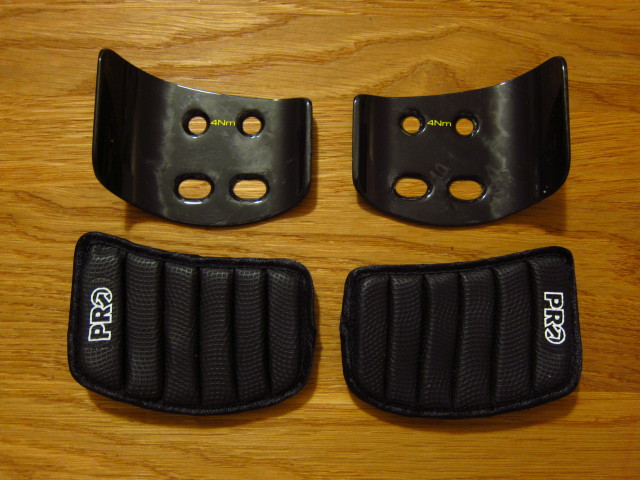
The carbon pad holders are mounted directly to the extensions. The gel pads appear to be quite comfortable.
With basebar and extensions mounted, all I wanted to do is riding this bike as soon as possible.
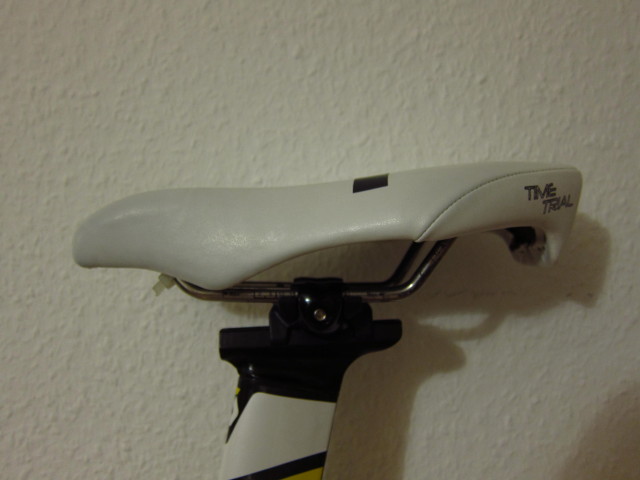
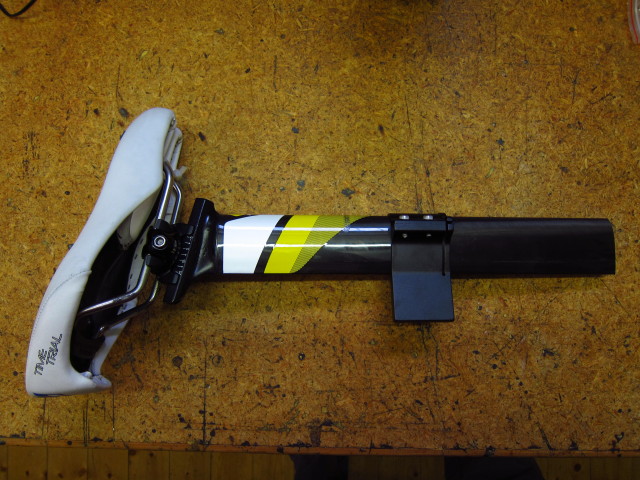
Wait, a saddle would be helpful as well – the Ritchey Seat Post mount proved to be a little bit fiddly.
I will reuse my ISM Adamo Time Trial saddle also on the new bike.
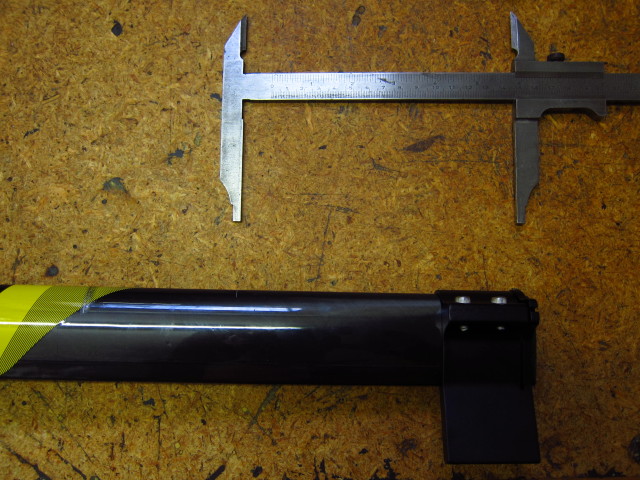
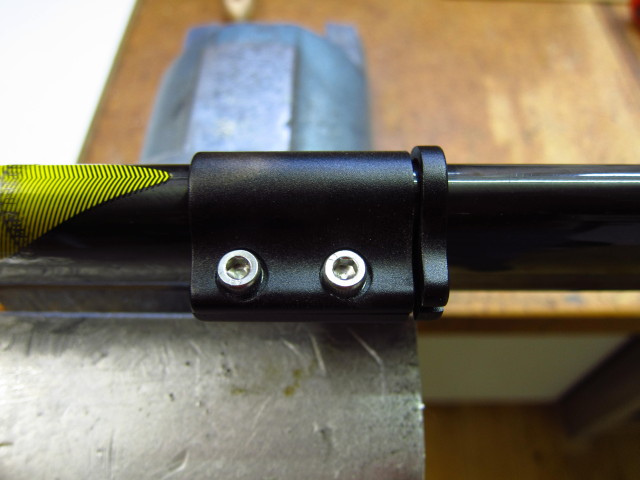
To cut the seatpost to it’s correct length, I measured the distance between pedal axle and top of the saddle on my old bike and afterwards measured the same distance on the new bike with the uncut seatpost. The difference between these two measures was the distance I needed to cut off. I marked this distance with a caliper.
Afterwards, I moved the cutting tool to the mark and fastened the two bolts.
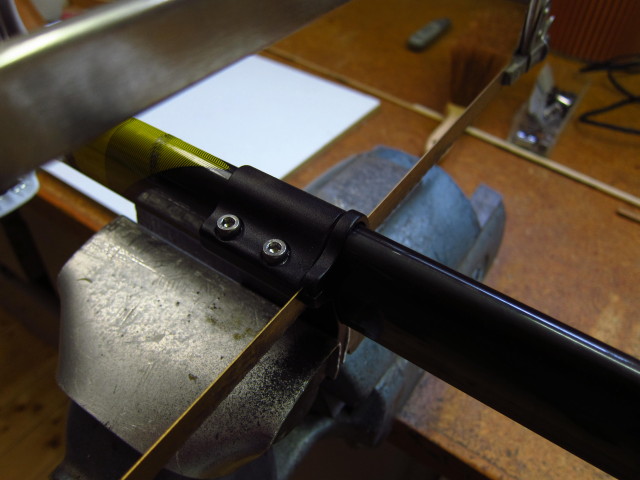
Then, I fastened the cutting tool in a bench vice.
Time for the saw.
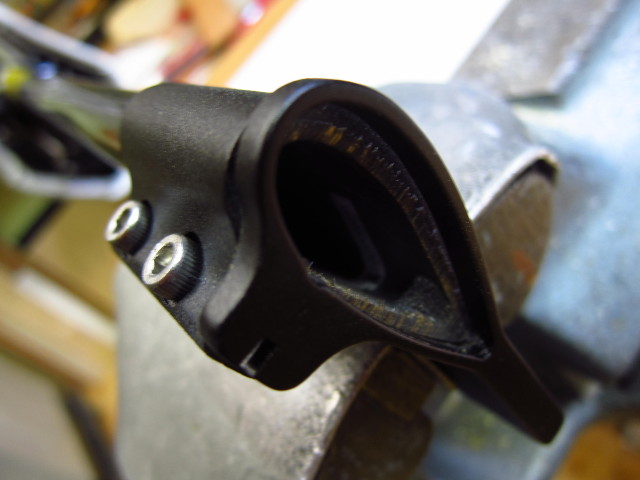
After a few minutes, the cut was complete.
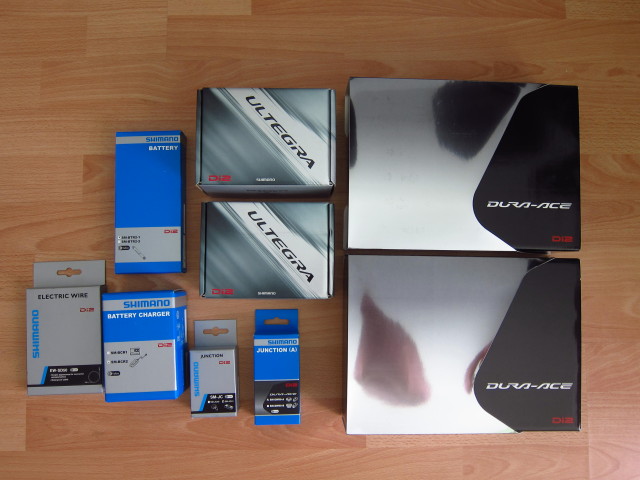
After installing the basic components, the more delicate part of the build commenced: The installation of Shimano Ultegra Di2 electronic shifting components.
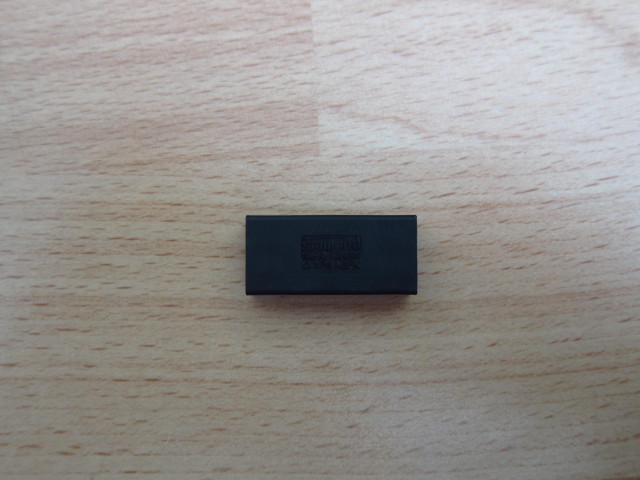
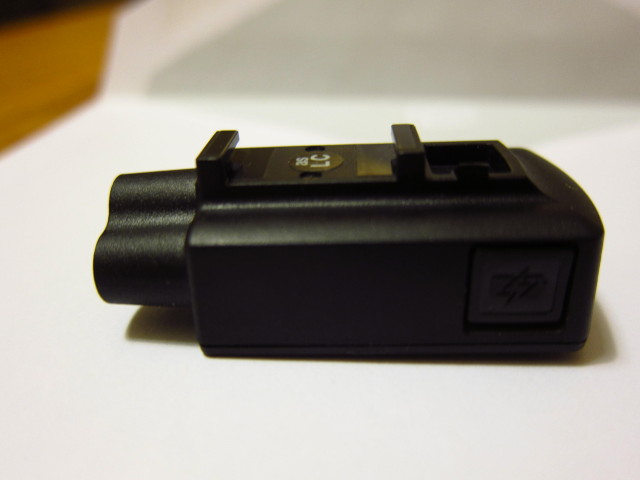
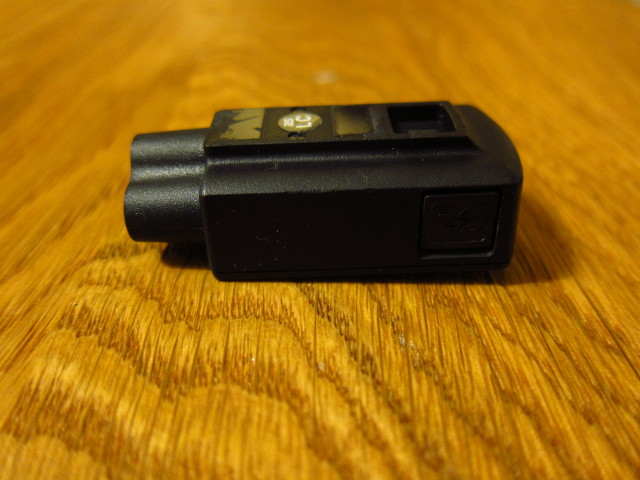
Those consisted out of the JC-41 Rear Junction Box,…
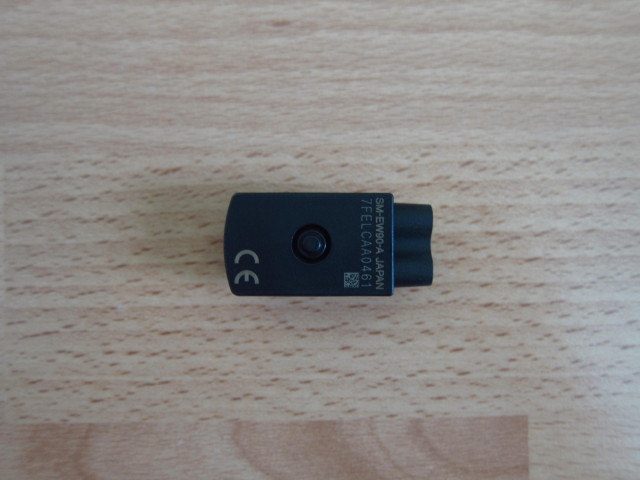
the SM-EW-90A Front Junction Box,…
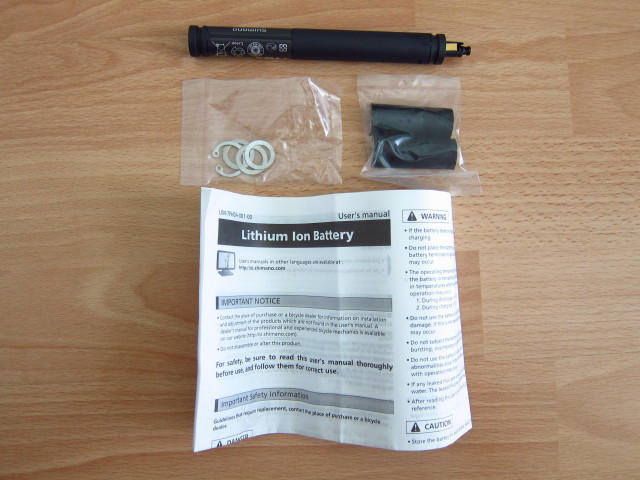
the SM-BTR-2 internal battery,…
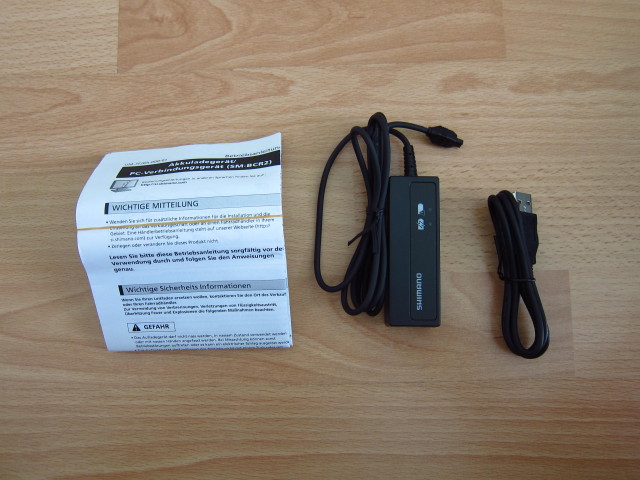
the SM-BCR-2 charger an PC connection,…
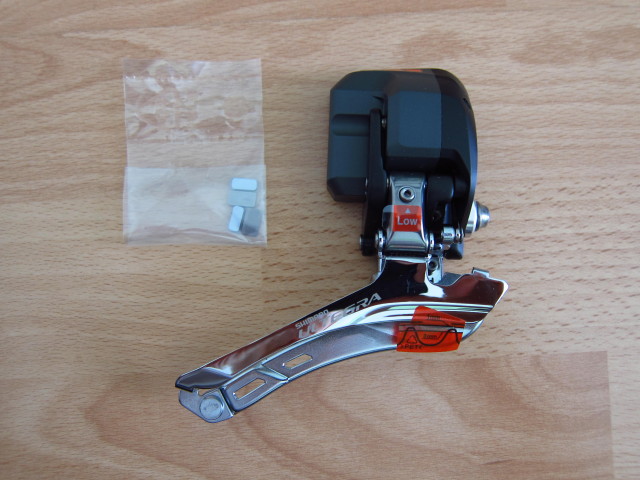
the FD-6770 front derailleur,…
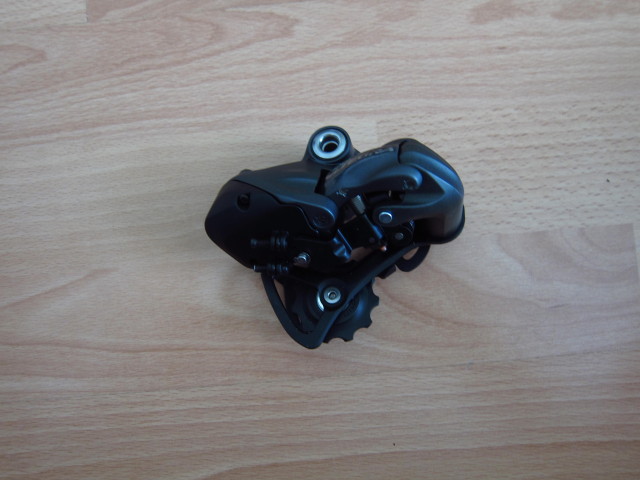
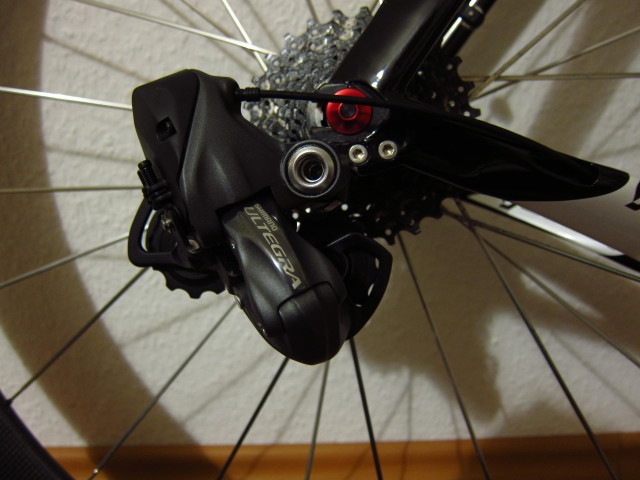
the RD-6770 rear derailleur,…
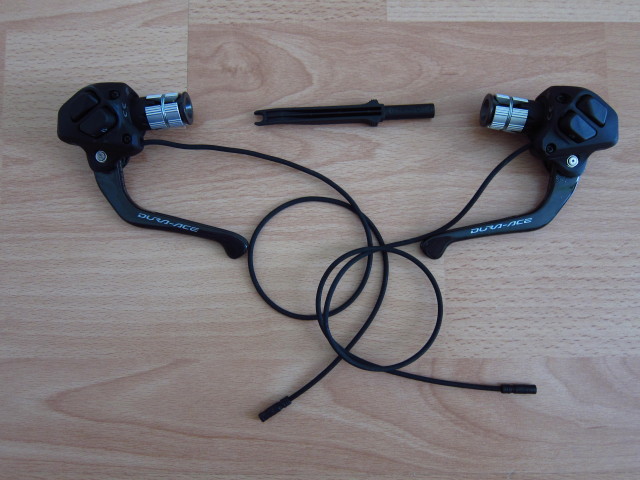
the ST-9071 brake shift levers and…
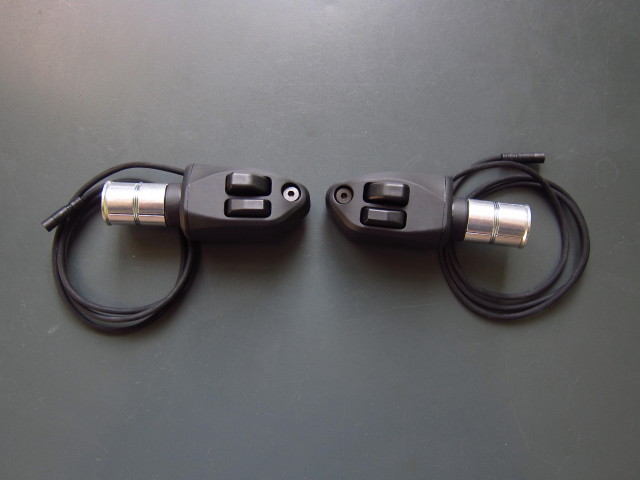
last not least the ST-R671 extension shifters.
The rear derailleur installation was quite easy, just one bolt which needs to be tightened against the RD hanger. The cable was routed from the rear entry to the bottom bracket, a cable length of 500mm is sufficient.
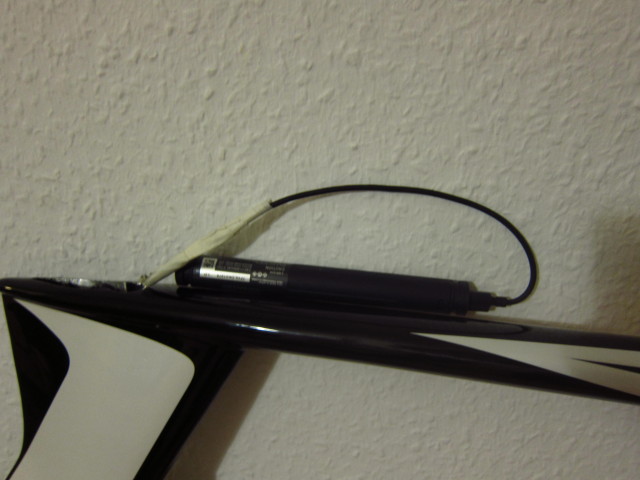
The internal battery was put into the seatpost. A cable length of 250mm is sufficient. However, to get the battery cable to the bottom, I had to route a brake cable from the bottom bracket to the seat post and pull the battery cable trough.
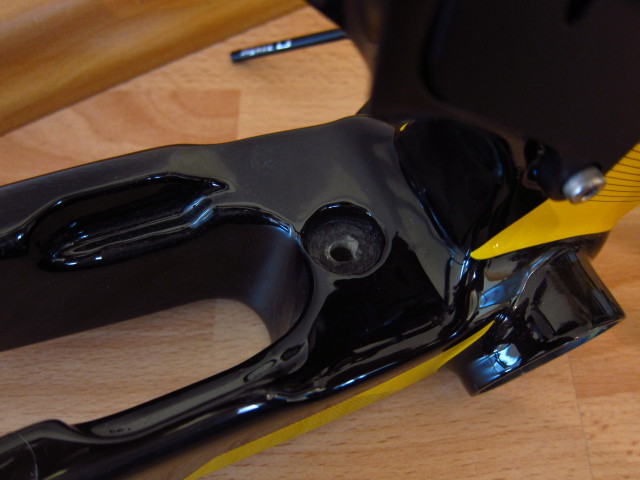
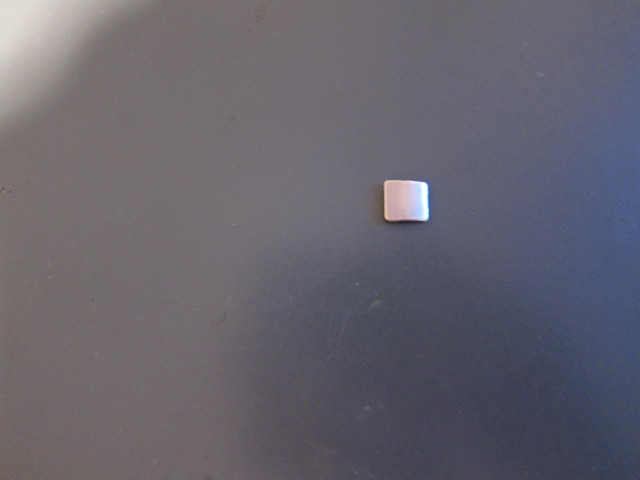
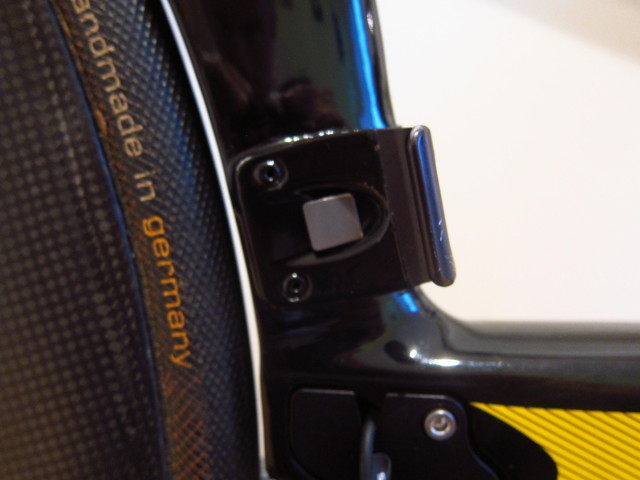
To mount the front derailleur, first of all a small metal plate needs to be attached to the frame.
This plate is for the front derailleur to push against.
After both derailleurs and the battery were installed, I connected all wires to the rear junction box and pulled one cable from the stem to the rear junction box. Finally, the bottom bracket and the crank could be installed. I reused the SRM SRAM GXP S975 Powermeter which was already installed on my previous bike.
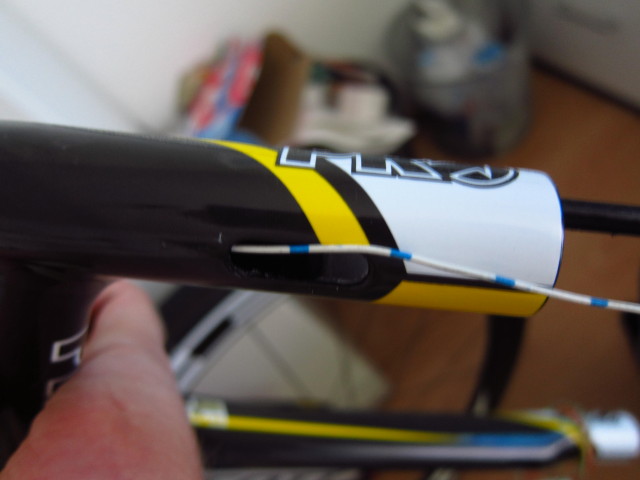
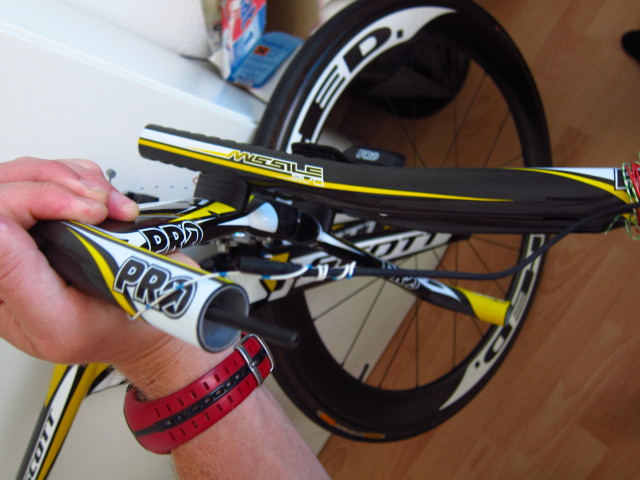
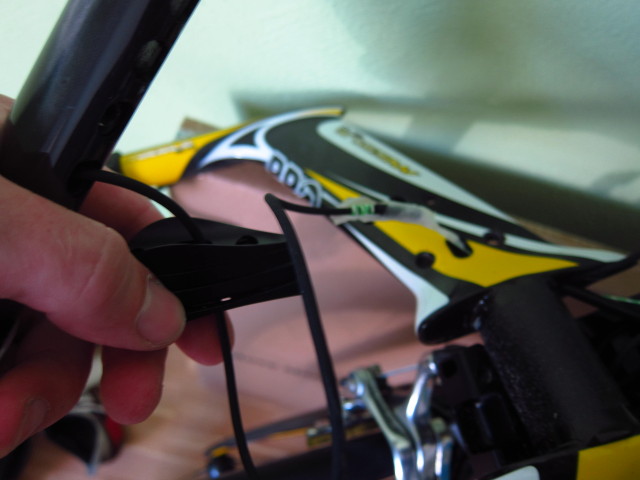
Now comes the rather tricky part – installing all cables in the base bar and the extensions. I started with pushing through the outer brake cables from the stem to the bull horns. Afterwards, I pushed through tiny cables to pull back the shifter wires.
Pushing the cables through the bull horns…
and pulling back the Di2 wires.
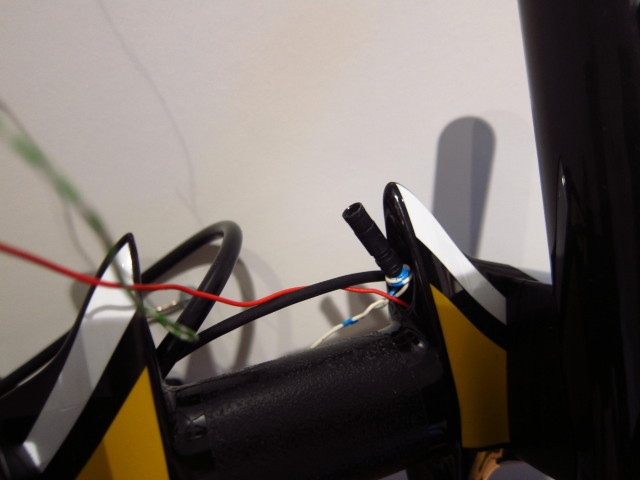
The first plug comes out of the base bar – three more to go.
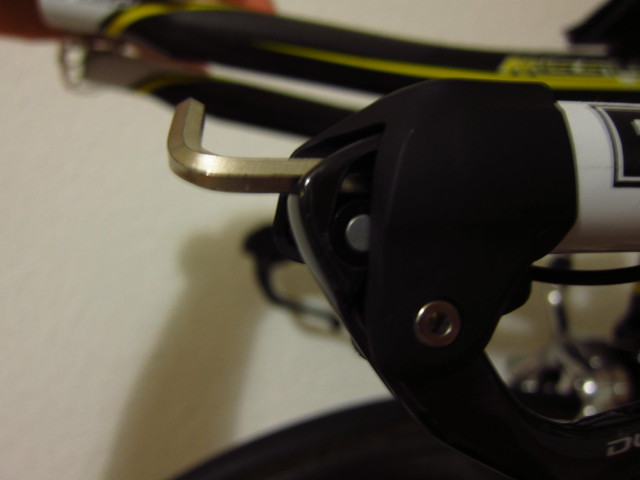
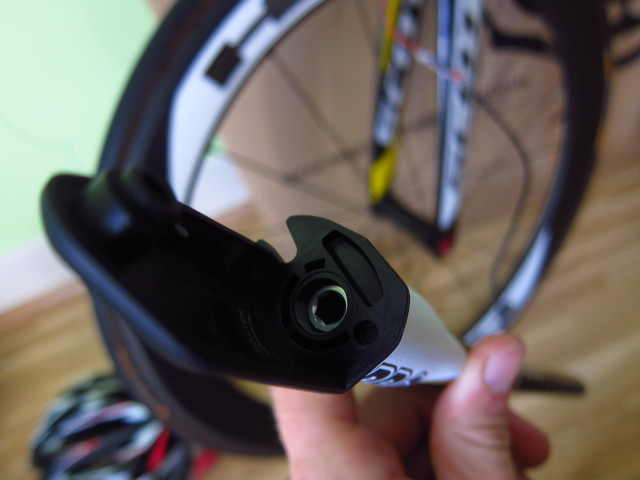
The brake shift lever dangling around the bull horn.
And fixed with a hex key.
The extension shifters mounted to the extensions.
The extension shifter cables have to run trough the spacers beneath the extensions…
and trough the basebar.
The plugs will finally arrive at the cavity of the stem.
The original plan was to put the front junction box into the cavity.
Despite grinding off some plastic extensions of the front junction, I wasn’t successful to achieve that – the box is a couple of millimeters to long.
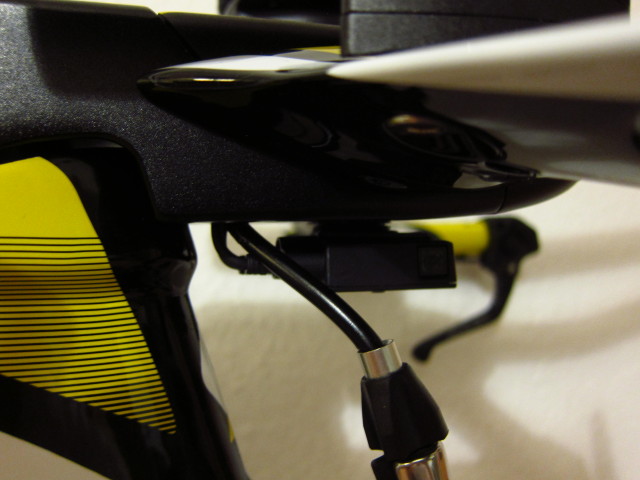
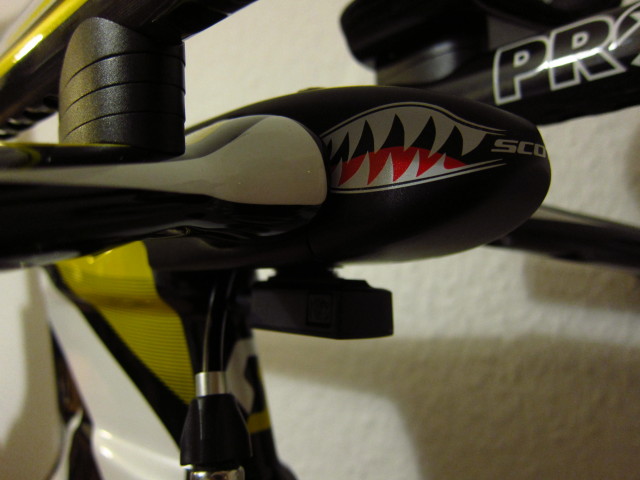
So I decided to mount the front junction directly beneath the stem and to merge all Di2 wires by a custom junction box within the stem – as a result, only one shifter cable will leave the stem.
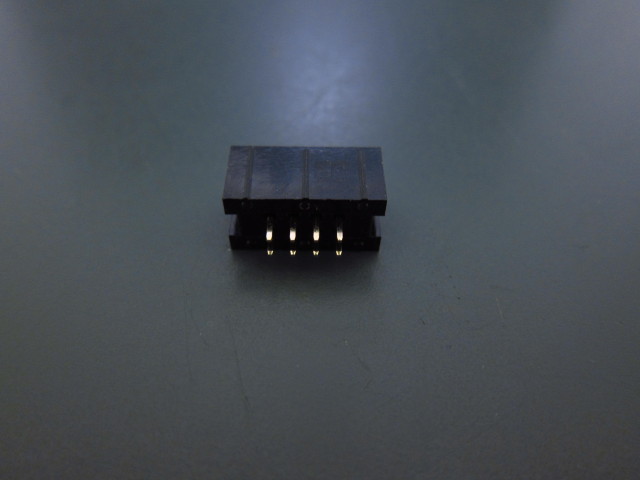
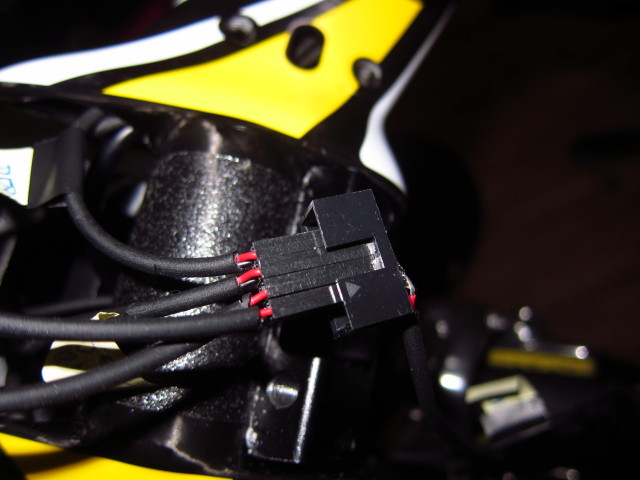
This custom junction box is based on a plug most commonly used on PC mainboards.
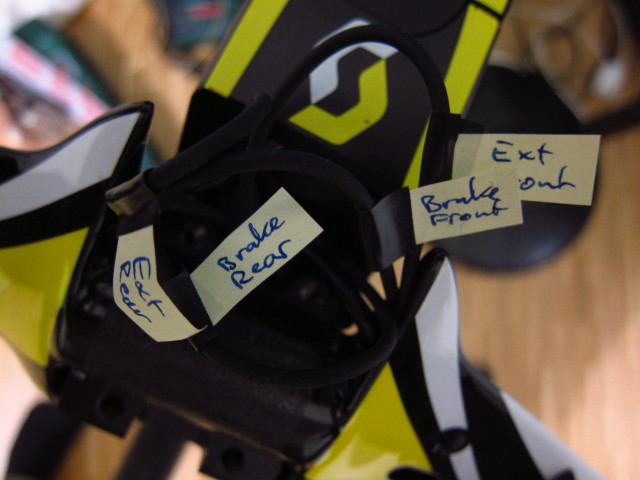
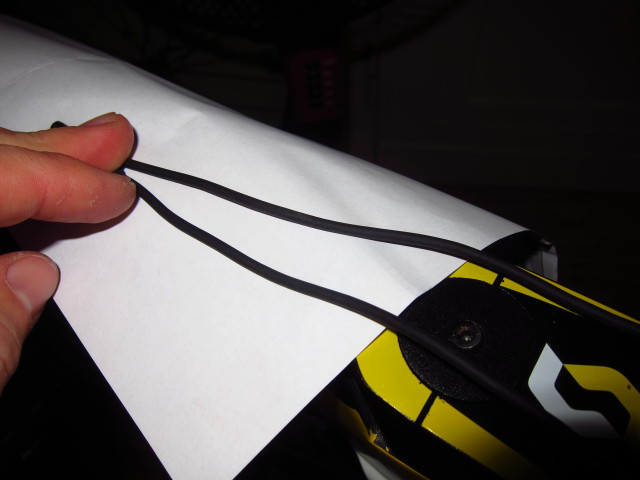
Before cutting of the original Shimano plugs, I labeled all cables.
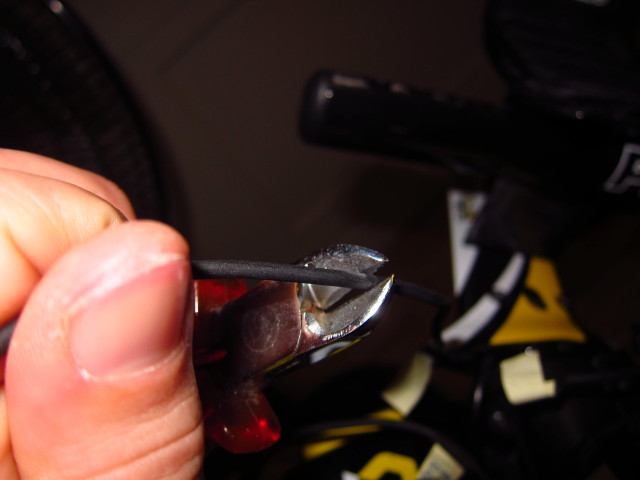
After that, I determined the necessary remaining cable length…
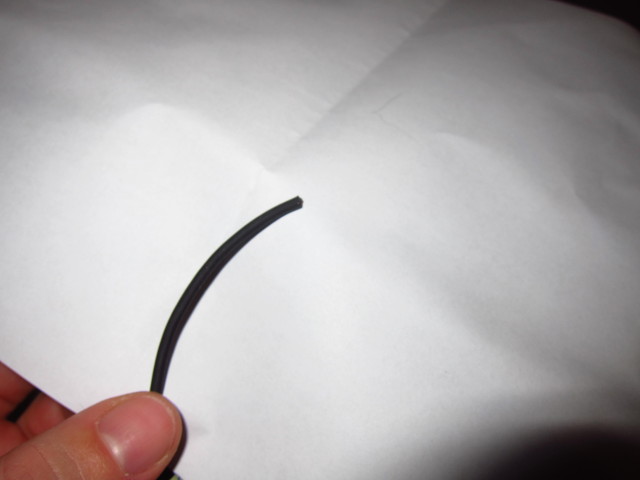
and made the cuts.
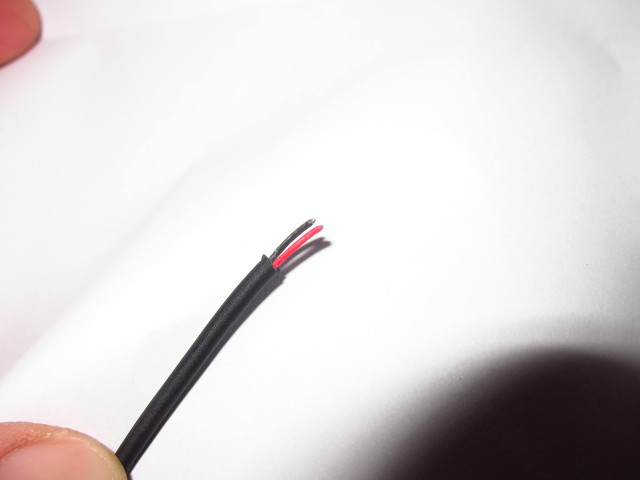
The newer Shimano electronic shifting gruppos use a so called “eTube platform” which is, from an engineering perspective, a CAN bus system. This system utilizes only two wires for both power supply and signal transmission. So it wasn’t a surprise to find only two wires after removing the insulation.
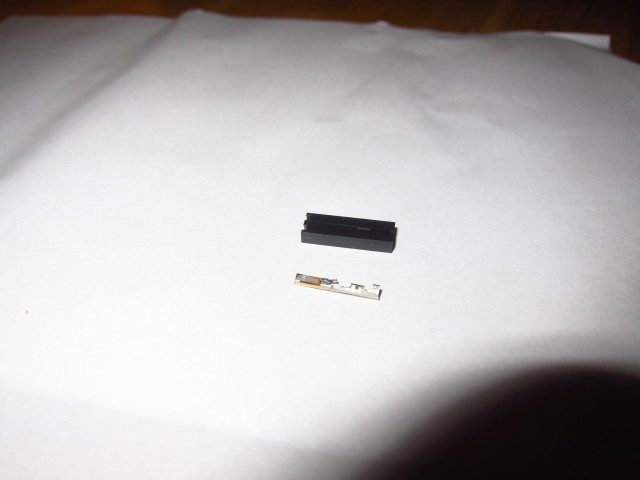
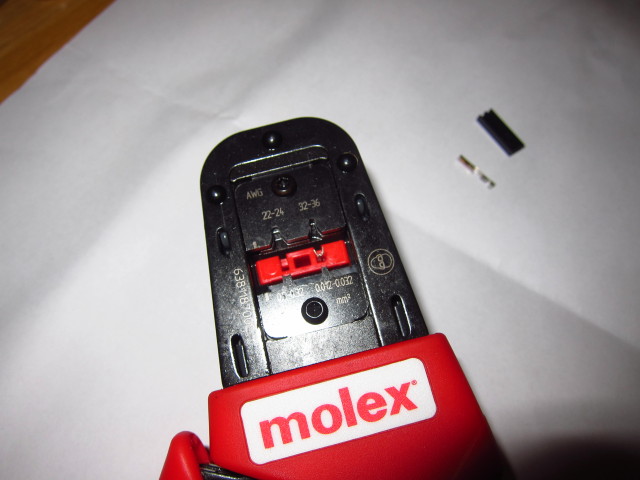
Instead of soldering all red and all black wires together, I opted to use crimp plugs and housings – again, standard PC hardware.
With a proper crimping tool,…
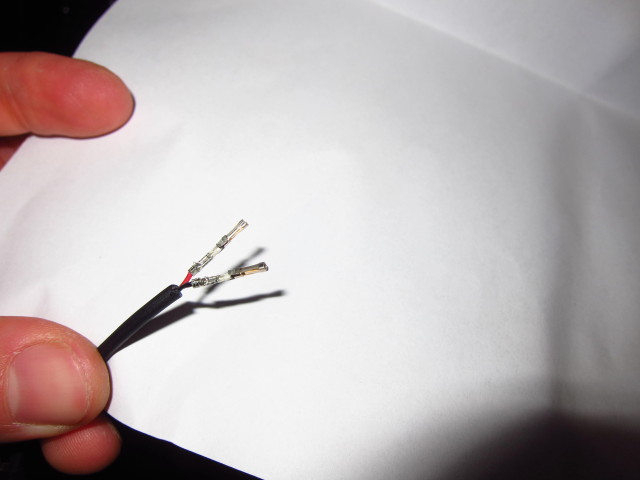
all cable ends looked like this after about ten minutes.
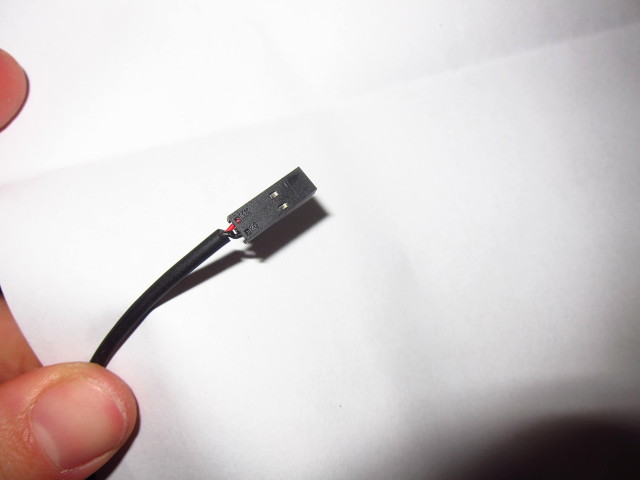
And with the housing installed.
Plugged into the custom “Pre-Junction”.
The electronic installation was finalized and everything worked like a charm – however, it requires getting used to charging your bike and installing firmware upgrades ;-).
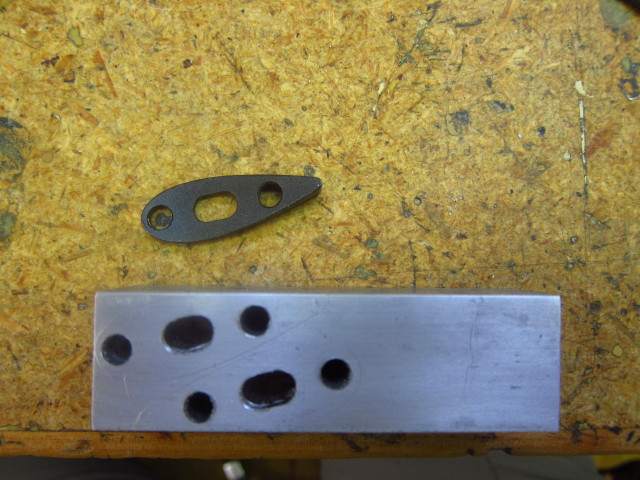
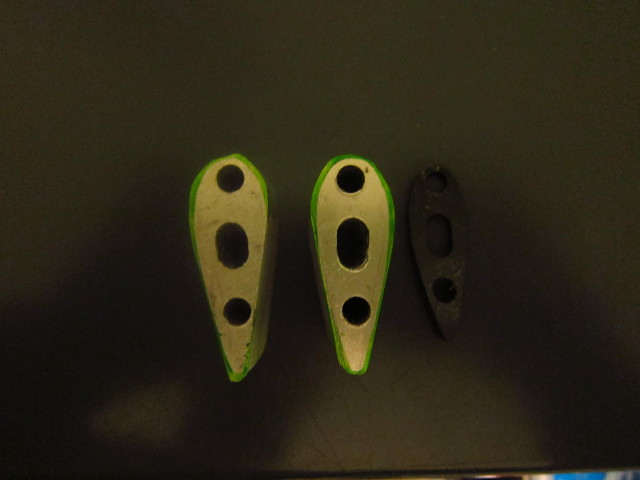
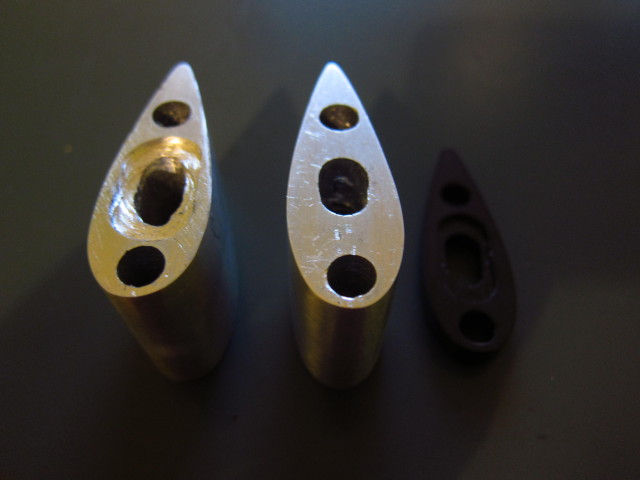
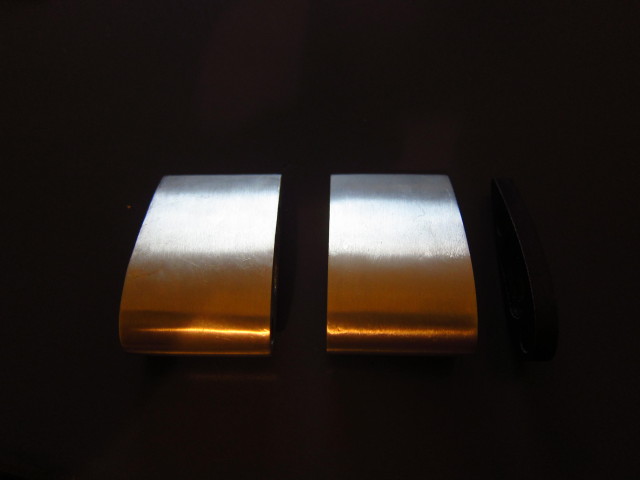
After a few short test rides of about 65k, I realized that the position on the extensions is about 2cm too low when using only the stock spacers. So I decided to build two spacers on my own. I transferred the contour of a spacer to a solid block of aluminium and drilled the holes first.
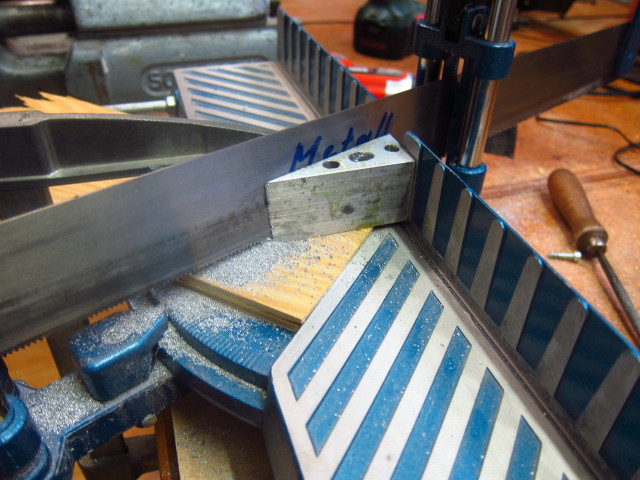
Afterwards, I used a saw to cut the block into the rough outer dimensions.
The preliminary result looked like that.
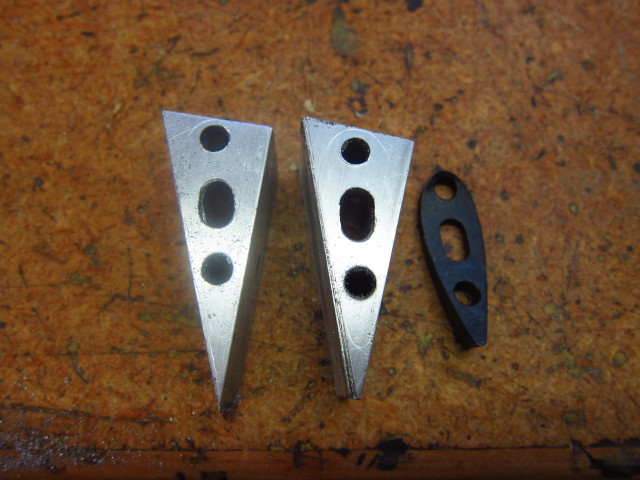
After some filing, the spacers looked a bit more like the desired result.
And after some more filing, the work was done.
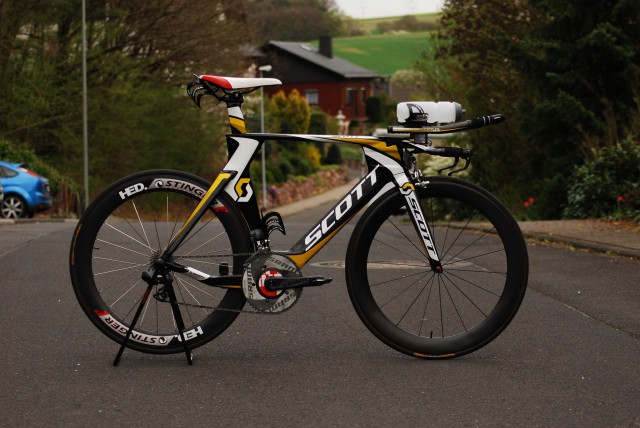
Completed Build
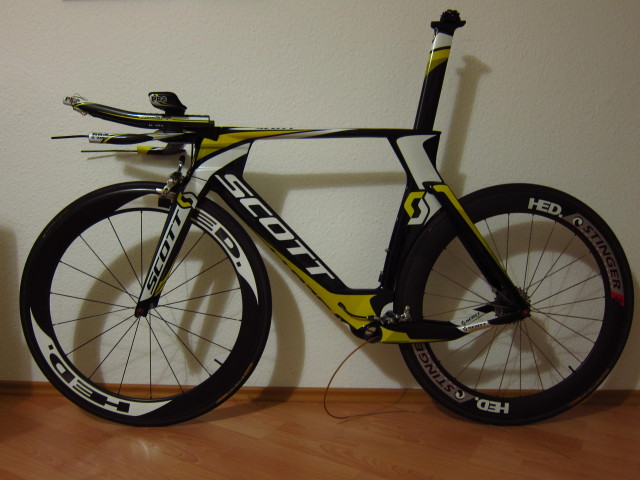
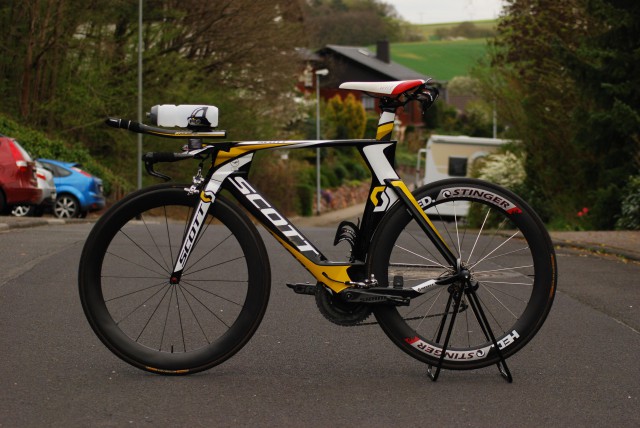
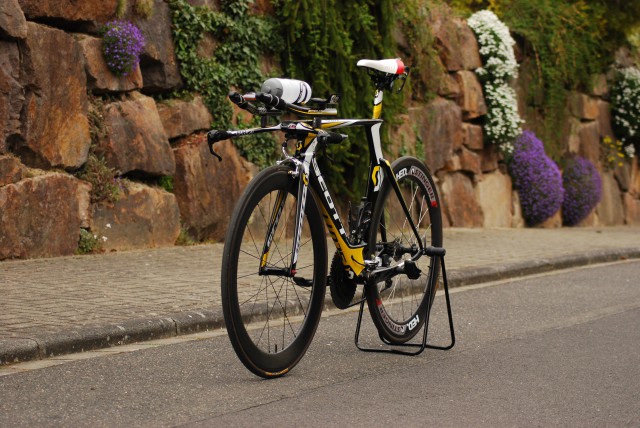
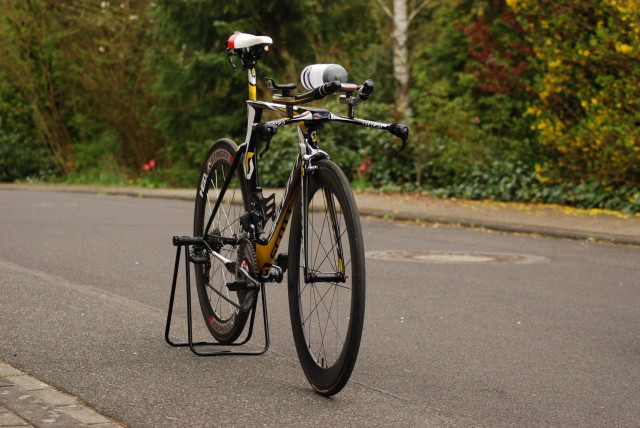
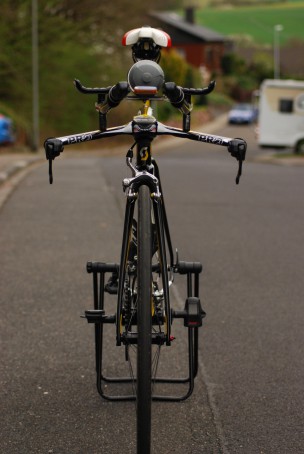
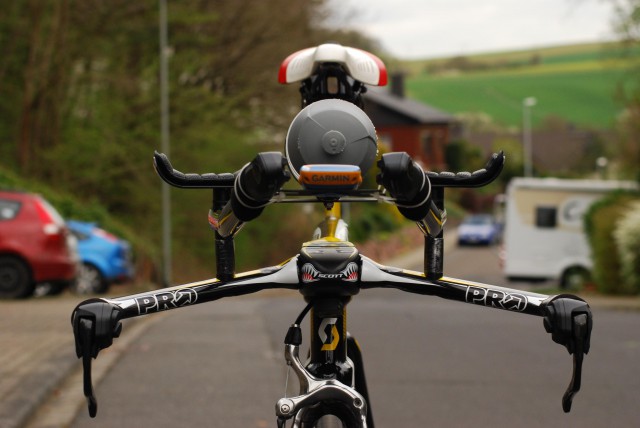
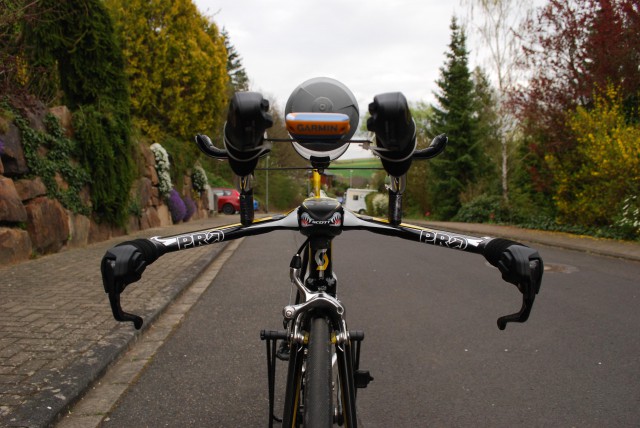
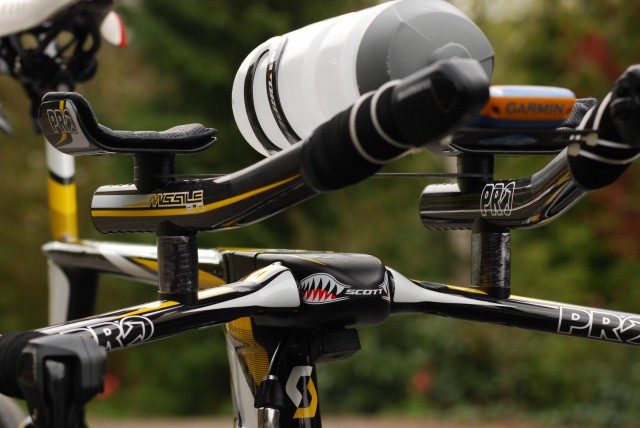
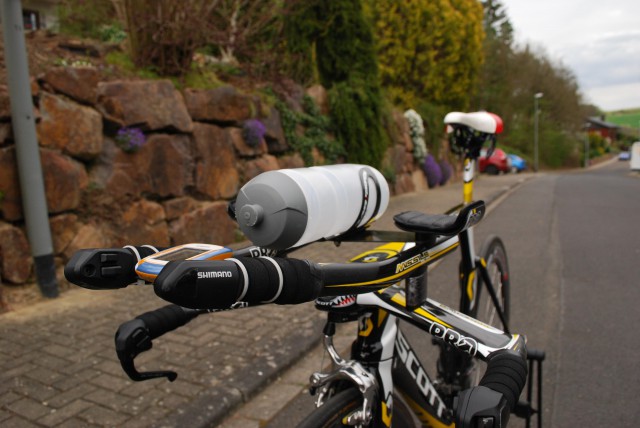
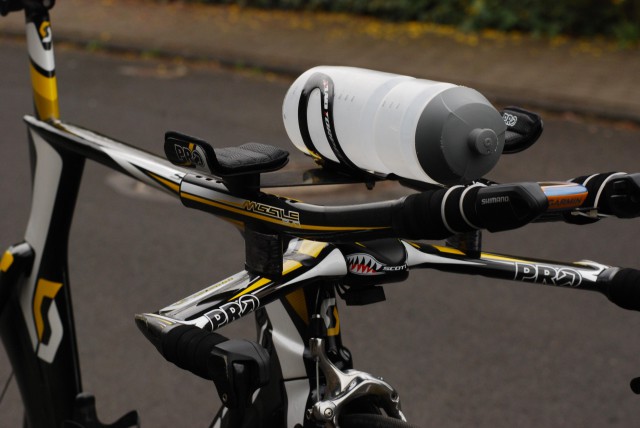
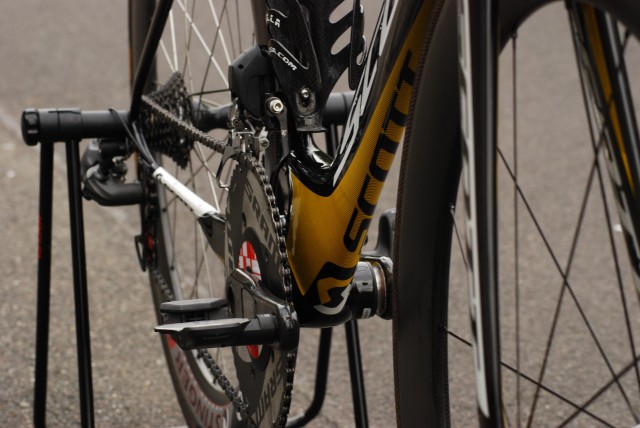
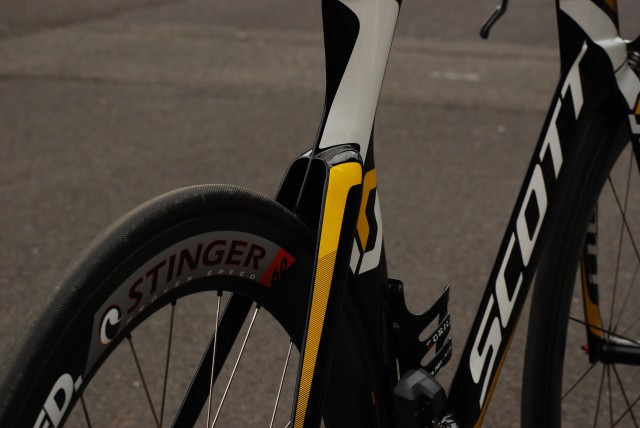
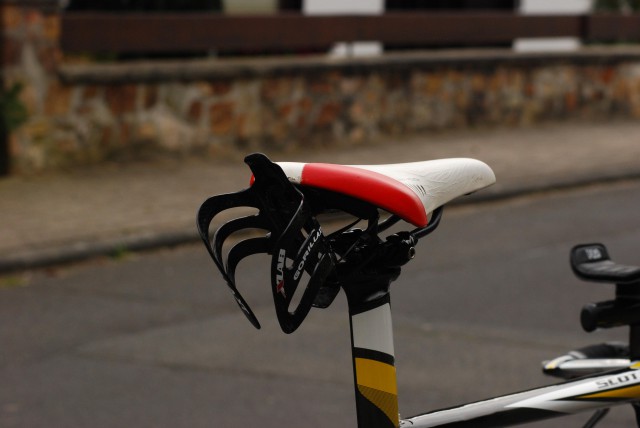
The completed build looks like this:
Ride Impressions
I will add more to this section later – some first impressions.
- Electronic shifting is fantastic – especially on a tri bike, it is a great improvement to be able to shift with hands on bull horns.
- Very stiff frame.
- Brakes act quite aggressive and are reliable.
- Position on base bar is quite low.
- Carbon extensions and basebars are comfortable while riding in the cold: Don’t suck temperature out of the fingers as much as aluminium bars.
Performance
The route I currently ride most frequently is from my office at Frankfurt Airport through the Taunus to Limburg. The route is 62,3km long and has an elevation gain of roughly 420 meters, net elevation gain is about 30 meters.
- Previous Best: 1:47:02h, 34,7 km/h, 244 Watt. http://connect.garmin.com/activity/326406802
- First ride: Position on extensions too low, severe limitation of power output: 1:49:36h, 34,1 km/h, 206 Watt. http://connect.garmin.com/activity/384718494
- Second ride: +2cm Spacer, Crushed the record by 4:10 mins, average speed 36,2 km/h at 233 Watt, 11 Watt less than on previous personal best. http://connect.garmin.com/activity/392114155
- Third ride: Improved by another 0:33 min, average speed 36,5 km/h at 236 Watt. http://connect.garmin.com/activity/395227647
I would say I am satisfied with the improvement that is for sure not only due to better outside conditions like tailwind and such. The bike doesn’t just look fast, it is fast!
Reviews
- Tour-Magazin: http://www.tour-magazin.de/technik/test_center/raeder/zeitfahrraeder/scott-plasma-3-premium/a13351.html
- TriSports: http://university.tri-sports.com/2010/10/13/scott-plasma-3/
- Bikeradar: http://www.bikeradar.com/road/gear/article/pro-bike-simon-gerrans-scott-plasma-3-tt-37807/
Specification Scott Plasma TT
| Frame | Scott Plasma TT | 1.426g | |
| Fork | Scott Plasma TT | 408g | |
| Headset | Ritchey WCS | 50g | |
| Rear Derailleur | Shimano Ultegra Di2, RD-6770 | 271g | |
| Front Derailleur | Shimano Ultegra Di2, FD-6770 | 166g | |
| Battery | Shimano Di2 SM-BTR2, intern | 50g | |
| Junction Box | Front: Shimano SM-EW90-A; Rear: Shimano SM-JC41 | 12g | |
| Extension Shifters | Shimano Ultegra Di2, SW-R671 | 101g | |
| Di2 Cables | 1x 500mm RD to JC41, 1x 250mm FD to JC41, 1x 250mm Battery to JC41, 1x 950mm JC41 to SM-EW90 | 18g | |
| Brake Levers | Shimano DuraAce Di2, ST-9071 | 125g | |
| Brakes | Shimano DuraAce, BR-7800 | 320g | |
| Cassette | Shimano Ultegra CS-6700: 11-23 (Race), 11-27, 12-25 (Training) | 203g | |
| Wheels – Race | Vorderrad: HED Stinger 6; Hinterrad: HED Stinger 60 | 1.423g | |
| Wheels – Training | Shimano WH-RS80-C24-CL | 1.460g | |
| Tires – Race | Continental Sprinter Gatorskin | 544g | |
| Tires – Training | Continental Grand Prix GP4000s | 602g | |
| Crank | SRM SRAM S975 GXP, 175mm | 891g | |
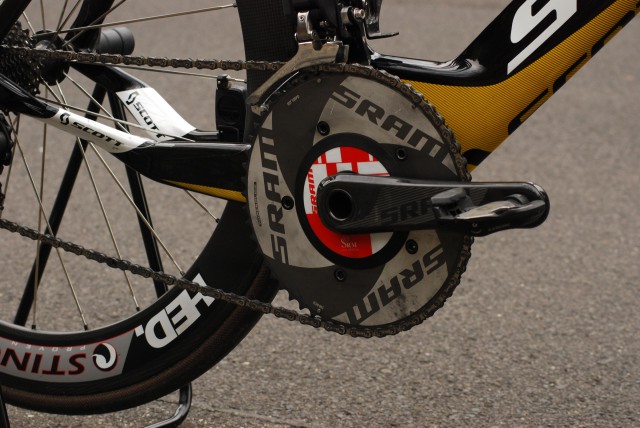
| Chainrings | SRAM Aero, 55/39 (Race), SRAM Red, 53/39 (Training) | g | |
| Bottom Bracket | SRAM Truvativ BB86 Pressfit | 80g | |
| Stem | Scott Plasma TT | 451g | |
| Aerobar | PRO Missile Evo | 681g | |
| Saddle | ISM Adamo Time Trial | 276g | |
| Seatpost | Scott Plasma TT | 258g | |
| Pedals | Look Keo Classic | 341g | |
| Frame Size | 54 cm | ||
| Weight (ready to ride) | 8.640g | ||

Awesome built! Where did you get hold of the frame? I’ve been looking around now for a while with no luck. Would appreciate a tip!
Hi Johannes,
thanks! It took me quite a while to get hold of a frameset. As far as I know, Scott stopped to sell the end customer version of the Scott Plasma TT after the model year 2012. Starting model year 2013, there is only the Scott Plasma Premium, both in a mechanical and electronic specific version. However, none of these framesets include the flat stem and the Pro Missile Evo bar. This is quite frustrating since the Scott Plasma TT is still produced for “professional users” like the ORICA GreenEDGE Team.
This means there are only remaining stocks left for sale. I first ordered in June at http://www.bikepalast.com. After some eMails back and forth, they confirmed that the Scott Plasma TT frameset would be available and Scott confirmed a delivery time of 2-3 weeks. I was super happy, paid immediately and after 2,5 weeks asked for an update regarding the estimated delivery date. Then, I was told that there was a mistake by Scott and that unfortunately, the frameset was not available any more. Instead, I was offered to purchase a Scott Plasma Premium frameset for the same price – but without the flat stem and the Pro Missile bar. What a ridiculous offer!
I searched for another eight weeks and suddenly found a listing for a new frameset, model year 2011, on eBay. The seller was start-cycles of UK. After a few eMails back and forth and without a confirmation that the frameset is really on stock, I completed the purchase and paid via PayPal. I was super happy when I received a delivery confirmation about ten days later and everything went fine. start-cycles has one frameset left in Size L, http://www.ebay.com/itm/Scott-Plasma-TT-Frameset-/181245312445?pt=UK_Health_Beauty_Fragrances_Women_s_Fragrances_PP&var=&hash=item2a330ffdbd. There is one frameset (with stem, without bars) in Size S, also on eBay: http://www.ebay.com/itm/Scott-Plasma-3-TT-Framekit-S-HTC-Highroad-Team-Frame-/251052200349?pt=LH_DefaultDomain_0&hash=item3a73e0919d.
From time to time, there are used framesets or complete builds on eBay. I think that will be your best chance!
Good luck, I hope you will get hold of a frameset!
Best regards,
Frank
Thank you for the info! Keeping my fingers crossed..
Hi Frank,
I am building the same bike! How did you fasten the front junction box (SM-EW90-B) to the stem?
/Lars
Hi Lars,
I used velcro (“Klettverschluss” in German) with a self adhesive backside. One piece was put against the stem, the other piece onto the junction box. The velcro keeps the junction box in place, is way lighter and less obstrusive than the rubber band mount of Shimano.
Have fun building the bike! And even more so riding it ;-).
All the best, Frank
Amazing write up Frank!! I’m about to start the same build only with the white frameset. The di2 info is invaluable for me- I was a bit confused with exactly what components I needed. Not any more, many thanks. I can’t wait to get her built, looks like a real rocket ship. Regards, Steve.
Dear Steve, glad you liked the write up! It took me quite a while to figure out which Di2 components I really needed ;-). If any question should come up during the build up, just let me know. Enjoy riding that rocket ship! All the best,
Frank
Thanks very much Frank – I have little doubt that when I start the build I will soon be taking you up on your kind offer!
If you don’t mind can you just clarify with me – it was my understanding that if using 2 pairs of shifters (bar end & brake lever) that the 5 port junction box was needed. You have used the 3 port, am I right in assuming that the custom junction box you used basically does the same function as the 5port? If so why did you decide to go down this route as opposed to just using the 5port in the first place?
Apologies if the answer to this is glaringly obvious, I am new to this di2 game! Somehow, it’s not quite as straight forward as 2 cables!!
Thanks again, Steve.
Hi Steve,
yes, I would recommend to go for the 5 port junction box if you want to use bar end as well as brake lever shifters. The only reason why I went for the 3 port junction box was the hope to fit the 3 port box into the stem. I could rule out in advance that the 5 port box would fit into the cavity of the stem. The 3 port box is slightly smaller so I gave it a shot – unfortunately, I was not successful. If I was about to do it again, I would go for the 5 port box.
If you feel confident about soldering or using custom plugs, you could save the rear junction box and go for the 3 port front junction box. Basically, you just have to cut off the existing plugs and solder or plug all red wires and all black wires together. So the technical architecture behind Di2 6770 / 6870 / 9070 is actually quite simple when it comes to connecting the cables.
All the best, Frank
Hi Frank,
How did you fit the SM-BTR2 battery into the seat post?
My seat post is slimmer than the battery!
Thanks
Lars
Hi Lars,
I tried to fit the SM-BTR2 into the seat post but was not successful – the Scott Plasma Premium Seatpost is smaller than the diameter of the battery.
Solution was to put the battery into the the seat tube. I pushed a brake cable from the bottom bracket to the upper end of the seat tube, attached the Di2 cable to the battery and afterwards to the brake cable. Then I pulled back the brake cable until the Di2 cable came out of the bottom bracket.
During my first attempt, I tried to cover the battery with some foam to prevent it from rattling. But with foam attached, the battery wouldn’t fit into the seat tube anymore. Therefore, I didn’t use any foam – yet, there is no rattling noise at all.
Currently, I don’t see any reasons why I should need to remove the battery again from the seat tube. If it should become necessary, I would turn around the bike and let gravity do its work ;-). The last inches I would help gravity with a pair of pliers.
Best regards,
Frank
Thanks,
This seems to be the best solution. I now use an extra long electric cable (100 cm) and drop the battery down into the seat tube. The extra part of the electric cable I put in the seat post, so I can use it whenever I want to lift out the battery from the seat tube.
/Lars
Here is my bike that will follow me 180 km in Ironman Austria next year 🙂
Bottom bracket, chain and casette is still missing.
https://www.facebook.com/photo.php?fbid=10151917733718889&set=a.469411903888.249025.707163888
That looks really sweet! I recognized that you have some custom spacers for the PRO Missile Evo Bar as well. Did you buy them or make them on your own? Where did you get the 2012 version of the Scott Plasma TT Frameset?
Enjoy your new ride and all the best for Ironman Austria 2014!
The frame I bought from Westbrook Cycles in UK and since I am not as handy as you, I bought 40 mm spacer on ebay from a guy in US. The aero position looked a bit to aggressive for me, so I think I need the spacers.
What worries me is if the size is right for me. I am 184 cm and I bought the last frame they had (size M = 54 cm).
Congratulations that you got that frame! It’s for sure some of the last one’s on the market… I saw those spacers made by a guy in the US but unfortunately, I could not get hold of some frome him. I guess these are precision milled and not as clumsy as mine.
I worried a lot about the size as well, I am 183cm. I had a long eMail chat with my bike fitter, I wanted to go for size L, he convinced me to go for size M and I did not regret it so far. Reach is quite ok with size M, the PRO Missle extensions are quite flexible when it comes to reach adjustment. The pad stack of the extension matches the one of my old bike due to the higher spacers. The only major change is the stack when I am on the basebar, I am about 6cm lower than on the bullhorns of my old bike. But I have to admit that I like that a lot!
So I think you are going to be fine with size M. All the best, Frank
Hi Frank, Your write-up and explanation of how you built your bike was extremely helpful, start to finish. I understand you purchased your frame set from the UK, but was wondering if you investigated any sources from Indonesia? I only ask this because I am currently looking for a 2013 Plasma Premium and the cheapest prices for complete bikes are all coming up from there. Do you know of any concerns from buying from this country? Any and all information would be appreciated.
Thanks,Dave
Hi Dave,
In the past, I have seen offers from Indonesia and other Asian countries. To be honest, the prices seemed to good to be true. I googled some of the “stores” and found warnings regarding scam. What didn’t help to convince me was that these stores (at least the ones I found) neither had a full postal address stated on their homepage nor were accepting more secure payment methods like PayPal etc.. Therefore, out of my perspective, the risk of paying a still substantial amount of money and never get any bike was to high out of my perspective.
Best regards
Frank
Olá Frank, Sou brasileiro e resolvi comentar em seu blog, fantástica esta bike e mais fantástico ainda foi como você descreveu os detalhes da montagem. É uma pena que uma bike desta aqui no Brasil tenha um preço absurdo e elitizado. Parabéns pelas explicações da montagem, e vê se coloca mais fotos da bike pra nós ficarmos babando aqui. Abraço. Marcelo
Brilliant, I’m currently looking at upgrading to Ultegra 6870 on my new Plasma 20. Your writeup is so informative, especially since you already figured out the cable lengths! It’s been almost a year now, looking back, is there anything you would have done differently? How’s the battery held up in the seat tube? No rattles, issues, etc?
Thanks again!
Hi Alex,
Thanks a lot – glad the write-up was helpful.
No, I wouldn’t change anything in my setup. Di2 6770 works very well, I have no rattling issues with the battery at all.
I am going to enhance the review with some more pictures of the complete rig over the next days. Best regards,
Frank
Quick question, Can you tell me what size your Plasma frame is? I have a Small, 52cm frame and I’m trying to nail down the cable lengths. Thanks!
Hi Alex, my frame is size Medium, 54cm. I think you should be fine with the cable lengths that I used. Best regards, have fun with the bike, Frank
Frank –
Installed the internal battery in the Plasma 20 last night, just like you posted. I needed a little piece of foam to snug it up, now firmly wedged right behind the bottle bosses on the seat tube.
Thanks again!
-Alex
Hi Could you make me one of Junction Boxes? I have the same bike but now have to change from 10 speed to 11 as one of the cables is damaged and no spares are available. I managed to fit the junction box in the stem on the last fit, is there no way a 5 port connector can fit in there?
Hi,
which stem length do you have? 75mm or 90mm? In the 75mm stem, neither the 3-port nort the 5-port junction box is going to fit. In the 90mm stem, the 3-port junction might fit. You could then put one JC41 rear junction box in each of the bullhorns of the basebar to connect the basebar shifter to the extension shifter and from that junction connecting to the 3-port box in the stem.
Best regards, Frank
How did you route the rear brake cable? Can you post a picture clearly showing it’s routing
through/around the stem?
hey Frank I am transitioning my DA DI2 to this exact frame over the next week. Hoping you could provide some insight about two things.
1. Battery bracket and setup in the seattube. Can you send a couple pictures about this?
2. I will have the 75 mm stem so how do you think I should handle the 5 port junction box?
3. Any additional images or advice is greatly appreciated. You did a wonderful job on this!
Trent
Hey Trent,
sounds great – this frame with Di2 is a really nice ride. Regarding your points:
1. I recommend to push a brake wire from the bottom bracket to the seat tube. After that, attach the Di2 wire (250mm) to the brake wire with electrical tape. Attach the battery to the Di2 wire and – if available – attach some foam to the battery. Then pull back the brake wire with the attached Di2 wire and battery. Have a look at this image: Link. I didn’t install any further bracket or something and so far, I did not experience any rattling noise or something.
2. The 5 port junction is not going to fit into the stem. I am still convinced that mounting the junction box beneath the stem is the better option then mounting it around the bottom bracket area. Please have a look at this image: Link
3. Will make some small tweaks during the winter time: I am going back to the narrow pad position (Works for Sebi – has to do it for me as well ;-)) and switching to the HED Jet Plus 9 Front and HED Jet Plus disc in the rear. Will post some pictures after the changes.
All the best with your build and good luck for the next season!
Frank
Last thing: there wasnt an image where it references “take a look at this image” Could you send it again?
Kind regards,
Trent
Hi,
unfortunately, I do not have any other pictures besides the ones I have posted. In the TT version, the cable is routed through the stem and fork. The cable routing is illustrated in the Scott owners manual on pages 12-13, please see the attached link: Scott Manual. I described the optimal sequence of routing the cables through the stem in my post:
1. Push rear brake inner wire from bottom bracket to stem, beginning with the plumb end
2. Attach the Di2 cable (950mm) to the brake wire using electric tape and pull back the brake wire from stem to bottom bracket
3. Loosen Di2 cable from brake wire
4. Push rear brake inner wire again from bottom bracket to stem, beginning with the plumb end
5. Push rear brake outer housing over the inner wire, from bottom bracket to stem
6. Pull out rear brake inner wire
7. Push outer housing through base bar
8. Mount brake lever
9. Push inner wire through brake lever, base bar and stem to the bottom bracket. Recommendation: Do not attach base bar to stem or stem to fork before doing that. The radius of the outer housing will be small which makes pushing the inner cable through nearly impossible.
Hope that helps.
Best regards,
Frank
Hey Frank- did you happen to see my comment about the battery? Any specifics on how you got this battery lodged into the seat tube and piped in would be great!
Thank you,
Trent
Hi Frank,
Just wondering if you took any pictures of the TT fork steerer tube. I have the Scott Plasma 3 premium and want to know the differences in the fork (if any) apart from the drilled cable routing holes. If you have pictures or could provide pictures of these I would be extremely grateful, as I’, having trouble getting my hands on the TT fork.
Hi,
unfortunately, I do not have any other pictures handy than the ones I’ve posted. To my knowledge, besides the cable routing holes on the front and back of the steerer tubes, there are no differences between the Scott Plasma 3 Premium and the TT fork.
Please have a look at the Plasma 3 manual, . On pages 12-13, the fork and the cable routing is illustrated. Hope I could help.
Best regards,
Frank
Frank
Awesome job
What did you use for the front aero bottle mount? It looks like a carbon fiber plate in your pictures.
Hi Louis,
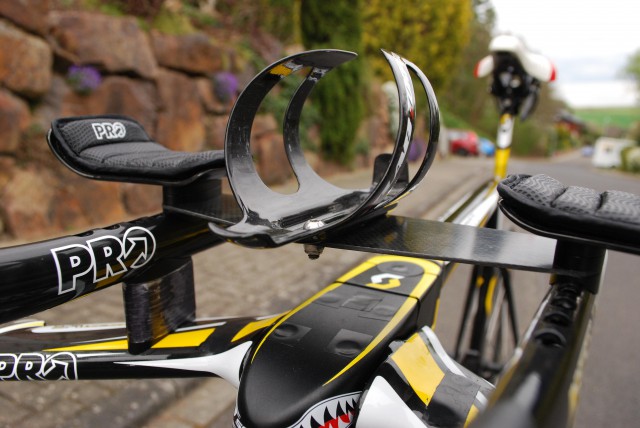
thanks! Yes, it is a flat carbon fiber plate that I cut and filed to shape. Works like a charm so far and also stabilizes the spacers beneath the extensions. By the way a lot cheaper than the bridge that PRO offers. The carbon fiber plate was around 10€ plus one hour of work. The PRO bridge including some spacers is around 65€ but without the ability to mount the bottle.
Unfortunately, I won’t use it for next season. I am going back to the narrow position of the extensions. In that setup, there is no space for a round bottle between the arms. Therefore, I am going to use a Profile or Torhans Aero Bottle between the arms.
Best regards,
Frank
hi there, Happy new Year to you thanks for your Plasma 3 posts, I just have my Plasma 3 Premium(Mechanical version), the only issue I encounter is that the rear brake pads is rubbing my 404 FC Rim my LBS can’t be able to adjust the brake caliper due to its mounting limitation, the only thing they can do is to sand paper the brake pads to make it thinner, I’m using DA 7800 brake, is there a way to fix this with out using sand paper? have you encounter this issue?
Thanks a lot, looking forward for your reply
Regards,
Rocky
Hi Rocky,
a happy and successful New Year for you, too!
The brake caliper only opens up a certain amount. After that, the only option is to sand down the brake pads.
So far, I did not encounter this problem. I ride a HED Jet Plus Disc in the back. The brack tracks are 25mm wide. Between the brack pad and the rim, I have approximately 2mm space on both side. If I remember correctly, the rim width of a Zipp 404 FC is around 27.5mm so it should be possible to install this wheels without sanding down the brake pads. Basically, you have two options to influence the width of the brake caliper: 1) The excenter lever and 2) the plastic screw on the brake cable insert. Did you use these two options? For example, setting the excenter lever into the “open” position is going to open up the caliper around 2mm.
Best regards,
Frank
Hivfranks,
Thanks for your valuable reply, my LBS mechanic had already tried that way but don’t know if its because I’m using swisstop yellow brake pad which has a thicker pad that make this issue, its the still housing that holds the brake pad which already hit the chainstay wall mounting and prohibits the caliper to open wider, this is the only issue with my plasma 3 otherwise its a very nice bike.
Thanks and regarda,
Rocky,
Hi Rocky,
I used the Swissstop Yellow Pads as well. They are not thicker than the Shimano brake pads. Yes, the brake caliper can ultimately touch the chainstay. But it really surprises me that the 404 FC is so wide that the caliper is not wide enough in that position.
Enjoy your bike! All the best, Frank
Hello Frank
I was curious to have your feedback on this bike
I am currently mainly doing hilly half ironman with around 1200m+ profile
Is the position on this flat stem comfortable on long rides? How does the bike behave in climbs and technical descent ?
What about the seat post? Can you still adjust the height like a normal bike?
In order to increase the height of the TT bars, the only solution is to add spacers? correct?
Would you recommend this bike for Ironman Nice for example?
Thank you and congrats for this nice mounting and nice post
Benoit
Bonjour Benoit,
thank you for your question. Yes, for me the position on the flat stem is comfortable. With the flat stem and my current setup, my pad position is about 2cm lower than the lowest position with the rising stem. My basebar position is about 4cm lower than on the rising stem. My longest ride so far was 180k (https://connect.garmin.com/modern/activity/525131242) and I didn’t have any issues on that ride. Also, the low Position didn’t cause any issues on climbs or descents – I feel quite “save” on that bike.
Once you cut the seat post, you can adjust it like a normal seat post. However, the clamping force is not high enough so over time (maybe 10k into a ride), the seat post slides back to the position where the seat post sits on the frame. So if you want to increase the seat height, you’ll need to cut a small “seat post spacer” and put it under the actual seat post. This is also described in the Scott Owners Manual.
You cannot increase the height of the basebar. However, you can both increase the height of the extensions as well as the height of the pads on the extensions by adding spacers. Furthermore, you can adjust the angle of the extensions (upwards, downwards and to a limited degree also inwards and outwards).
The hardest question is whether I would recommend that bike for Ironman Nice as I have not ridden that course but I am aware that it is a very hard and technical bike course. In general, I am highly satisfied with the bike and would recommend it to everyone. Whether it is the right bike for a specific course is above my ability to answer precisely. There are people who prefer a standard road bike with clip-on extensions for very hilly courses, e.g. Ironman 70.3 Wiesbaden. I know about guys who did that course on a Cervelo Rca to save as much weight as possible because they are lightweight themselves. Other guys like Jan Frodeno take their TT bike, even with a rear disc wheel, also on hilly and technical course. “What needs to go up also comes down” ;-). Personally, I believe in the latter – go for a TT bike.
Best regards and lots of success,
Frank
I have the same bike and I am doing Ironman France this year (I have done that race once before)
I like the Scott Plasma TT, but for me it is not the right bike for technical races like Ironman France.
This year I bought this frame:
http://www.westbrookcycles.co.uk/scott-plasma-10-hmf-net-time-trial-tri-frame-set-2013-p213663
and put di2 on it. I am more confortable in technical parts and step uphills with the Plasma 10.
Hello Frank
Thank you for your answer this is great
Could you please send me an email in order to have your email address
I would like to ask you more questions about the bike and I think it would be more convenient by direct email exchange.
best regards and thanks again for your detailed answer.
Benoit
Hello,I like this bike and I have an opportunity to have a bargain on it. I’m only concerned about the frame size, because the best offer I can take is for an M size. I’m 175cm tall, do you think it would be the right size for me and eventually could I have the possibility to adjust stem and saddlebar to achieve the best position for my size? thank you
Hi Fabio,
with 175cm, I would highly recommend size S – otherwise, you might have difficulties to get your extensions low enough. Not sure how agressive / low your position is and with how much drop you’ll ride. Do you have a chance to try the bike first?
Best regards,
Frank
Considering the frame/aerobar has a very aggressive seat position, I think a small could be fine. Frank, Isn’t it why you have added a 50(?)mm spacer for handlebar?
The big issue I think is that the stand over height does not stop you.
I think you anyhow have to by some extra spacers like this:
http://int.cyclecomponents.com/pro-missile-evo-spacers-10×1-cm-inkl-smal-brygga.html
Yes, the frame has a very aggressive seat position. At the moment, I have 30mm spacers beneath the extensions (started with 50mm and then slowly worked down). Yet, I am 183cm. At 175cm, I am afraid a size M is going to be to tall.
Thank you, yes I can try it before to buy, what have I to pay attention?
In scott site S http://www.scott-sports.com/global/en/products/238358022/SCOTT-Plasma-Premium-Bike/ is suggested from 160 to 170 and M from 170 to 180, I have to try it but if I can adjust stem and saddle to reach a comfortable position it would be great
It is not the same frame you are looking at. It is a Plasma 3 frame that you should look at. Medium is 172-185 cm accoding to this chart:
http://www.bikes-n-gear.com/user/66981_original_1_copy.jpg
Hi Fabio,
If you own a TT bike already and your fit is dialled in, I would recommend to measure the saddle height and your “saddle to extension pad drop”. If you can recreate these measures on frame size M, then go for this size. I you cannot go low enough on size M, go for size S.
If you do not own a TT bike so far, it is hard to give a valid recommendation. If you are rather flexible, go for the smaller size. If you have longer legs then average (my leg length is 84cm at 183cm height), go also for the smaller size. In the best case, have an experienced bike fitter look at your position in both frame sizes.
Best regards, Frank Bauer
Thanks to all for the reply,I noticed if we read the recommendatiion from Scott that s size is good until 172 cm but not over while the m starts from 172,so seems that for my size the only suggested is the m size. I don’t have a tt now so I can’t compare but the best offer I received is for M frame so I hope that it could be be right for me,eventually working on stem and seat tube
Hi Frank, great work. I wondered how you have found the Jet plus disc. I have a Plasma 3 and I am looking at clincher disc options. Do you think the Jet plus disc will fit regardless of Frame size?
Thanks again for sharing your build,
Tim
Hi Tim,
I really like the HED Jet Plus Disc. Before I bought it, I had a brief chat with Andy Tetmeyer of HED Cyling and he informed me that the HED Jet Plus Disc is going to fit. It turns out that it is an extremely narrow fit on the driveside chainstay, especially at the valve cutout. I even had to very slightly tilt the disc to the left at the quick release skewers in order to avoid mild rubbing.
I think the fit is independant from the frame size. If I would buy again, I would buy the standard HED Jet Disc which is slitly less wide. I don’t think that you are going to give up that much in terms of Aero despite the HED aero charts…
Best regards, Frank
Hi Frank,
Great post, thanks. I am collecting parts to start a similar build with a Plasma 3 Di2 and the flat stem. One question, from initial test fits, the internal battery does not fit into the seatpost. Did you modify it at all to get it to fit, or is it tucked into the seat tube below the post? Thanks again for the great step by step really helps with specing my build.
Great post, thanks for sharing. I am doing a similar build but on test fit the battery does not fit inside the seatpost, not even close. Did you mod it or put in the seat tube below the post? Any additional guidance on this part of the build would be great. Thanks.
Hi George,
the battery doesn’t fit into the seatpost. I thought about modifying it but withdrew that thought. I just put in the seat tube below the post and it works like a charm.
Best regards, Frank
Great, thanks Frank. One other quick question, did you have any fitment issues with the Pro bar and the Scott Stem? It almost seems like a little sanding needs to be done on the side of the “wing” of the bar where it meets the stem in order for the top cap to fit in. Seems like the space between the wings is a little narrower than the stem cap at the leading edge. I can get the bar to settle in the bottom of the stem but its a tight fit and can’t get the top cap in at all.
Hi. do you by chance know where I could get a flat stem? I’m having a very difficult job locating one for my 2013 Plasma Premium
Hi Evan,
I am sorry, I am not aware about a flat stem currently on sale. These are very infrequently traded, mostly in classifieds. Maybe post a request on some of the triathlon forums, e.g. Slowtwitch. Good luck and best regards,
Frank
Hi Frank,
I know this is post a few years old but is very helpful!
I have just purchased this bike second hand (and love it!) but was wanting to raise the Missile Pro Aerobars – do you know what risers you used?
Cheers,
Will
Hi Will,
thanks for your feedback! I still own and love the bike – enjoy it!
Actually, I custom made the spacers (20mm) from a solid block of aluminium. This requires some tools of course. From stock, the spacers are called “Pro Missile Evo Spacer” and they are available in 1mm, 5mm, 10mm; https://www.paul-lange.de/shop/de/pro/ersatzteile/lenker/spacer-missile-evo.html
Cheers, Frank